優れたNest.jsブログを構築する:認証を追加する
Takashi Yamamoto
Infrastructure Engineer · Leapcell
前のチュートリアルでは、ユーザー登録システムと基本的なログイン検証ロジックを正常に構築しました。ユーザーはアカウントを作成でき、アプリケーションはユーザー名とパスワードを検証できます。
しかし、現在のログインは一度きりのイベントであり、サーバーはユーザーのログイン状態を記憶しません。ページがリフレッシュされるたびに、ユーザーはゲストに戻ります。
この記事では、express-sessionを使用してブログの真のユーザーログイン状態管理を実装し、ログインが必要なページや機能を保護し、ユーザーのログイン状態に基づいてインターフェイスを動的に更新します。
セッションの設定
セッション管理を処理するために、Expressエコシステムで非常に人気のあるライブラリであるexpress-sessionを使用します。Nest.jsはデフォルトで内部的にExpressを使用するため、直接統合できます。
必要な依存関係をインストールします。
npm install express-session
npm install -D @types/express-session
セッションを保存するためにRedisを使用する
デフォルトでは、express-sessionはセッションをサーバーのメモリに保存します。これは、サーバーが再起動すると、すべてのユーザーのログイン状態が失われることを意味します。これを解決するために、高性能インメモリデータベースであるRedisを使用してセッションを永続化します。
Redisがない場合はどうなりますか?
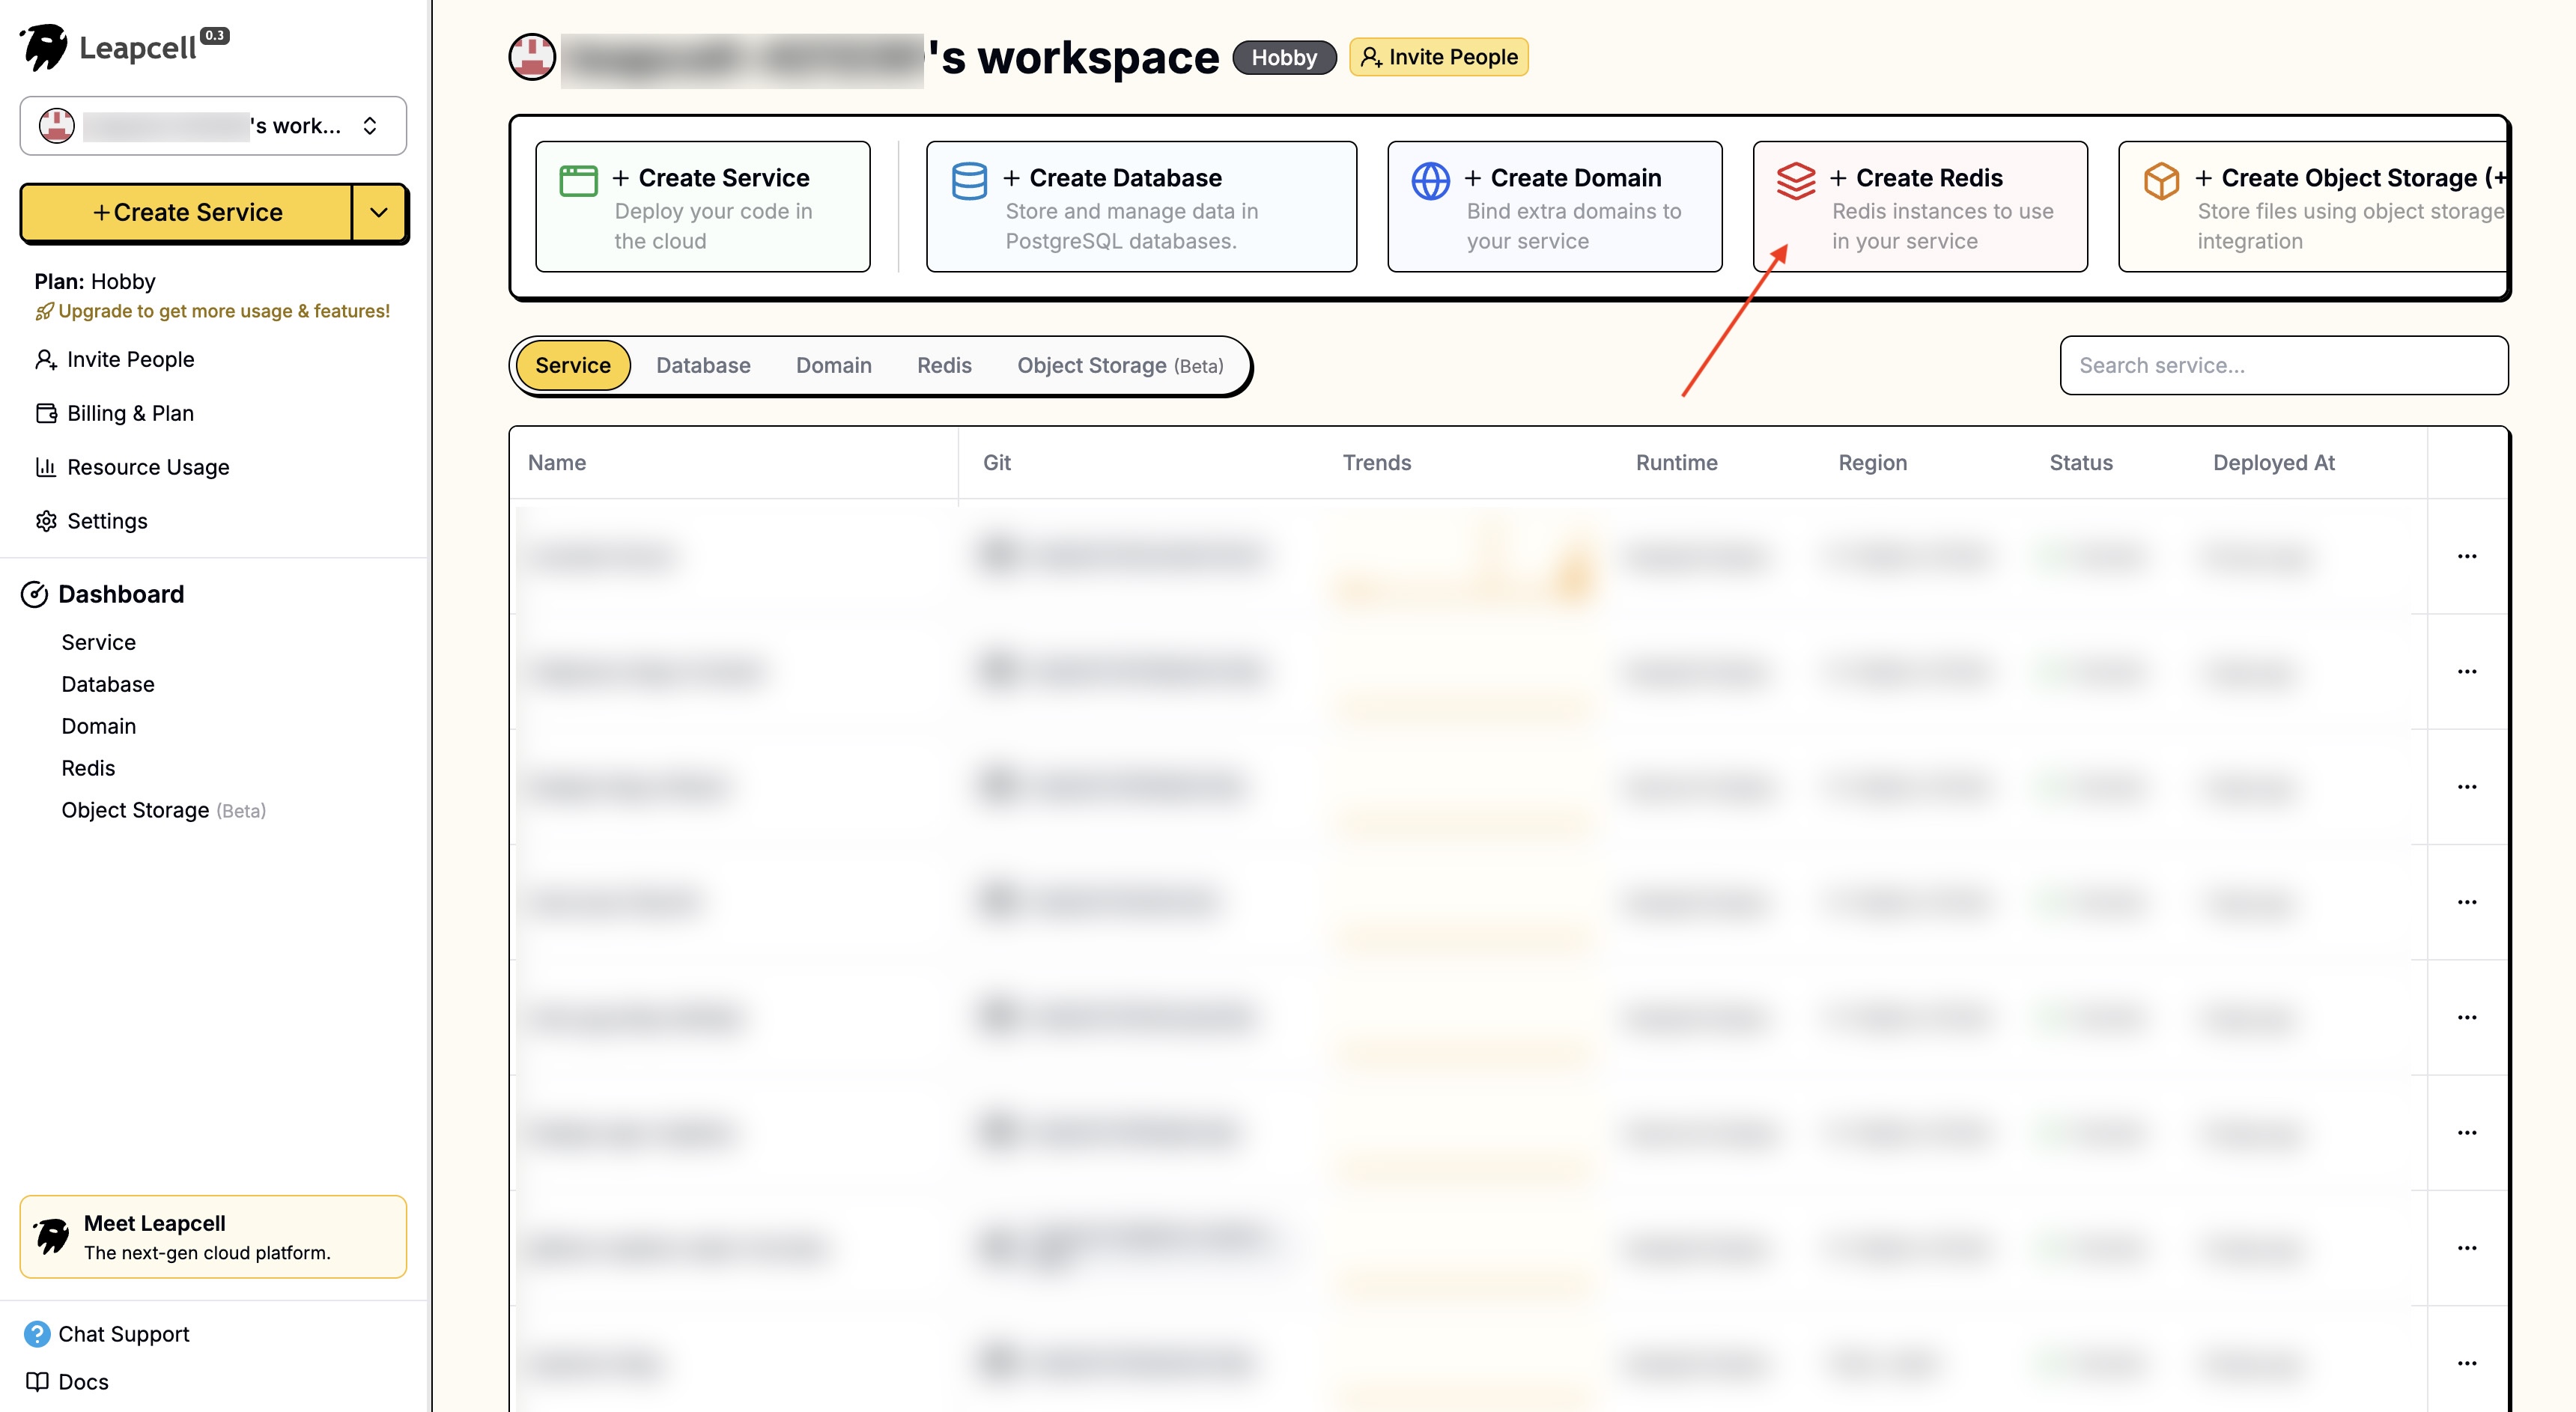
LeapcellでRedisインスタンスを作成できます。Leapcellは、バックエンドアプリケーションが必要とするほとんどのツールを提供します!
インターフェイスの「Redisの作成」ボタンをクリックして、新しいRedisインスタンスを作成します。
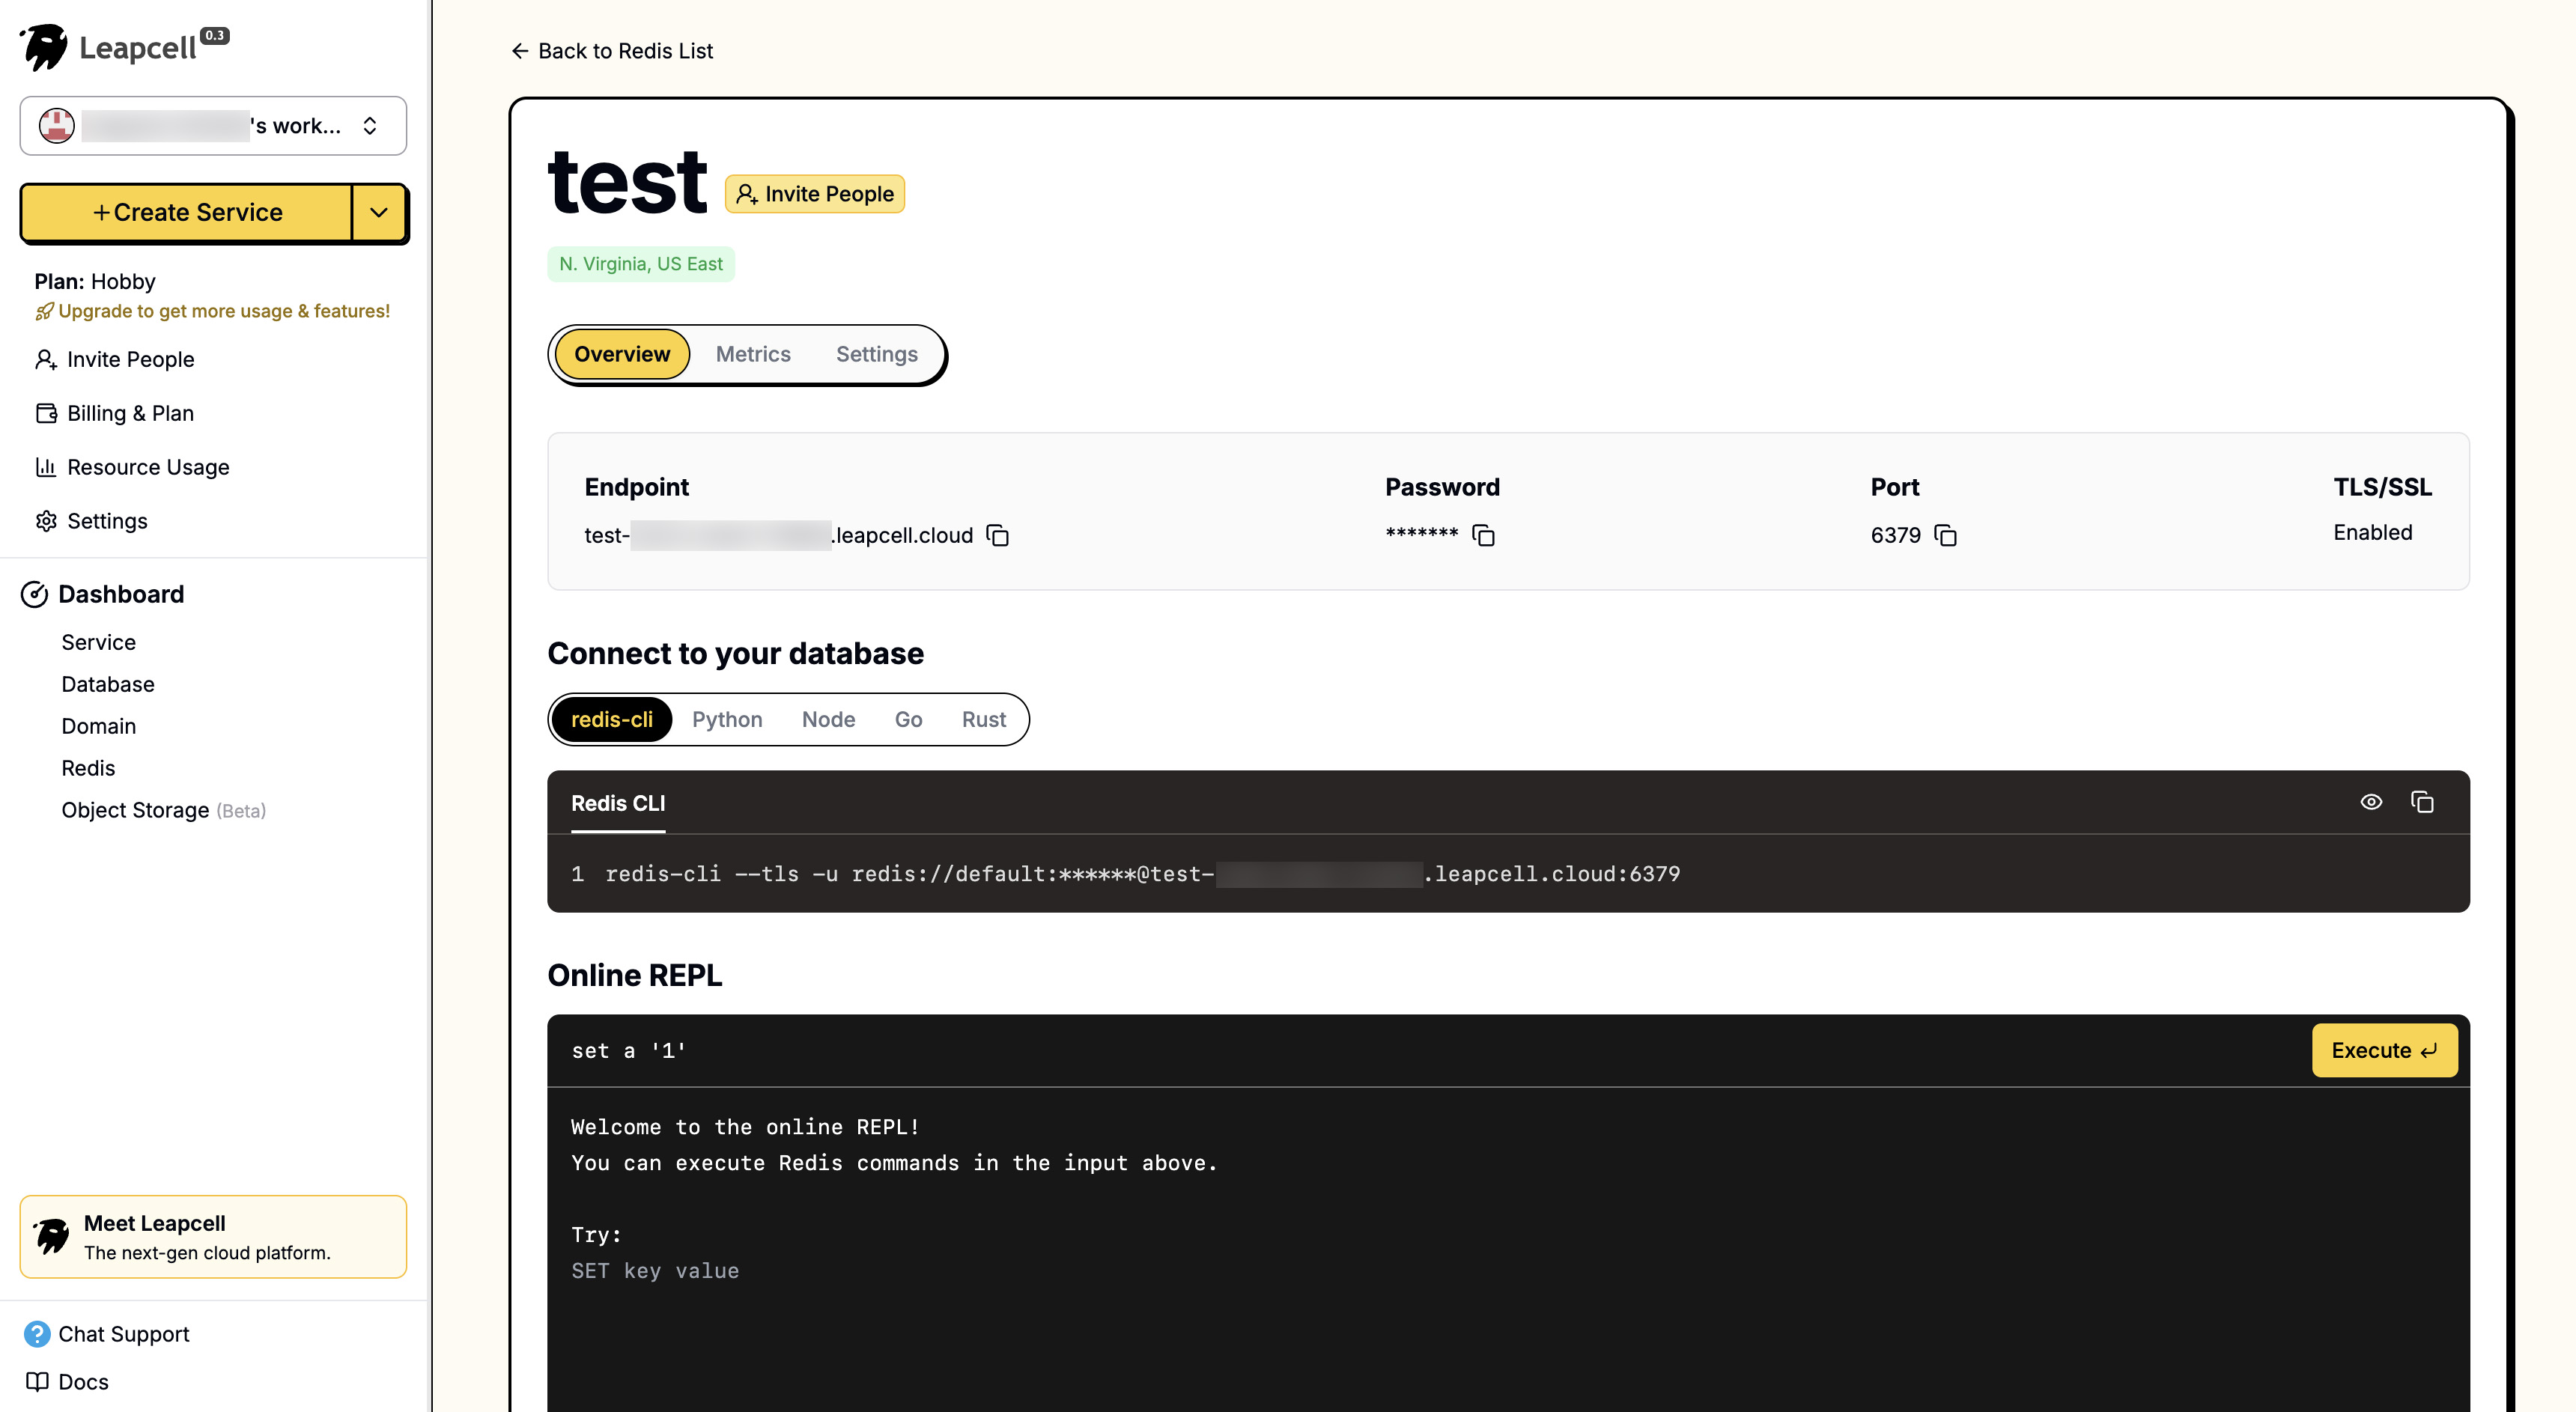
Redisの詳細ページには、Redisコマンドを直接実行できるオンラインCLIが用意されています。
Redisサービスが絶対に利用できない場合、express-sessionは自動的にインメモリストレージの使用にフォールバックします。ただし、これは本番環境でのベストプラクティスではなく、潜在的な問題につながる可能性があります。
Redis関連の依存関係をインストールします。
npm install redis connect-redis
次に、src/main.tsファイルを開いて、セッションミドルウェアを構成し、Redisに接続します。
// src/main.ts
import { NestFactory } from '@nestjs/core';
import { AppModule } from './app.module';
import { NestExpressApplication } from '@nestjs/platform-express';
import { join } from 'path';
import session from 'express-session';
import { createClient } from 'redis';
import { RedisStore } from 'connect-redis';

async function bootstrap() {
  const app = await NestFactory.create<NestExpressApplication>(AppModule);

  // Initialize the Redis Client
  const redisClient = createClient({
    // If your Redis has a password or is on another host, modify the configuration here
    // url: 'redis://:password@hostname:port'
    url: 'redis://localhost:6379',
  });
  await redisClient.connect().catch(console.error);

  // Initialize RedisStore
  const redisStore = new RedisStore({
    client: redisClient,
    prefix: 'blog-session:',
  });

  app.use(
    session({
      store: redisStore, // Use Redis for storage
      secret: 'your-secret-key', // Replace with a random, complex string
      resave: false,
      saveUninitialized: false,
      cookie: {
        httpOnly: true,
        maxAge: 1000 * 60 * 60 * 24 * 7, // 7 days
      },
    })
  );

  app.useStaticAssets(join(__dirname, '..', 'public'));
  app.setBaseViewsDir(join(__dirname, '..', 'views'));
  app.setViewEngine('ejs');

  await app.listen(3000);
}
bootstrap();
設定が完了すると、express-sessionミドルウェアは自動的に各リクエストを処理し、Cookieを解析して、対応するセッションデータをrequest.sessionオブジェクトにアタッチします。
実際のログインおよびログアウトルートの実装
プロジェクトの設定が完了したら、auth.controller.tsを更新して、ログインおよびログアウトロジックを処理しましょう。
// src/auth/auth.controller.ts
import { Controller, Get, Post, Render, Body, Request, Res, UnauthorizedException } from '@nestjs/common';
import { AuthService } from './auth.service';
import { Response } from 'express';

@Controller('auth')
export class AuthController {
  constructor(private authService: AuthService) {}

  @Get('login')
  @Render('login')
  showLoginForm() {
    return;
  }

  @Post('login')
  async login(@Request() req, @Body() body, @Res() res: Response) {
    const user = await this.authService.validateUser(body.username, body.password);
    if (!user) {
      throw new UnauthorizedException('Invalid credentials');
    }

    // On successful validation, manually record user information in the session
    req.session.user = { id: user.id, username: user.username };

    res.redirect('/posts');
  }

  @Get('logout')
  logout(@Request() req, @Res() res: Response) {
    // Call session.destroy() to clear the session
    req.session.destroy((err) => {
      if (err) {
        console.log(err);
      }
      res.redirect('/'); // Redirect to the homepage after logout
    });
  }
}
loginメソッドでは、ユーザーのログイン資格情報を検証します。
検証に成功すると、基本的なユーザー情報を含むオブジェクトをreq.session.userに格納します。express-sessionは、このセッションをRedisに自動的に保存し、セッションIDを含むCookieをブラウザに設定します。
Cookieメカニズムに基づいて、ブラウザは後続のリクエストでこのCookieを自動的に送信します。サーバーはそこからセッションIDを抽出し、それによってユーザーのログイン状態を認識します。
logoutメソッドでは、req.session.destroy()を呼び出します。これにより、Redisからセッションが削除され、ユーザーはログアウトされます。
ルートの保護とUIの更新
ログインメカニズムができたので、最後のステップは、それを使用して「投稿の作成」機能を保護し、ログイン状態に基づいて異なるUIを表示することです。
認証ガードの作成
GuardはNest.jsのクラスで、リクエストを処理するかどうかを決定します。ユーザーがログインしているかどうかを確認するためにAuthenticatedGuardを作成します。
src/authディレクトリにauthenticated.guard.tsを作成します。
// src/auth/authenticated.guard.ts
import { CanActivate, ExecutionContext, Injectable } from '@nestjs/common';

@Injectable()
export class AuthenticatedGuard implements CanActivate {
  async canActivate(context: ExecutionContext): Promise<boolean> {
    const request = context.switchToHttp().getRequest();
    // Check if a user object exists in the session
    return Boolean(request.session.user);
  }
}
このガードのロジックは非常にシンプルです。request.session.userが存在する場合、ユーザーはログインしており、trueを返してリクエストを続行できるようにします。それ以外の場合はfalseを返し、Nest.jsは自動的にリクエストを拒否します。
ガードの適用
src/posts/posts.controller.tsを開き、保護が必要なルートに@UseGuards(AuthenticatedGuard)デコレータを適用します。
// src/posts/posts.controller.ts
import { Controller, Get, Render, Post, Body, Res, UseGuards, Param } from '@nestjs/common';
import { AuthenticatedGuard } from '../auth/authenticated.guard'; // The path may need to be adjusted
import { PostsService } from './posts.service';
import type { Response } from 'express';

@Controller('posts')
export class PostsController {
  constructor(private readonly postsService: PostsService) {}

  // ... findAll() and findOne()

  @UseGuards(AuthenticatedGuard) // <--- Apply the guard
  @Get('new')
  @Render('new-post')
  newPostForm() {
    return;
  }

  @UseGuards(AuthenticatedGuard) // <--- Apply the guard
  @Post()
  async create(@Body() body: { title: string; content: string }, @Res() res: Response) {
    await this.postsService.create(body);
    res.redirect('/posts');
  }

  // ...
}
これで、ログインしていないユーザーが/posts/newにアクセスしようとすると、自動的にインターセプトされます(デフォルトで403 Forbiddenエラーが発生します)。
フロントエンドUIの更新
最後に、UIを更新して、ユーザーのログイン状態に基づいて異なるボタンを表示しましょう。Webテンプレートをレンダリングする際に、ユーザーのログイン状態(req.session.user)をフロントエンドに渡す必要があります。
views/_header.ejsを変更して、ログイン/登録およびログアウト/新規投稿用のリンクを追加します。
<!DOCTYPE html>
<html lang="en">
  <head>
    <meta charset="UTF-8" />
    <meta name="viewport" content="width=device-width, initial-scale=1.0" />
    <title><%= title %></title>
    <link rel="stylesheet" href="/css/style.css" />
  </head>
  <body>
    <header>
      <h1><a href="/">My Blog</a></h1>
      <div class="user-actions">
        <% if (user) { %>
        <span>Welcome, <%= user.username %></span>
        <a href="/posts/new" class="new-post-btn">New Post</a>
        <a href="/auth/logout">Logout</a>
        <% } else { %>
        <a href="/auth/login">Login</a>
        <a href="/users/register">Register</a>
        <% } %>
      </div>
    </header>
    <main>
上記のコードを機能させるには、ユーザー情報をビューに渡すためにコントローラーを更新する必要があります。
posts.controller.tsで、ビューをレンダリングするすべてのメソッドを変更します。
// src/posts/posts.controller.ts
import { Controller, Get, Render, Param, /*...,*/ Request } from '@nestjs/common';
// ...

@Controller('posts')
export class PostsController {
  // ...

  @Get()
  @Render('index')
  async root(@Request() req) {
    const posts = await this.postsService.findAll();
    return { posts, user: req.session.user }; // Pass the user from the session to the template
  }

  @UseGuards(AuthenticatedGuard)
  @Get('new')
  @Render('new-post')
  newPostForm(@Request() req) {
    return { user: req.session.user }; // Pass the user from the session to the template
  }

  // ...

  @Get(':id')
  @Render('post')
  async findOne(@Param('id') id: string, @Request() req) {
    const post = await this.postsService.findOne(id);
    return { post, user: req.session.user }; // Pass the user from the session to the template
  }
}
auth.controller.tsおよびusers.controller.tsなど、views/_header.ejsに依存する他のコントローラーも同様の調整が必要です。
実行とテスト
これで、アプリケーションを再起動します。
npm run start:dev
http://localhost:3000にアクセスします。
右上に「Login」と「Register」ボタンが表示されます。アカウントを登録してログインします。
ログインに成功すると、ホームページにリダイレクトされ、右上に「Welcome, [your username]」、「New Post」、「Logout」ボタンが表示されているのがわかります。
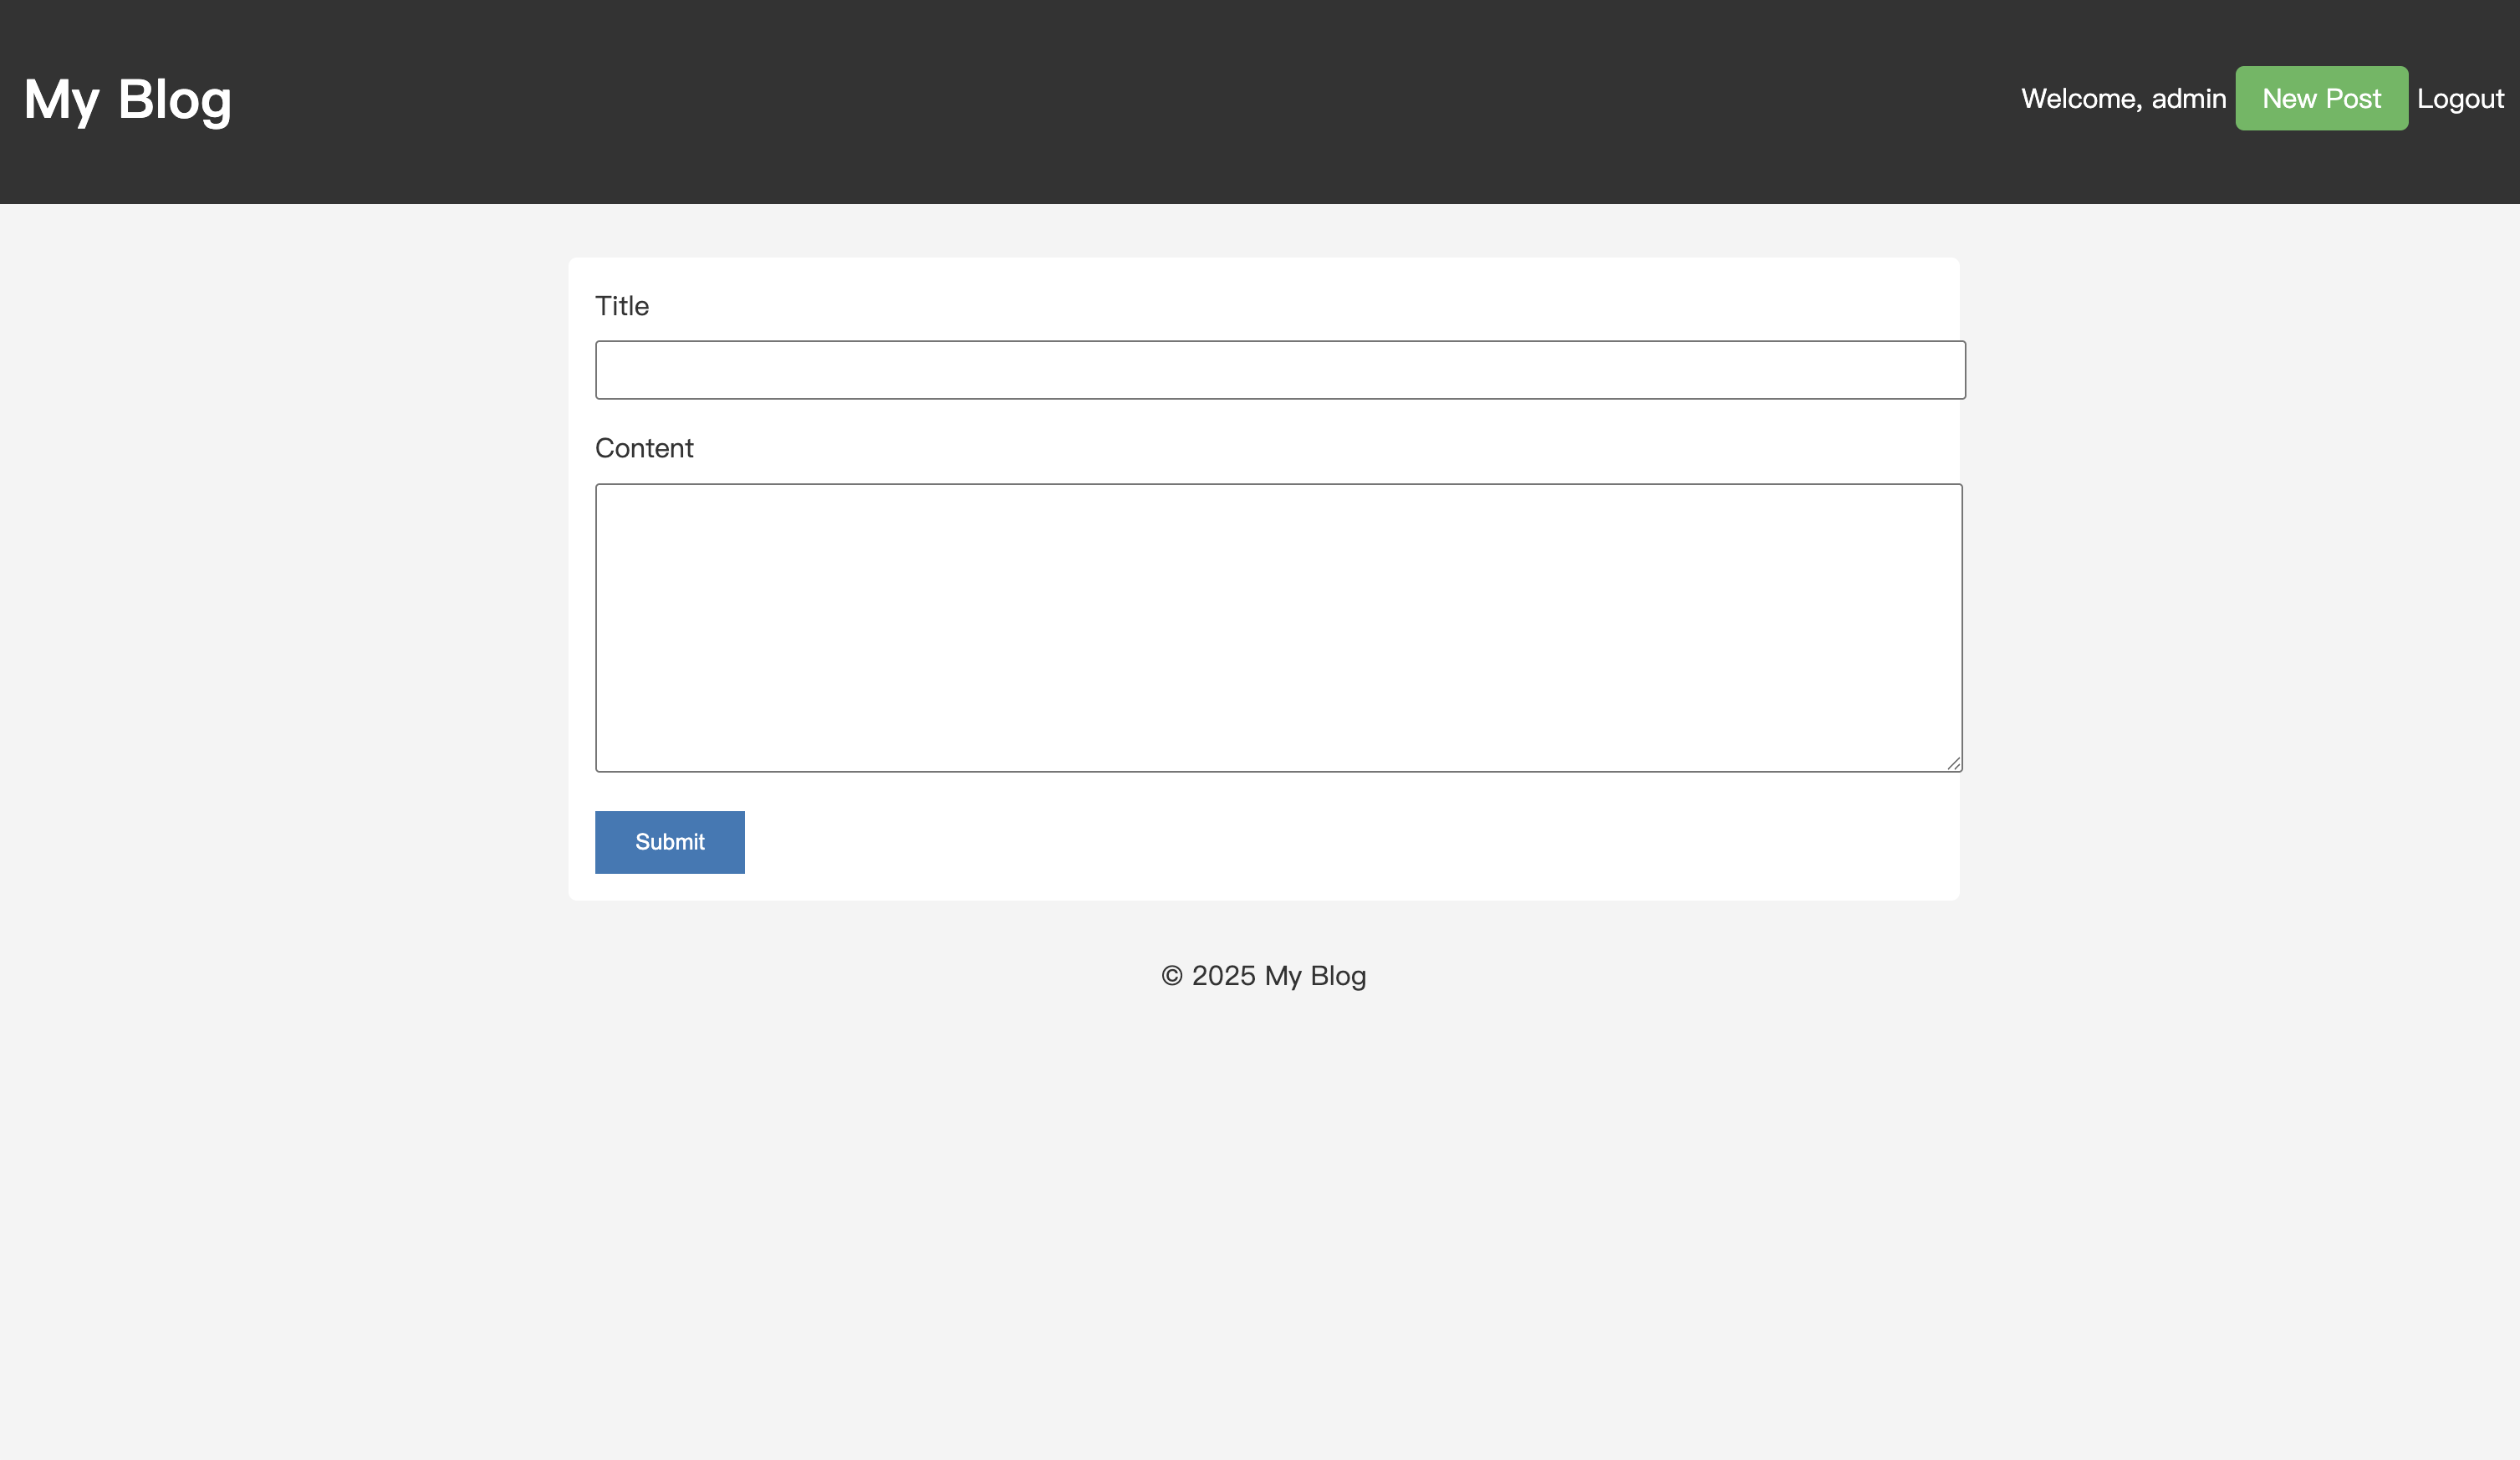
これで、「New Post」をクリックして新しい記事を作成できます。ログアウトしてから/posts/newにアクセスしようとすると、ブロックされます。
これで、ブログに完全なユーザー認証システムが追加されました。友達があなたの投稿をいじる心配はもうありません!
さらなる実践
express-sessionを使用して認証システムを手動で実装しました。
ただし、現実世界のシナリオでは、Google、GitHubなどのサードパーティアカウント経由でのログインなど、より複雑な認証ニーズがあることがよくあります。そのような場合は、より成熟した認証ライブラリであるPassport.jsを使用してログインと承認を処理することを検討してください。
興味があれば、Passport.jsを使用してプロジェクトのログイン認証をリファクタリングしてみてください!
過去のチュートリアル: