훌륭한 Nest.js 블로그 만들기: 인증 추가하기
Takashi Yamamoto
Infrastructure Engineer · Leapcell
이전 튜토리얼에서 사용자 등록 시스템과 기본 로그인 검증 로직을 성공적으로 구축했습니다. 사용자는 계정을 만들 수 있고, 애플리케이션은 사용자 이름과 비밀번호를 검증할 수 있습니다.
하지만 현재 로그인은 일회성 이벤트입니다. 서버는 사용자의 로그인 상태를 기억하지 못합니다. 페이지를 새로고침할 때마다 사용자는 게스트로 돌아갑니다.
이 글에서는 express-session을 사용하여 블로그에 실제 사용자 로그인 상태 관리 기능을 구현하고, 로그인이 필요한 페이지와 기능을 보호하며, 사용자의 로그인 상태에 따라 인터페이스를 동적으로 업데이트할 것입니다.
세션 구성
세션 관리를 위해 Express 생태계에서 매우 인기 있는 라이브러리인 express-session을 사용할 것입니다. Nest.js는 기본적으로 백그라운드에서 Express를 사용하므로 직접 통합할 수 있습니다.
필요한 종속성을 설치합니다:
npm install express-session
npm install -D @types/express-session
세션 저장을 위한 Redis 사용
기본적으로 express-session은 서버 메모리에 세션을 저장합니다. 이는 서버가 재시작되면 모든 사용자의 로그인 상태가 손실됨을 의미합니다. 이 문제를 해결하기 위해 고성능 인메모리 데이터베이스인 Redis를 사용하여 세션을 지속할 것입니다.
Redis가 없다면?
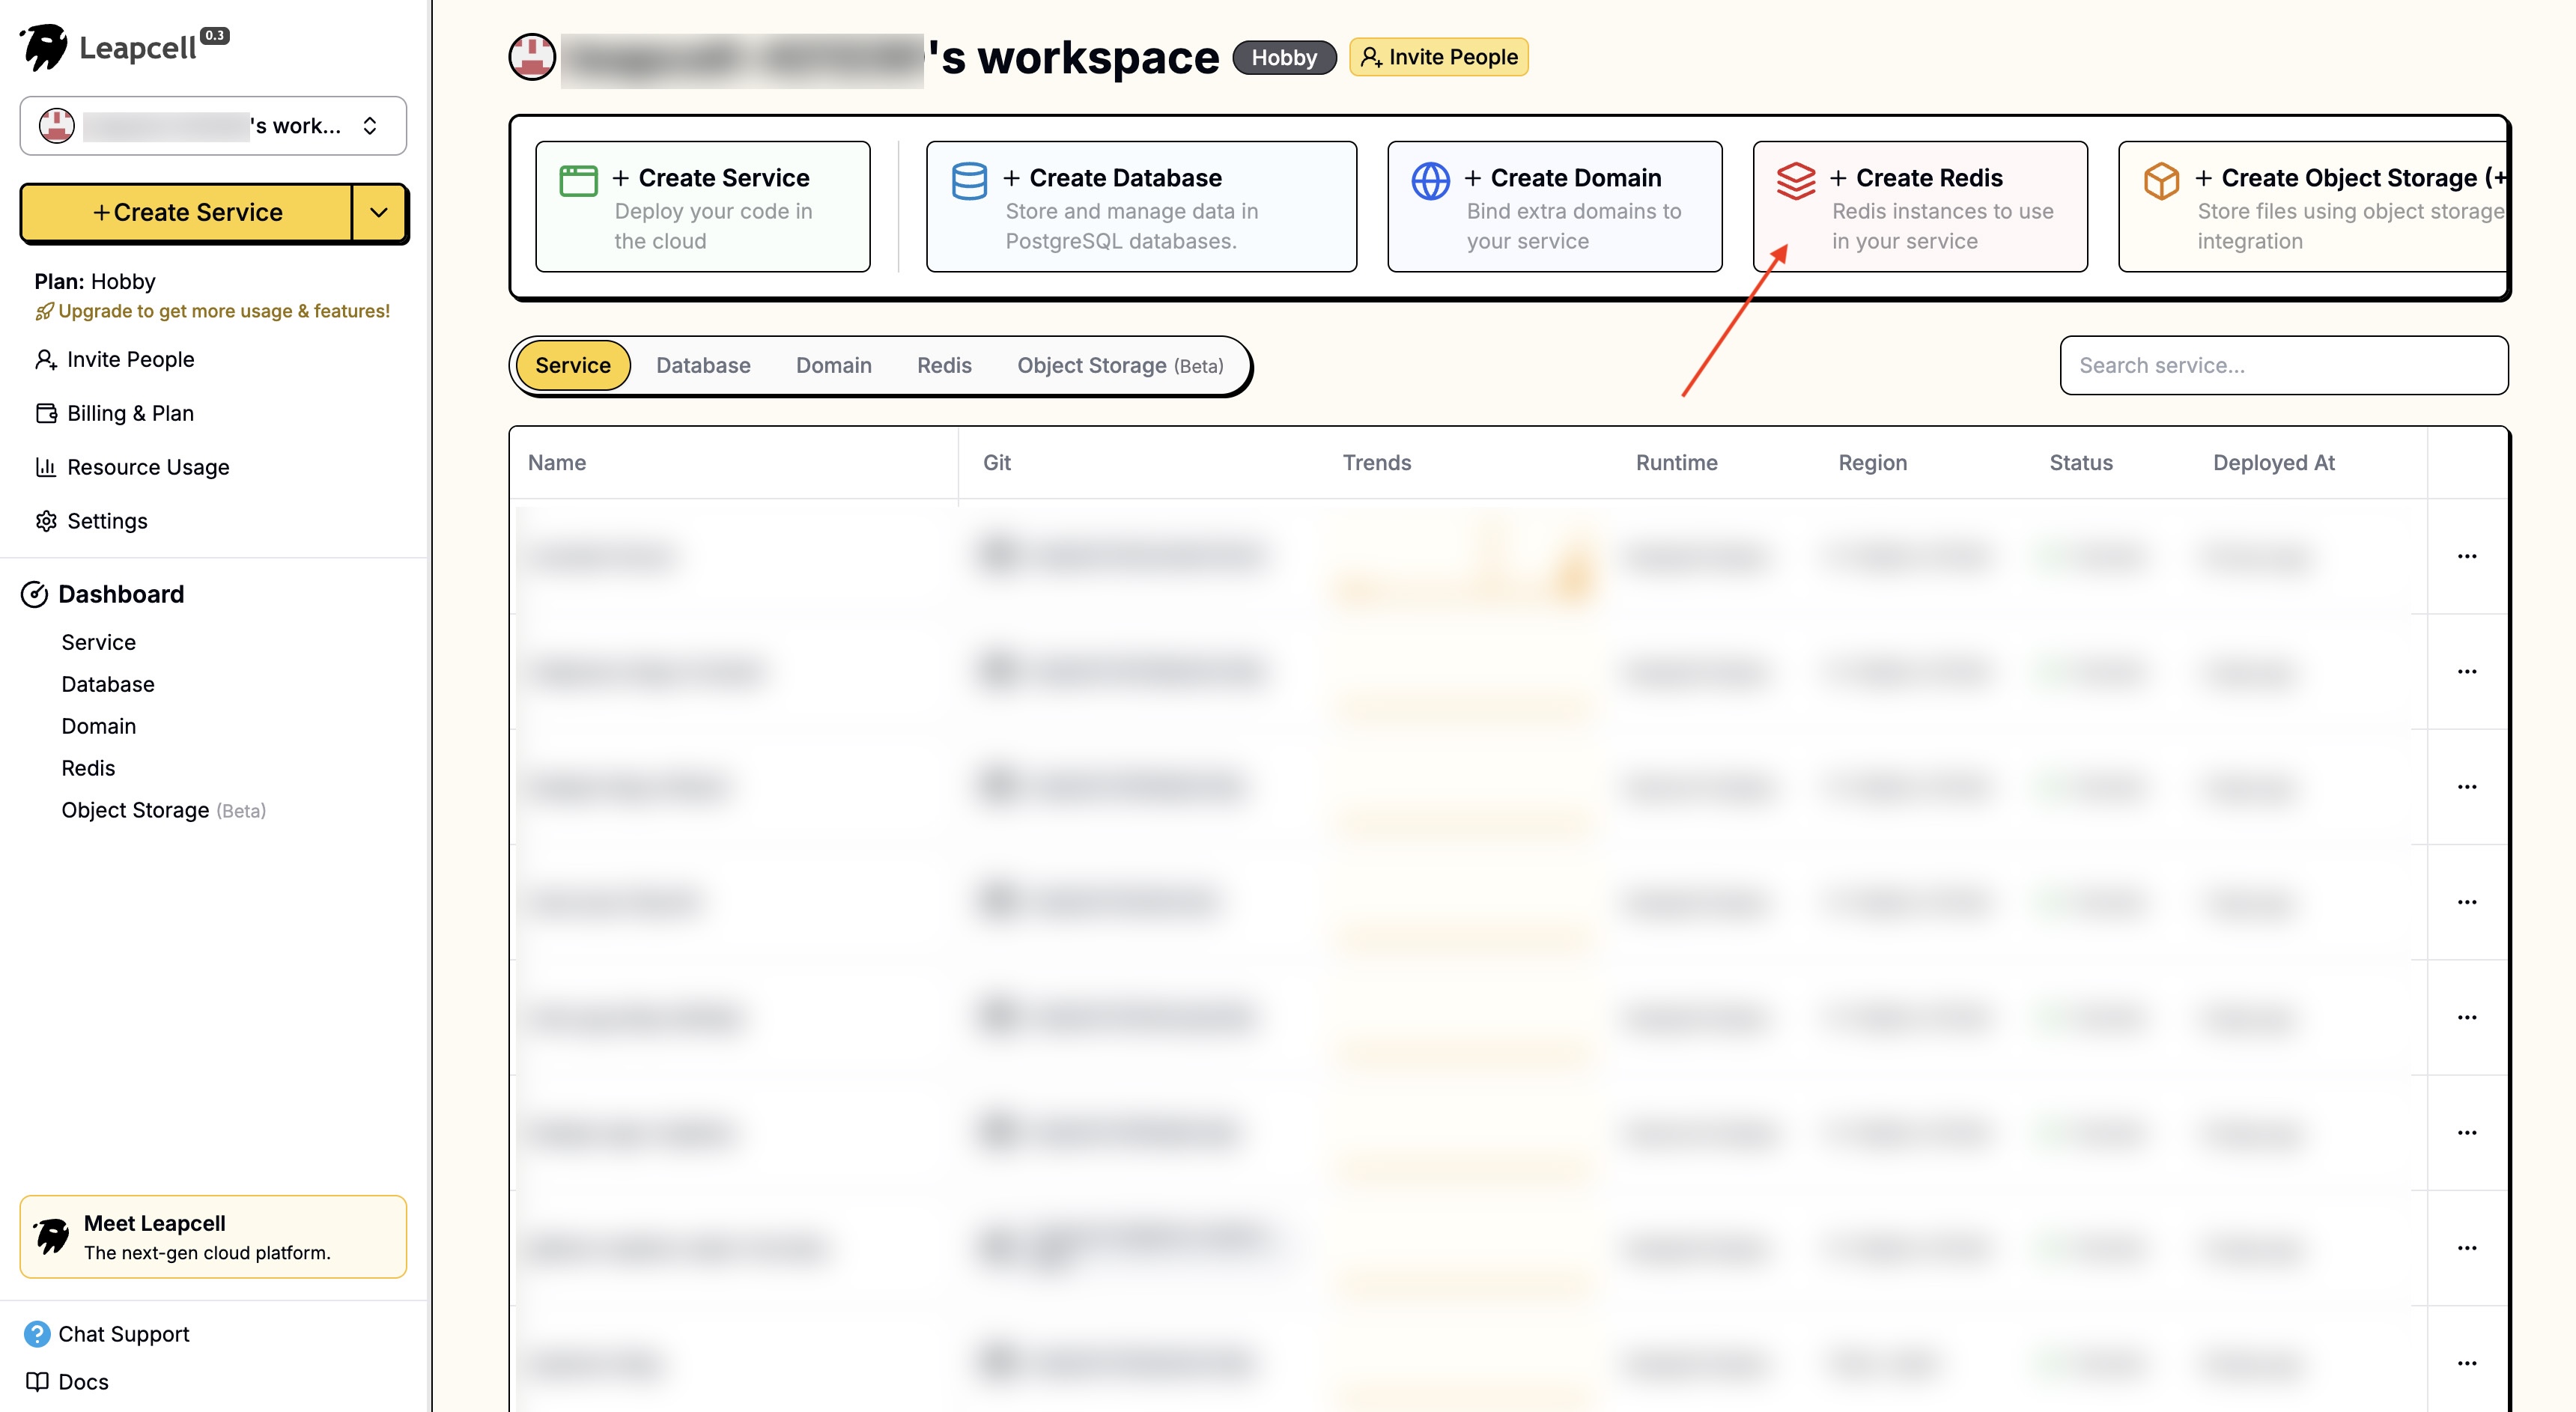
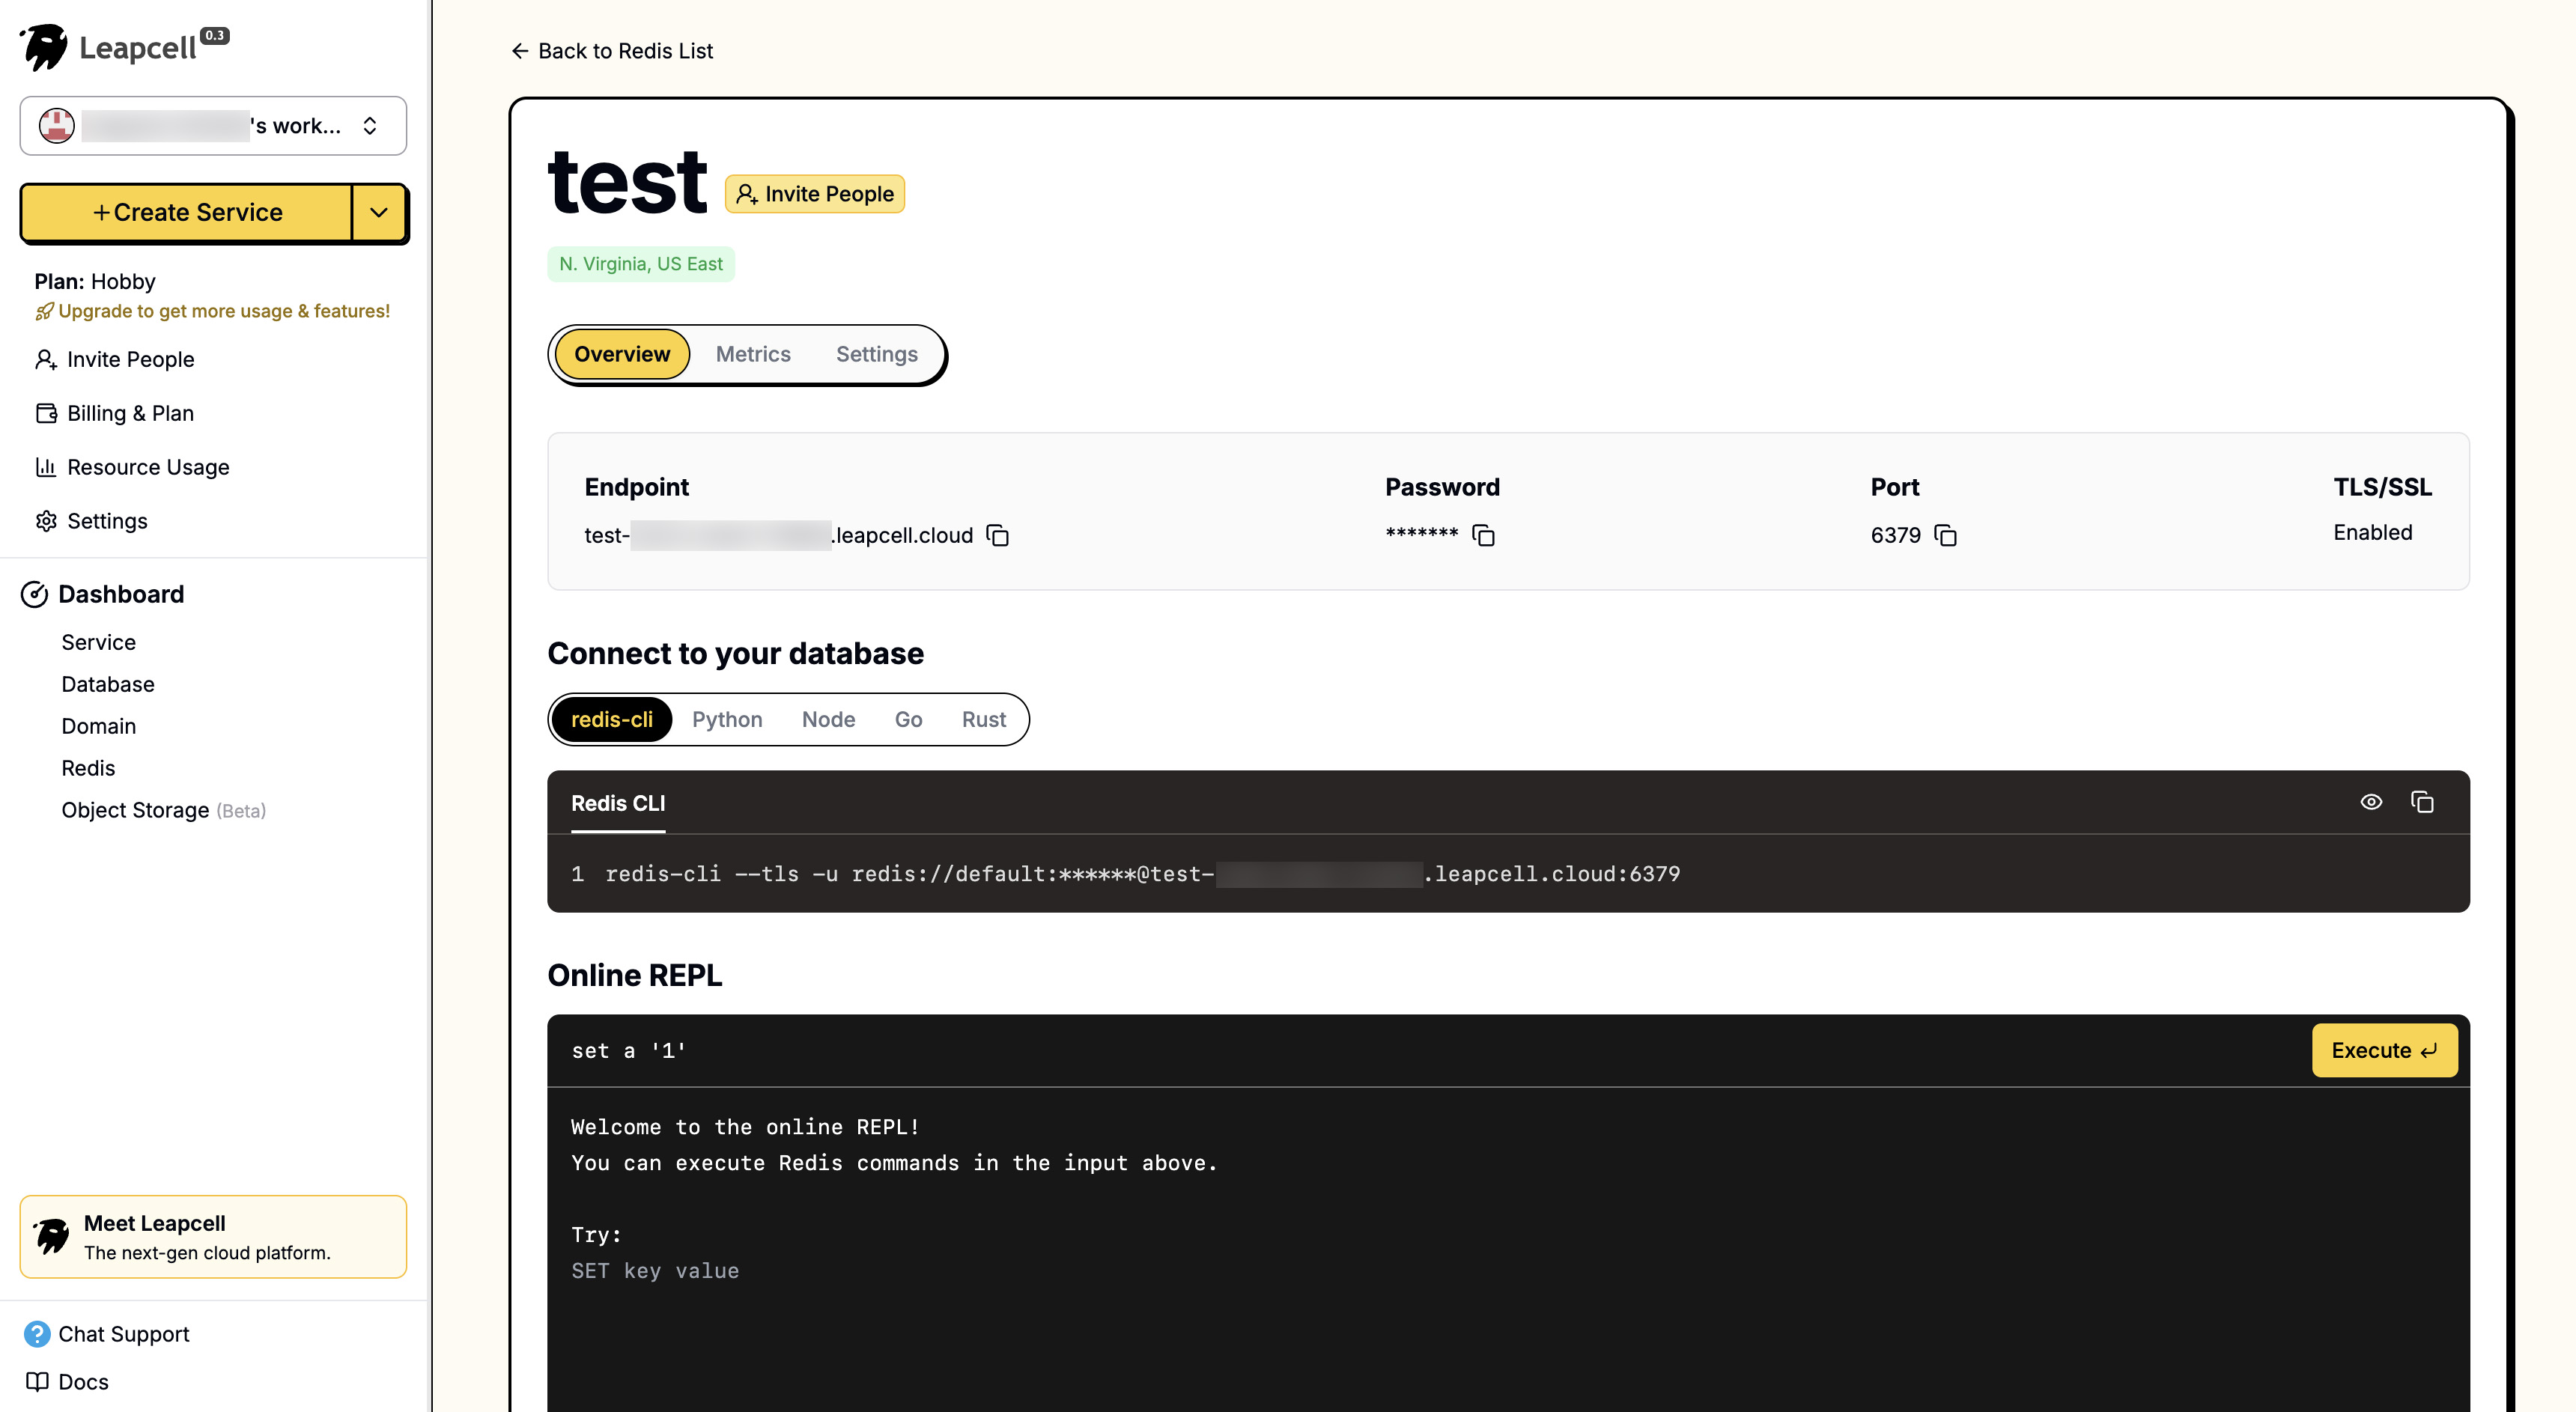
Leapcell에서 Redis 인스턴스를 생성할 수 있습니다. Leapcell은 백엔드 애플리케이션에 필요한 대부분의 도구를 제공합니다!
인터페이스에서 "Redis 생성" 버튼을 클릭하여 새 Redis 인스턴스를 생성합니다.
Redis 상세 페이지에는 Redis 명령을 직접 실행할 수 있는 온라인 CLI가 제공됩니다.
Redis 서비스를 전혀 사용할 수 없다면, express-session은 자동으로 인메모리 저장소 사용으로 대체됩니다. 하지만 이는 프로덕션 환경에서 모범 사례가 아니며 잠재적인 문제를 일으킬 수 있습니다.
Redis 관련 종속성을 설치합니다:
npm install redis connect-redis
이제 src/main.ts 파일을 열어 세션 미들웨어를 구성하고 Redis에 연결합니다.
// src/main.ts
import { NestFactory } from '@nestjs/core';
import { AppModule } from './app.module';
import { NestExpressApplication } from '@nestjs/platform-express';
import { join } from 'path';
import session from 'express-session';
import { createClient } from 'redis';
import { RedisStore } from 'connect-redis';

async function bootstrap() {
  const app = await NestFactory.create<NestExpressApplication>(AppModule);

  // Redis 클라이언트 초기화
  const redisClient = createClient({
    // Redis에 비밀번호가 있거나 다른 호스트에 있는 경우 여기서 구성을 수정하세요.
    // url: 'redis://:password@hostname:port'
    url: 'redis://localhost:6379',
  });
  await redisClient.connect().catch(console.error);

  // RedisStore 초기화
  const redisStore = new RedisStore({
    client: redisClient,
    prefix: 'blog-session:',
  });

  app.use(
    session({
      store: redisStore, // 저장을 위해 Redis 사용
      secret: 'your-secret-key', // 임의의 복잡한 문자열로 바꾸세요.
      resave: false,
      saveUninitialized: false,
      cookie: {
        httpOnly: true,
        maxAge: 1000 * 60 * 60 * 24 * 7, // 7일
      },
    })
  );

  app.useStaticAssets(join(__dirname, '..', 'public'));
  app.setBaseViewsDir(join(__dirname, '..', 'views'));
  app.setViewEngine('ejs');

  await app.listen(3000);
}
bootstrap();
구성되면 express-session 미들웨어는 각 요청을 자동으로 처리하고, 쿠키를 파싱하며, 해당 세션 데이터를 request.session 객체에 첨부합니다.
실제 로그인 및 로그아웃 라우트 구현
프로젝트 구성이 완료되었으므로, auth.controller.ts를 업데이트하여 로그인 및 로그아웃 로직을 처리해 보겠습니다.
// src/auth/auth.controller.ts
import { Controller, Get, Post, Render, Body, Request, Res, UnauthorizedException } from '@nestjs/common';
import { AuthService } from './auth.service';
import { Response } from 'express';

@Controller('auth')
export class AuthController {
  constructor(private authService: AuthService) {}

  @Get('login')
  @Render('login')
  showLoginForm() {
    return;
  }

  @Post('login')
  async login(@Request() req, @Body() body, @Res() res: Response) {
    const user = await this.authService.validateUser(body.username, body.password);
    if (!user) {
      throw new UnauthorizedException('Invalid credentials');
    }

    // 성공적인 검증 시, 세션에 사용자 정보를 수동으로 기록합니다.
    req.session.user = { id: user.id, username: user.username };

    res.redirect('/posts');
  }

  @Get('logout')
  logout(@Request() req, @Res() res: Response) {
    // 세션을 지우기 위해 session.destroy()를 호출합니다.
    req.session.destroy((err) => {
      if (err) {
        console.log(err);
      }
      res.redirect('/'); // 로그아웃 후 홈페이지로 리디렉션
    });
  }
}
login 메서드에서는 사용자의 로그인 자격 증명을 검증합니다.
성공적으로 검증된 후, 기본 사용자 정보가 포함된 객체를 req.session.user에 저장합니다. express-session은 이 세션을 Redis에 자동으로 저장하고 세션 ID가 포함된 쿠키를 브라우저에 설정합니다.
쿠키 메커니즘을 기반으로 브라우저는 후속 요청에 이 쿠키를 자동으로 전달합니다. 서버는 이를 통해 세션 ID를 추출하여 사용자의 로그인 상태를 인식합니다.
logout 메서드에서는 req.session.destroy()를 호출하여 Redis에서 세션을 삭제하고 사용자를 로그아웃시킵니다.
라우트 보호 및 UI 업데이트
이제 로그인 메커니즘이 있으므로, 마지막 단계는 이를 사용하여 "게시물 작성" 기능을 보호하고 로그인 상태에 따라 다른 UI를 표시하는 것입니다.
인증 가드 생성
가드는 Nest.js에서 요청이 처리되어야 하는지 여부를 결정하는 클래스입니다. 사용자가 로그인했는지 확인하기 위해 AuthenticatedGuard를 생성할 것입니다.
src/auth 디렉토리에 authenticated.guard.ts를 생성합니다:
// src/auth/authenticated.guard.ts
import { CanActivate, ExecutionContext, Injectable } from '@nestjs/common';

@Injectable()
export class AuthenticatedGuard implements CanActivate {
  async canActivate(context: ExecutionContext): Promise<boolean> {
    const request = context.switchToHttp().getRequest();
    // 세션에 사용자 객체가 있는지 확인합니다.
    return Boolean(request.session.user);
  }
}
이 가드의 로직은 매우 간단합니다. request.session.user가 존재하면 사용자가 로그인했음을 의미하며 true를 반환하여 요청을 진행시킵니다. 그렇지 않으면 false를 반환하고 Nest.js는 자동으로 요청을 거부합니다.
가드 적용
src/posts/posts.controller.ts를 열고 보호가 필요한 라우트에 @UseGuards(AuthenticatedGuard) 데코레이터를 적용합니다.
// src/posts/posts.controller.ts
import { Controller, Get, Render, Post, Body, Res, UseGuards, Param } from '@nestjs/common';
import { AuthenticatedGuard } from '../auth/authenticated.guard'; // 경로는 조정해야 할 수 있습니다.
import { PostsService } from './posts.service';
import type { Response } from 'express';

@Controller('posts')
export class PostsController {
  constructor(private readonly postsService: PostsService) {}

  // ... findAll() 및 findOne()

  @UseGuards(AuthenticatedGuard) // <--- 가드 적용
  @Get('new')
  @Render('new-post')
  newPostForm() {
    return;
  }

  @UseGuards(AuthenticatedGuard) // <--- 가드 적용
  @Post()
  async create(@Body() body: { title: string; content: string }, @Res() res: Response) {
    await this.postsService.create(body);
    res.redirect('/posts');
  }

  // ...
}
이제 로그인하지 않은 사용자가 /posts/new에 액세스하려고 하면 자동으로 차단됩니다(기본적으로 403 Forbidden 오류가 발생합니다).
프론트엔드 UI 업데이트
마지막으로, 사용자의 로그인 상태에 따라 다른 버튼을 표시하도록 UI를 업데이트해 보겠습니다. 웹 템플릿을 렌더링할 때 사용자 로그인 상태 (req.session.user)를 프론트엔드로 전달해야 합니다.
로그인/등록 및 로그아웃/새 게시물 링크를 추가하도록 views/_header.ejs를 수정합니다.
<!DOCTYPE html>
<html lang="en">
  <head>
    <meta charset="UTF-8" />
    <meta name="viewport" content="width=device-width, initial-scale=1.0" />
    <title><%= title %></title>
    <link rel="stylesheet" href="/css/style.css" />
  </head>
  <body>
    <header>
      <h1><a href="/">My Blog</a></h1>
      <div class="user-actions">
        <% if (user) { %>
        <span>Welcome, <%= user.username %></span>
        <a href="/posts/new" class="new-post-btn">New Post</a>
        <a href="/auth/logout">Logout</a>
        <% } else { %>
        <a href="/auth/login">Login</a>
        <a href="/users/register">Register</a>
        <% } %>
      </div>
    </header>
    <main>
위 코드가 작동하려면 사용자 정보를 뷰에 전달하도록 컨트롤러를 업데이트해야 합니다.
posts.controller.ts에서 뷰를 렌더링하는 모든 메서드를 수정합니다.
// src/posts/posts.controller.ts
import { Controller, Get, Render, Param, /*...,*/ Request } from '@nestjs/common';
// ...

@Controller('posts')
export class PostsController {
  // ...

  @Get()
  @Render('index')
  async root(@Request() req) {
    const posts = await this.postsService.findAll();
    return { posts, user: req.session.user }; // 세션에서 사용자 정보를 템플릿으로 전달
  }

  @UseGuards(AuthenticatedGuard)
  @Get('new')
  @Render('new-post')
  newPostForm(@Request() req) {
    return { user: req.session.user }; // 세션에서 사용자 정보를 템플릿으로 전달
  }

  // ...

  @Get(':id')
  @Render('post')
  async findOne(@Param('id') id: string, @Request() req) {
    const post = await this.postsService.findOne(id);
    return { post, user: req.session.user }; // 세션에서 사용자 정보를 템플릿으로 전달
  }
}
auth.controller.ts 및 users.controller.ts와 같이 views/_header.ejs에 의존하는 다른 컨트롤러도 동일한 조정이 필요합니다.
실행 및 테스트
이제 애플리케이션을 다시 시작합니다:
npm run start:dev
http://localhost:3000으로 이동합니다.
오른쪽 상단에 "로그인" 및 "등록" 버튼이 표시됩니다. 계정을 등록하고 로그인합니다.
로그인에 성공하면 홈페이지로 리디렉션되며, 오른쪽 상단에 "환영합니다, [사용자 이름]", "새 게시물", "로그아웃" 버튼이 표시됩니다.
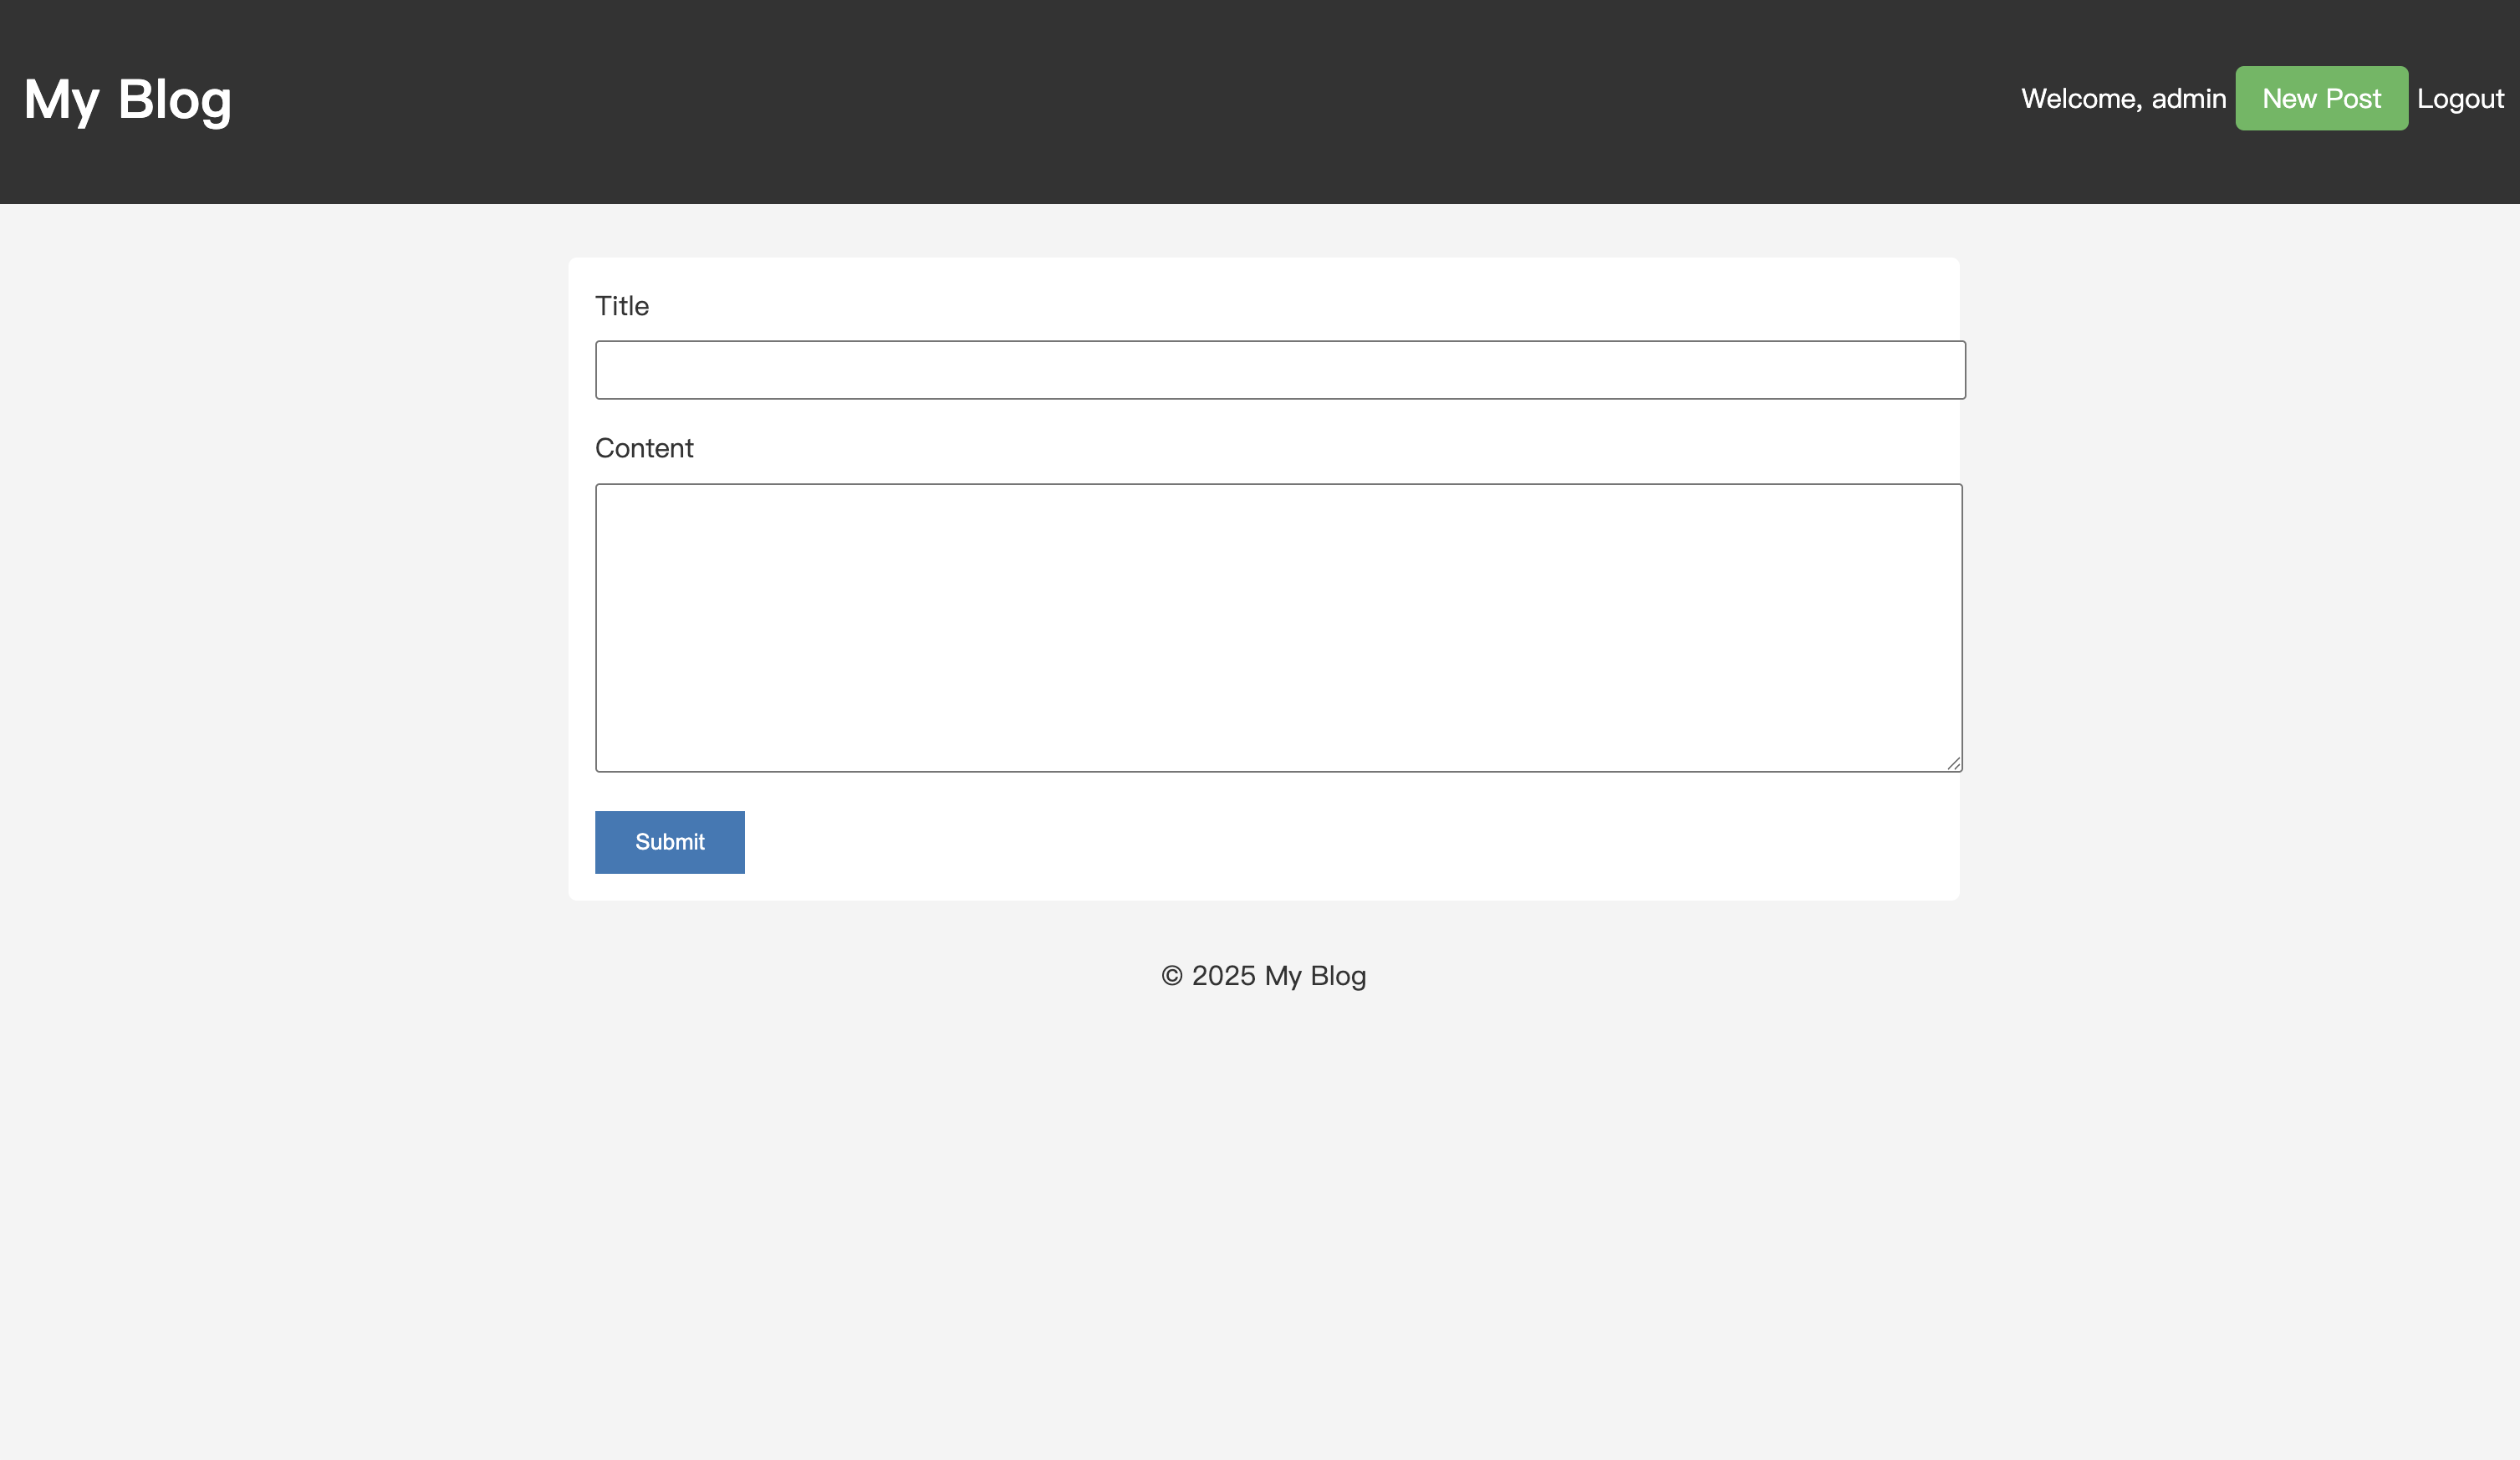
이제 새 게시물을 작성하려면 "새 게시물"을 클릭할 수 있습니다. 로그아웃하고 /posts/new를 방문하려고 하면 차단됩니다.
이를 통해 블로그에 완전한 사용자 인증 시스템을 추가했습니다. 친구들이 여러분의 게시물을 건드릴까 봐 더 이상 걱정할 필요가 없습니다!
추가 연습
express-session을 사용하여 인증 시스템을 수동으로 구현했습니다.
하지만 실제 시나리오에서는 Google, GitHub 등과 같은 타사 계정을 통한 로그인과 같이 더 복잡한 인증 요구 사항이 있는 경우가 많습니다. 이 경우 로그인 및 권한 부여를 처리하기 위해 Passport.js와 같은 보다 성숙한 인증 라이브러리를 사용하는 것을 고려해 보세요.
관심이 있다면 Passport.js를 사용하여 프로젝트의 로그인 권한 부여를 리팩터링해 보세요!
이전 튜토리얼: