훌륭한 Nest.js 블로그 만들기: 이미지 업로드
Daniel Hayes
Full-Stack Engineer · Leapcell
이전 튜토리얼에서 블로그의 댓글 답글 기능을 구현했습니다.
이제 댓글 섹션이 상당히 완성되었으므로, 게시물 자체는 단순히 일반 텍스트만 지원하기 때문에 다소 평범해 보입니다.
다음 튜토리얼에서는 이미지 삽입을 활성화하여 게시물을 풍부하게 만들 것입니다.
이미지 삽입의 원리는 다음과 같습니다.
- 사용자는 이미지를 선택하여 백엔드로 업로드합니다.
- 백엔드는 이미지를 어딘가에 저장하고 이미지 리소스에 액세스하기 위한 URL을 반환합니다.
- 프론트엔드는 이미지 URL을 게시물 내용에 삽입합니다.
- 게시물 내용은 최종적으로 웹페이지로 렌더링되고, 이미지 URL에서 데이터를 가져와 이미지가 표시됩니다.
1단계: S3 호환 객체 스토리지 준비
먼저 업로드된 이미지를 저장할 장소가 필요합니다. 서버의 하드 드라이브에 직접 이미지를 저장하는 것도 한 가지 방법이지만, 최신 애플리케이션에서는 유지 관리가 더 쉽고 비용 효율적인 객체 스토리지 서비스(AWS S3와 같은)를 사용하는 것이 더 권장됩니다.
편의를 위해 데이터베이스와 백엔드 호스팅을 제공할 뿐만 아니라 S3 호환 객체 스토리지 서비스도 제공하는 Leapcell을 계속 사용하겠습니다.

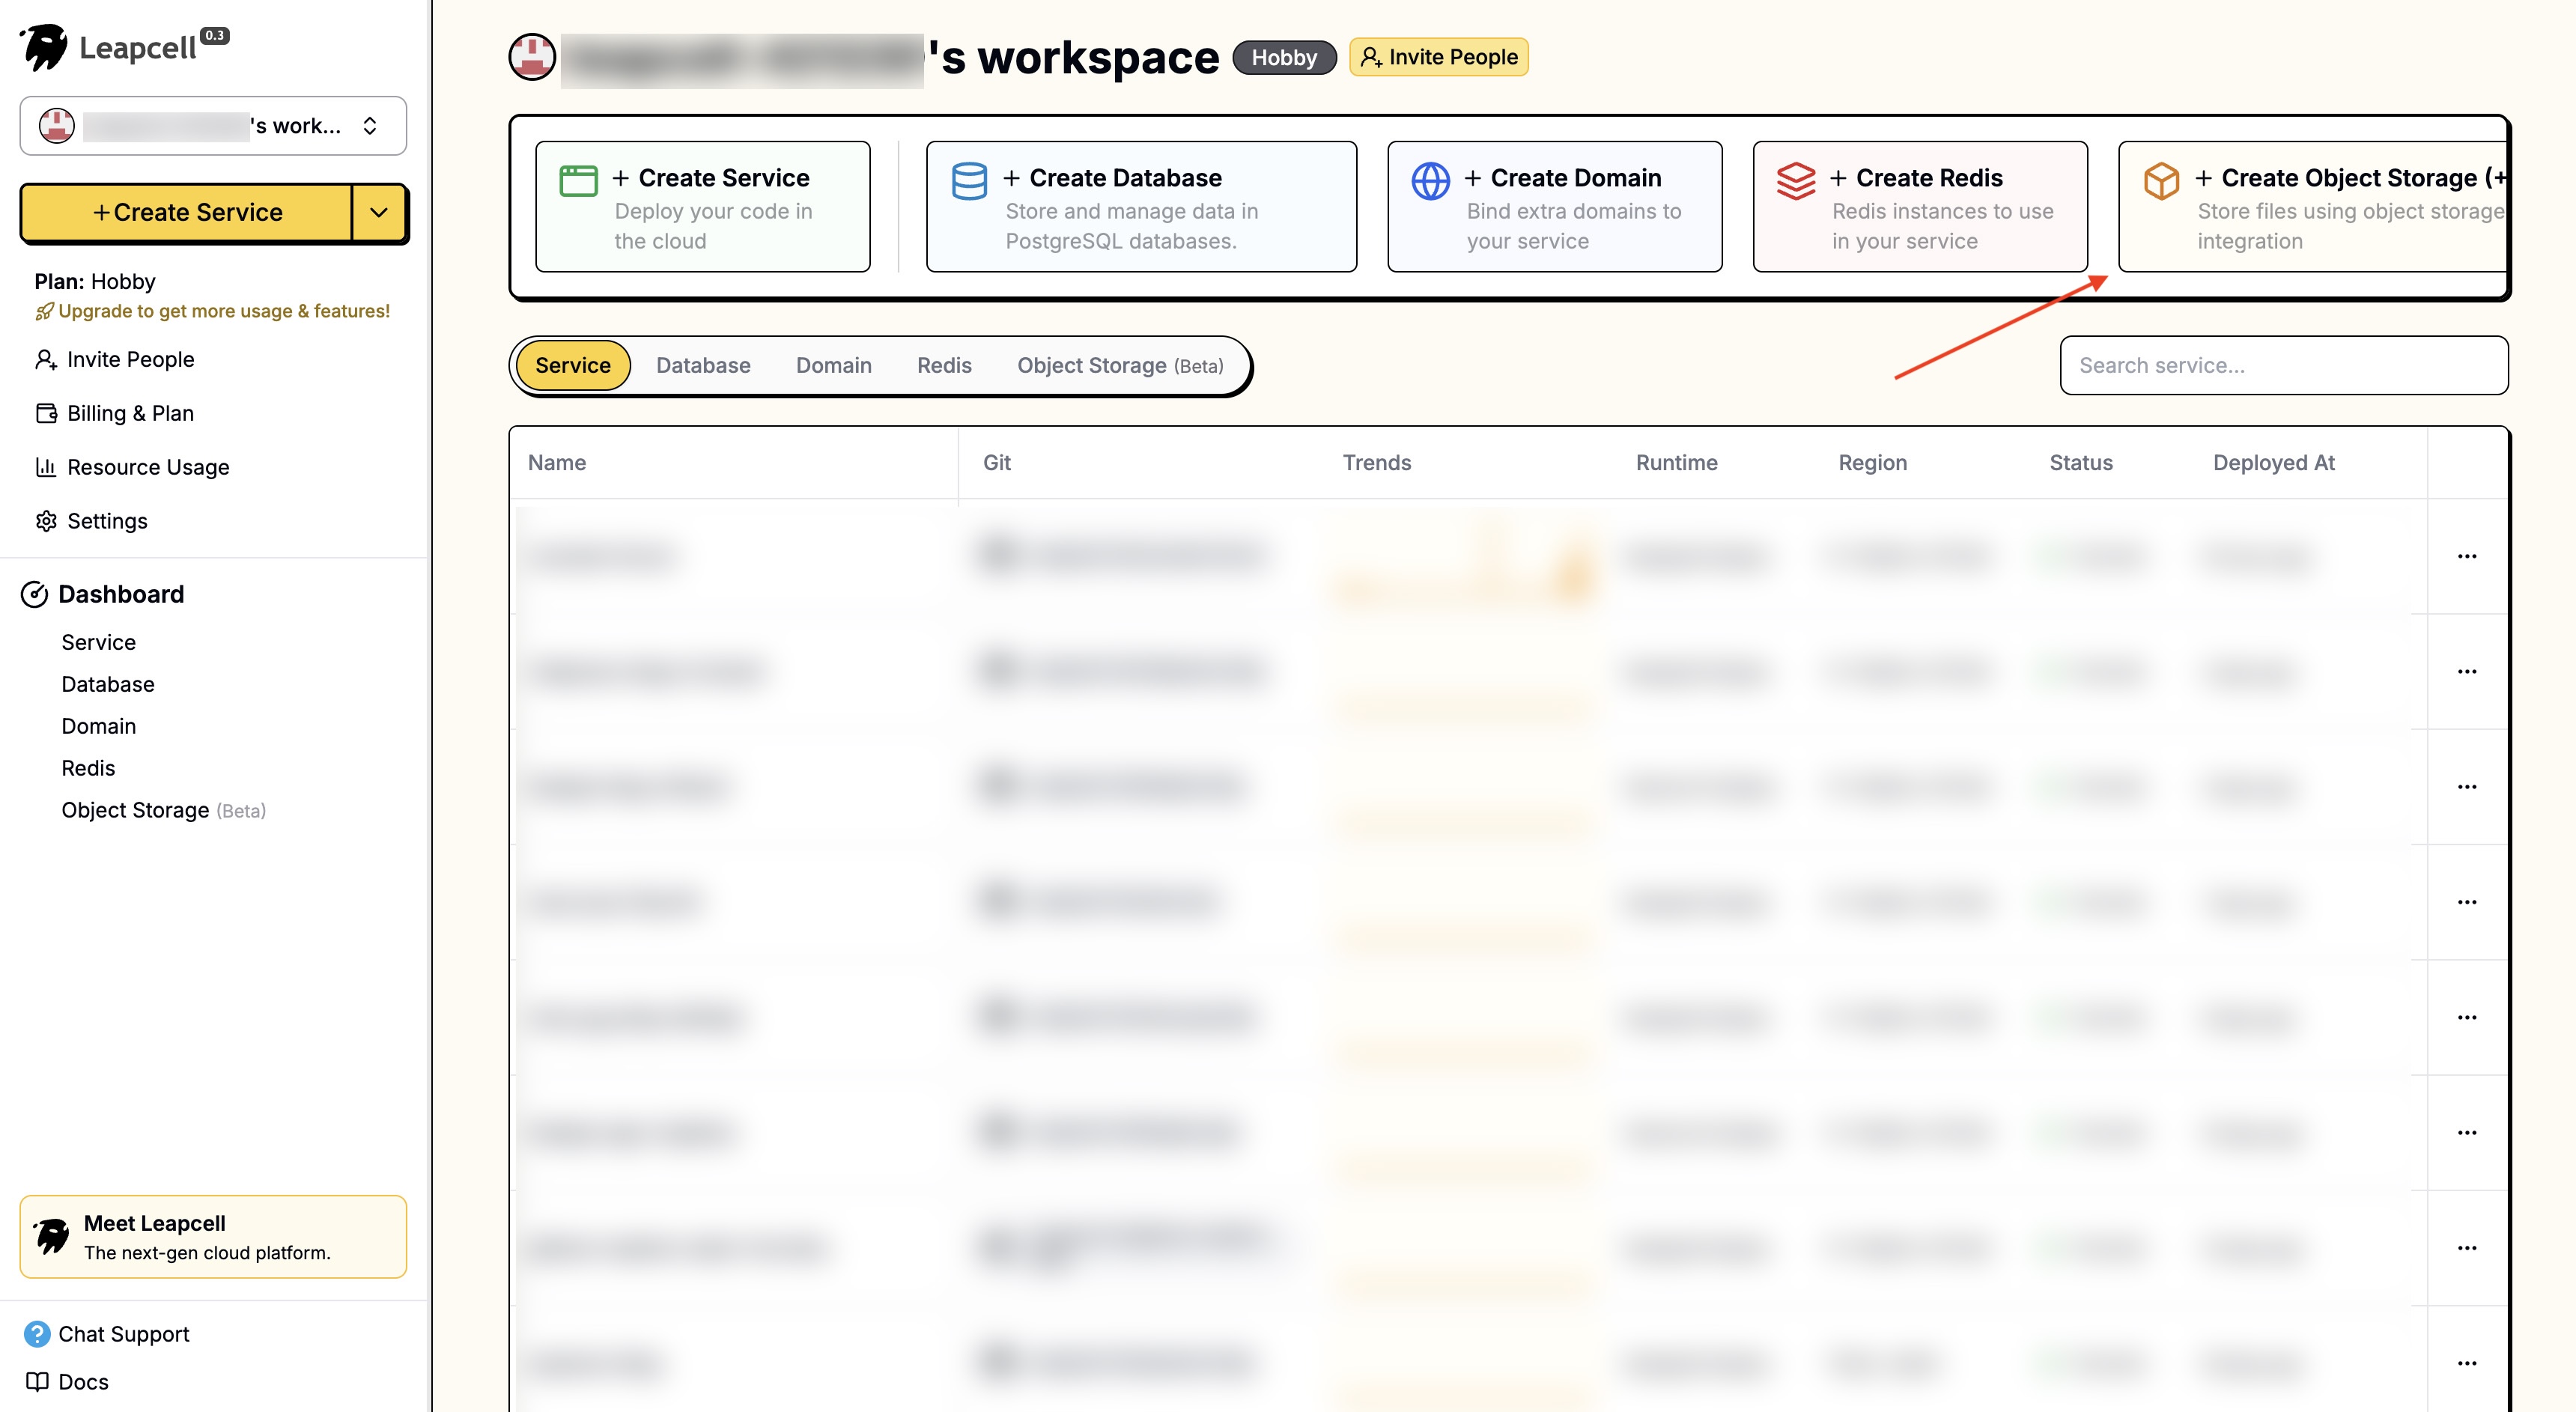
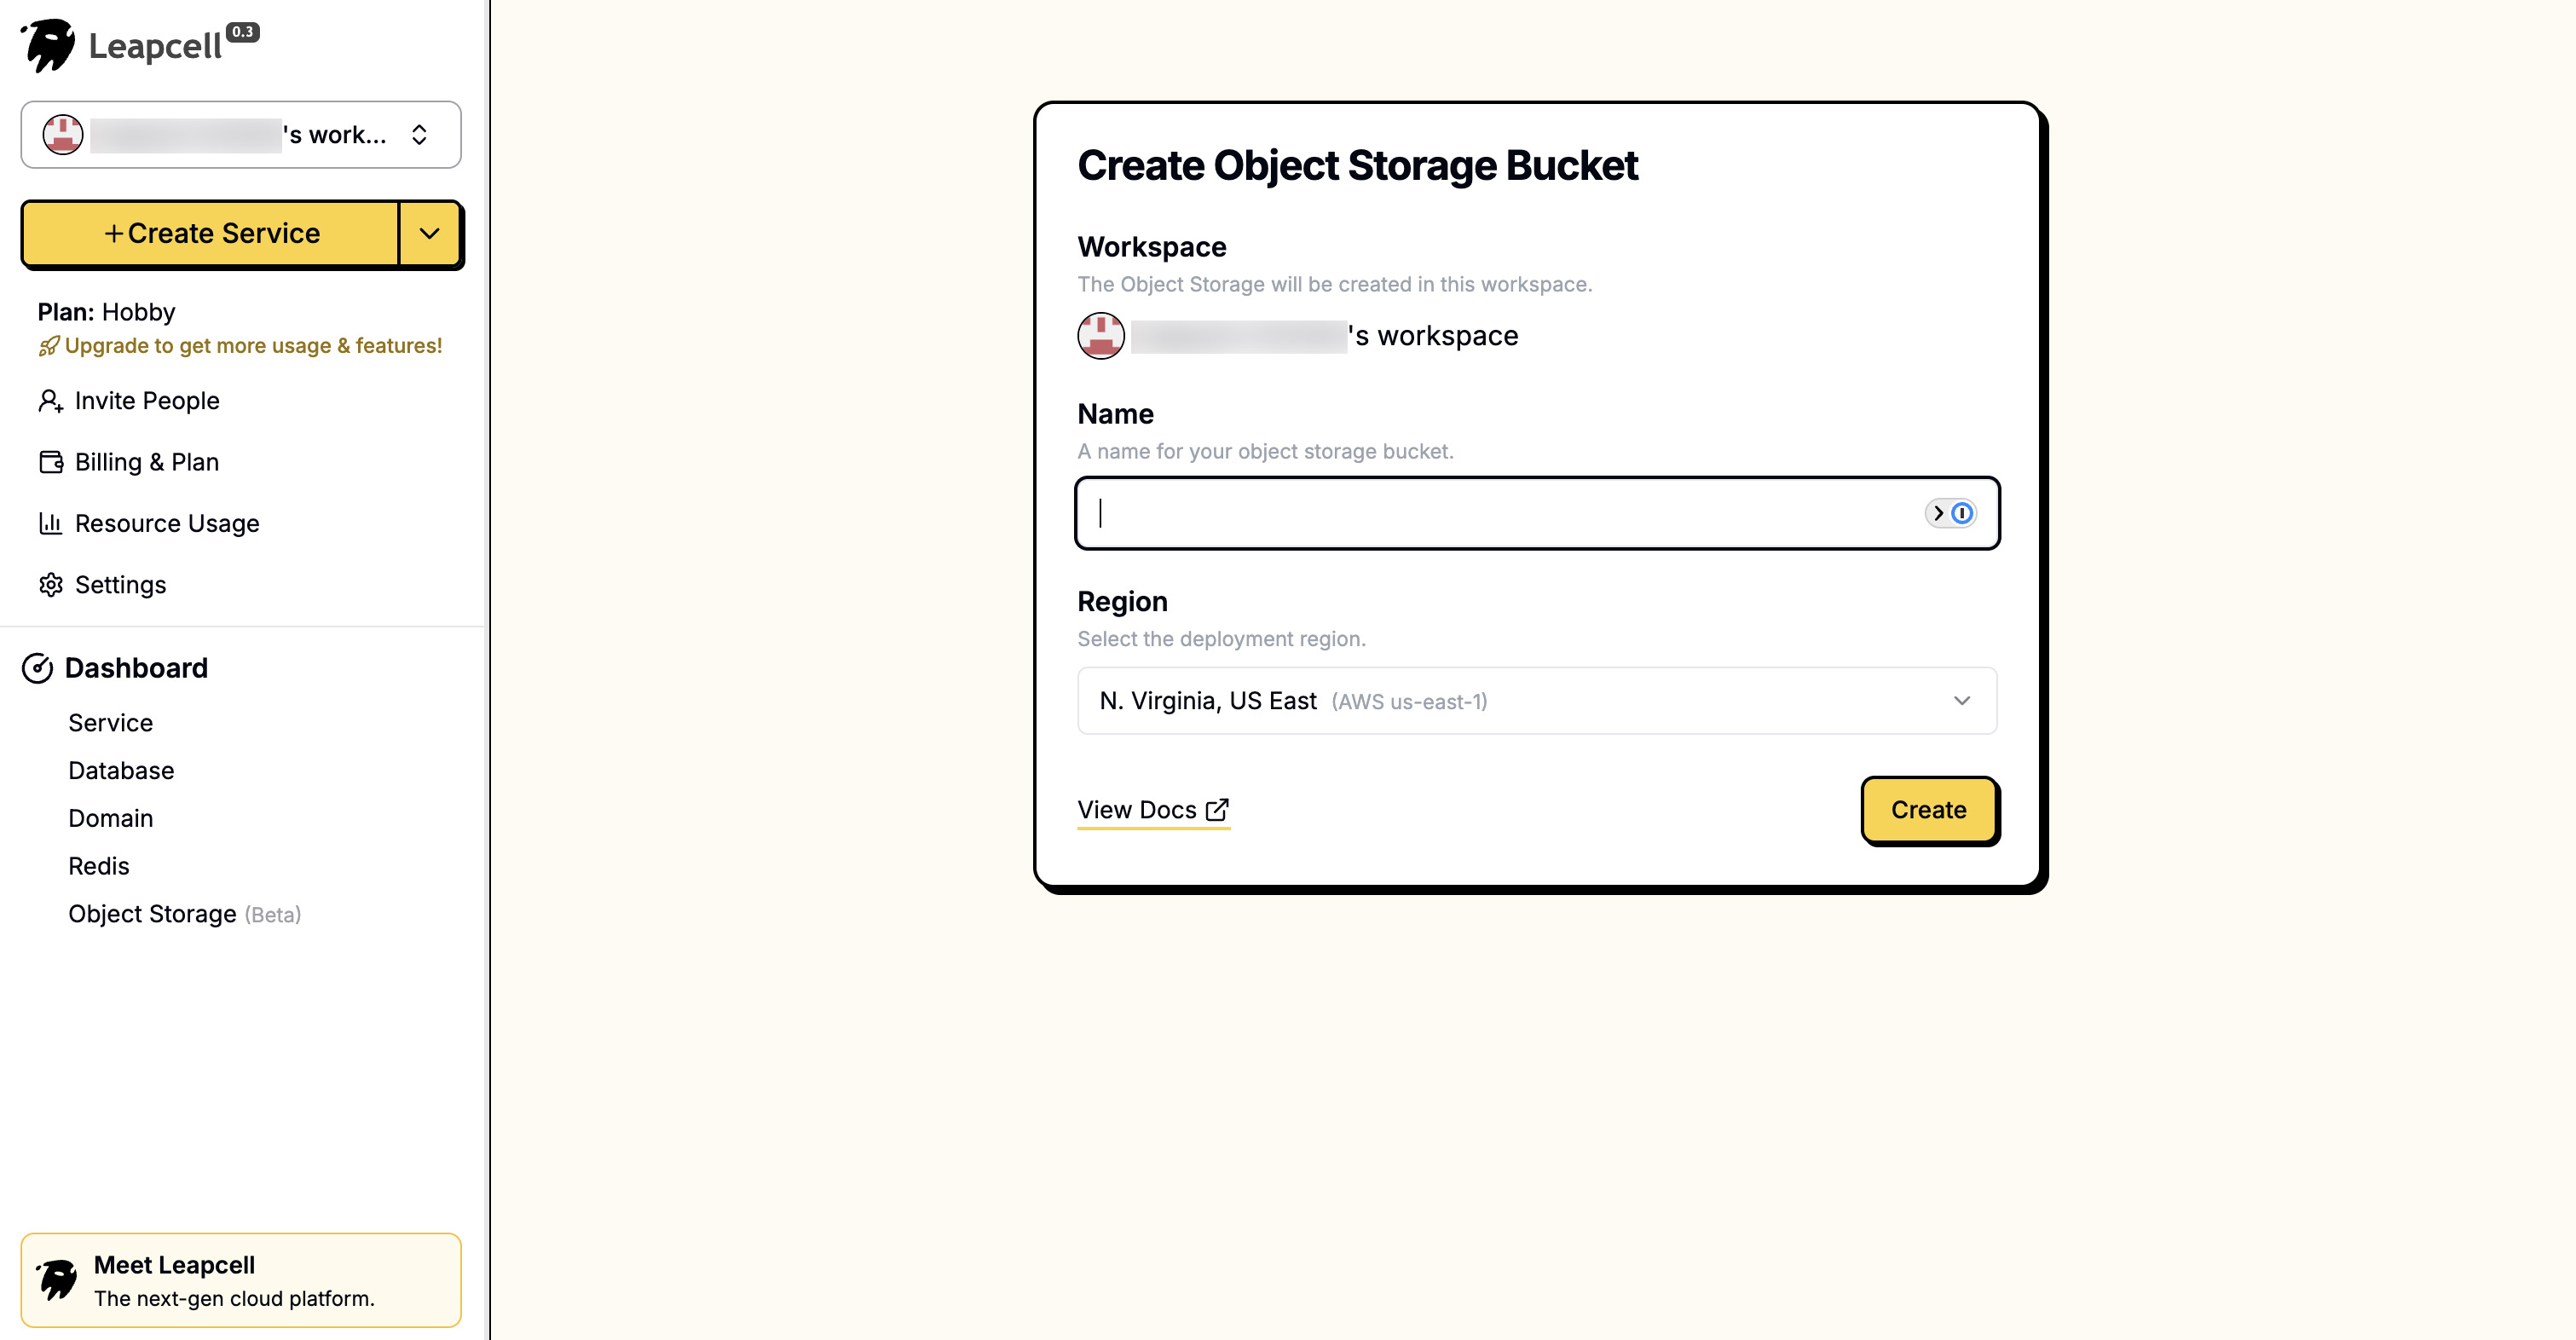
Leapcell 메인 인터페이스에 로그인하고 "객체 스토리지 생성"을 클릭합니다.
이름만 입력하면 객체 스토리지를 생성할 수 있습니다.
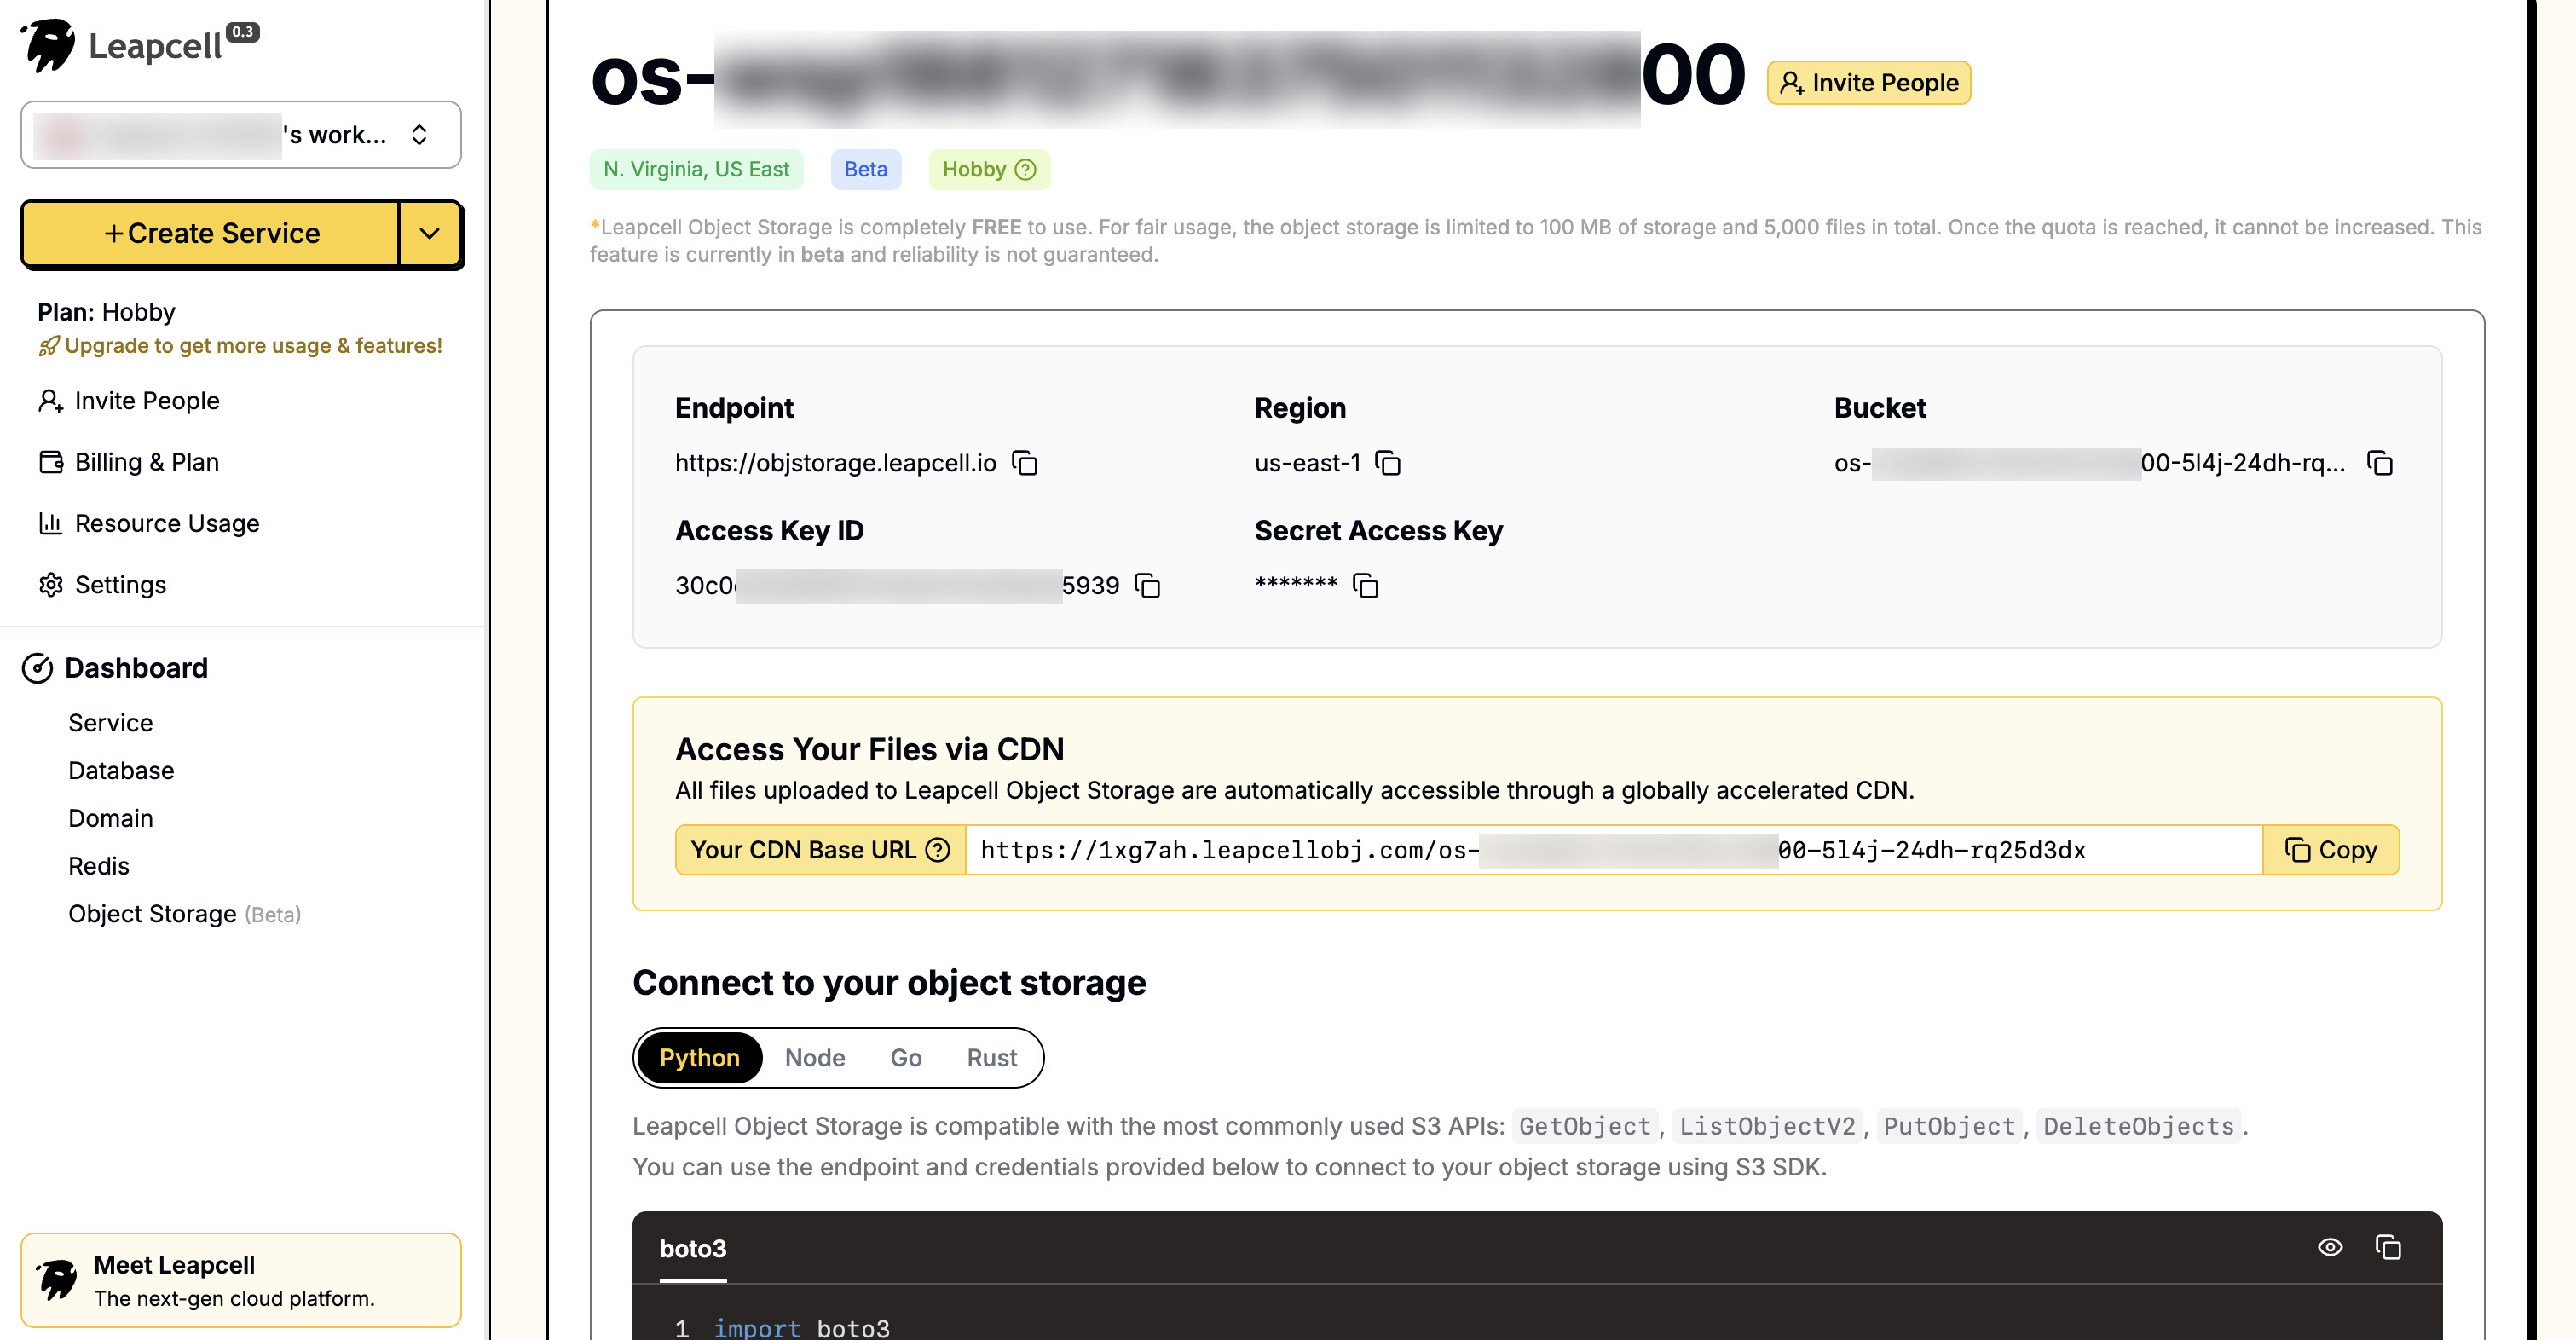
객체 스토리지 세부 정보 페이지에서 엔드포인트, 액세스 키 ID, 비밀 액세스 키와 같은 연결 매개변수를 볼 수 있습니다. 이 정보는 나중에 백엔드 구성에 사용됩니다.
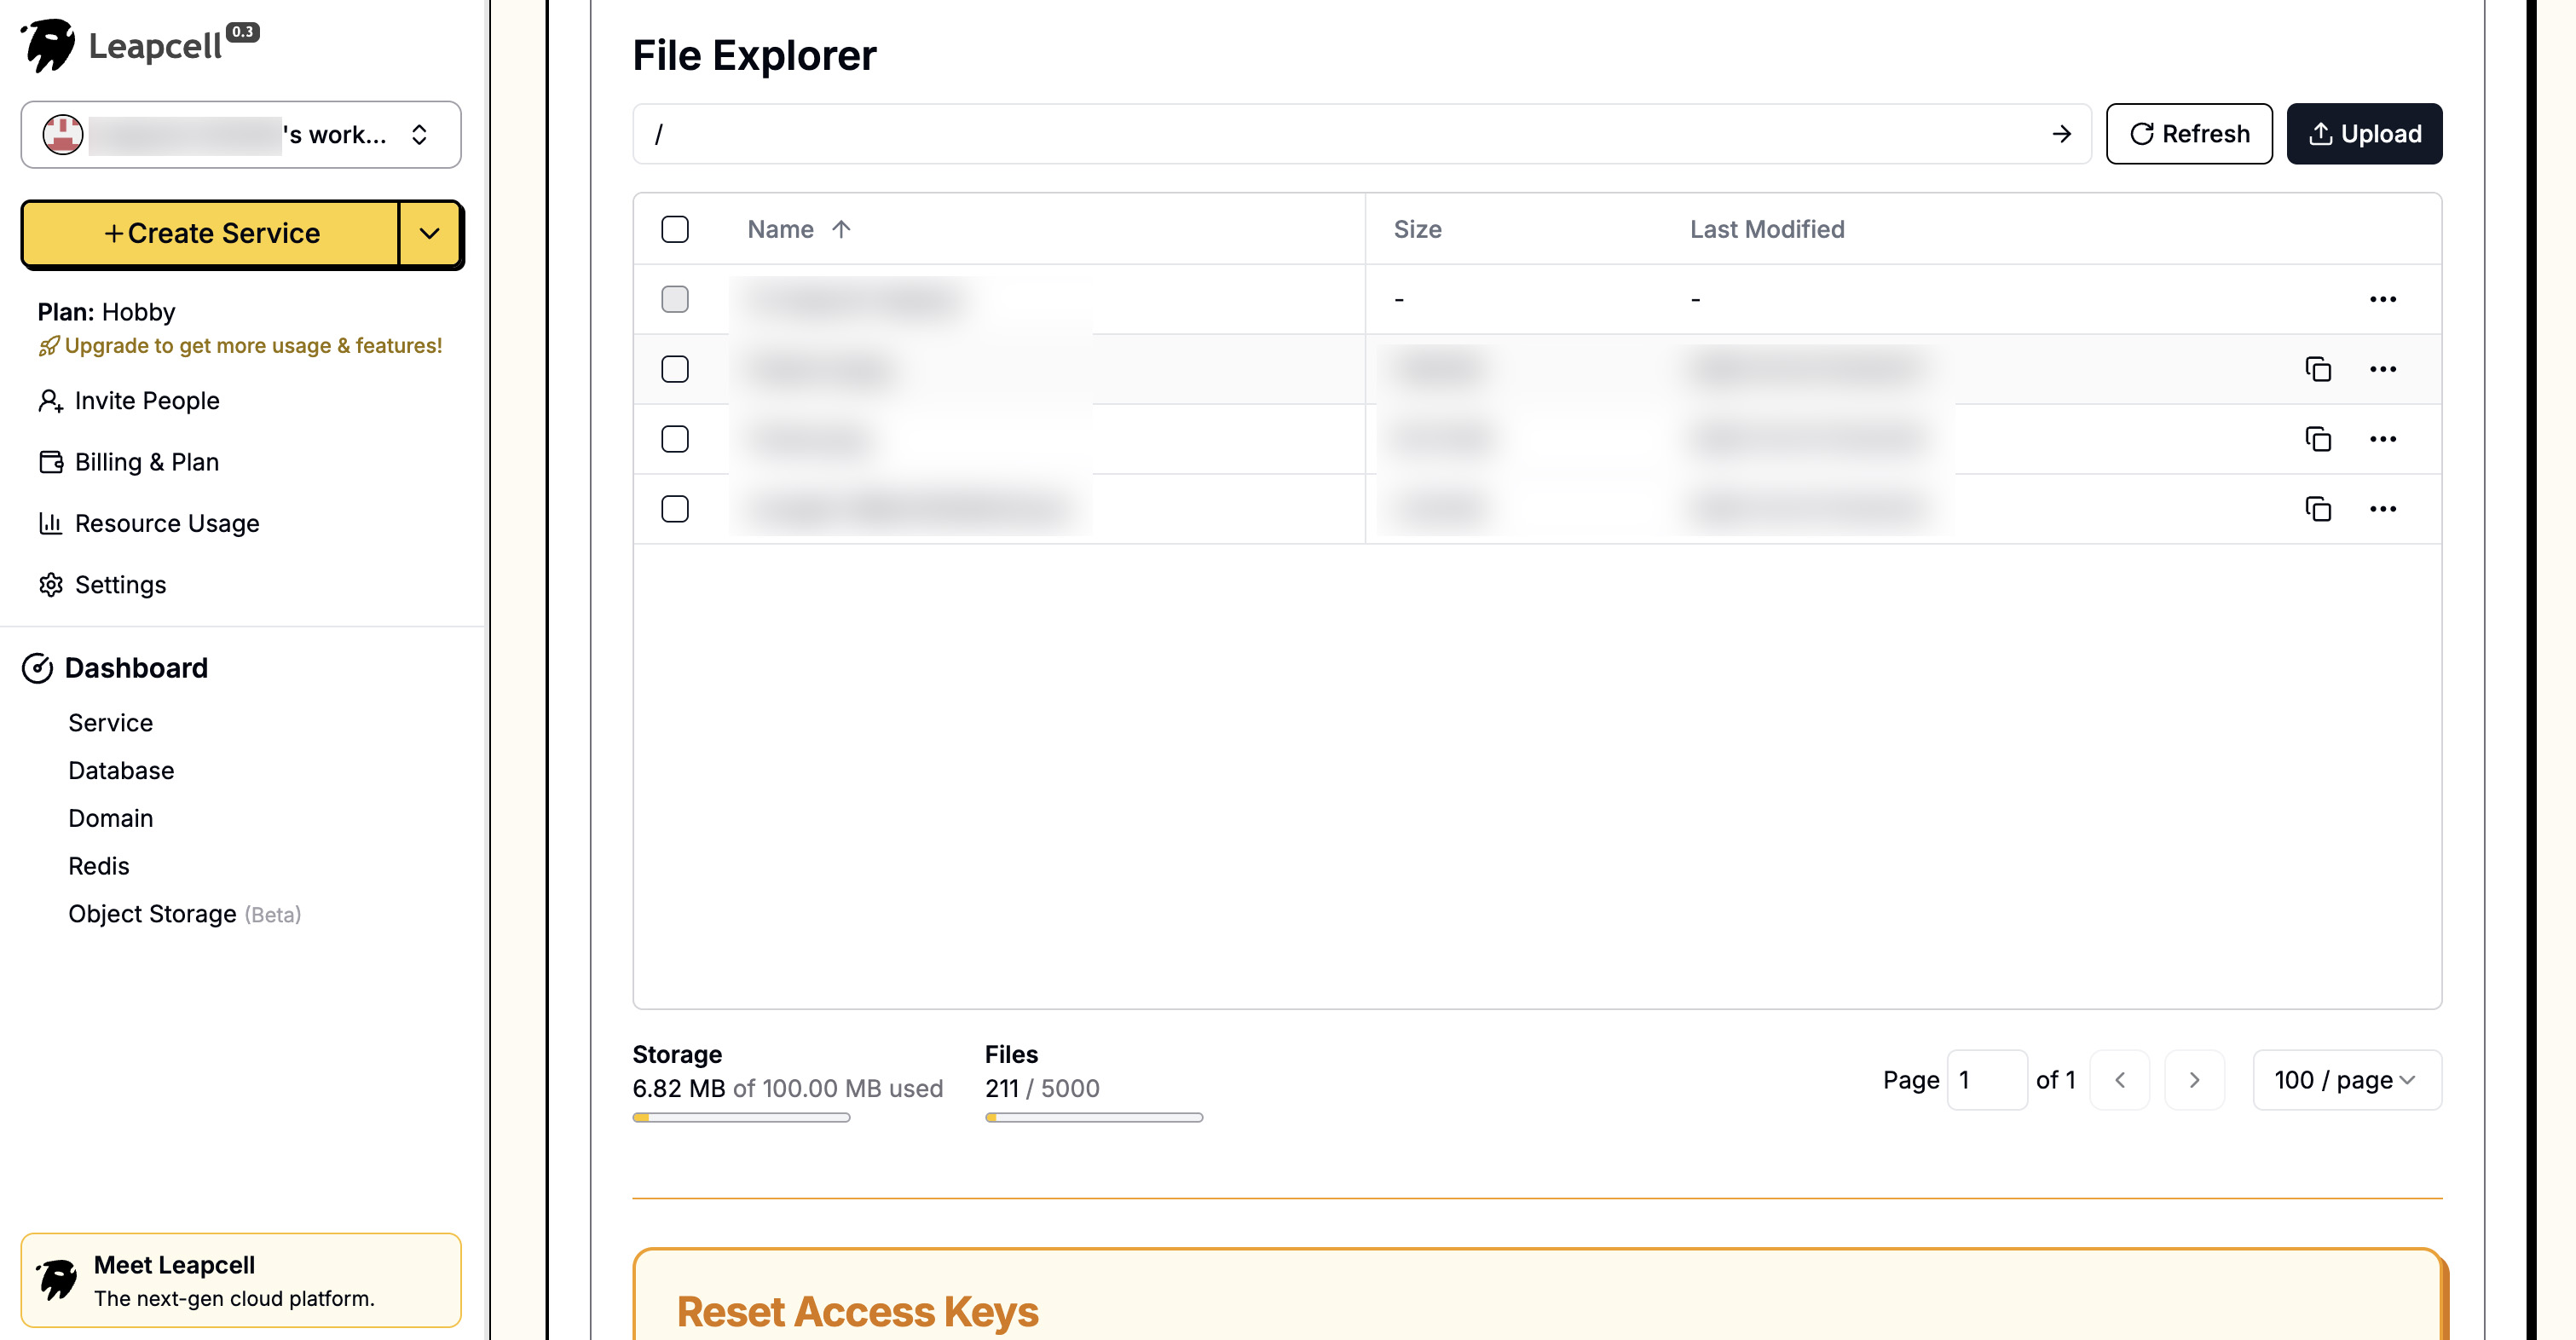
인터페이스는 브라우저에서 직접 파일을 업로드하고 관리할 수 있는 매우 편리한 UI도 제공합니다.
2단계: 백엔드에서 이미지 업로드 API 구현
이제 파일 업로드를 처리할 Nest.js 백엔드를 구축해 보겠습니다.
종속성 설치
S3 호환 객체 스토리지 서비스에 파일을 업로드하려면 aws-sdk (새 버전은 @aws-sdk/client-s3)가 필요합니다. 또한 Nest.js의 기본 Multer를 사용하여 multipart/form-data 요청을 처리합니다.
npm install @aws-sdk/client-s3
npm install -D @types/multer
업로드 모듈 생성
파일 업로드 기능을 위한 새 모듈을 만듭니다.
nest generate module uploads
nest generate controller uploads
nest generate service uploads
k**uploads.service.ts 작성**
이 서비스는 S3와의 통신에 대한 핵심 로직을 담당합니다.
// src/uploads/uploads.service.ts
import { Injectable } from '@nestjs/common';
import { S3Client, PutObjectCommand } from '@aws-sdk/client-s3';
import crypto from 'crypto';

const S3_ENDPOINT = 'https://objstorage.leapcell.io';
const S3_ACCESS_KEY_ID = 'YOUR_ACCESS_KEY_ID';
const S3_SECRET_ACCESS_KEY = 'YOUR_SECRET_ACCESS_KEY';
const S3_BUCKET_NAME = 'my-nest-blog-images';
const S3_PUBLIC_URL = 'https://example.leapcellobj.com/my-nest-blog-images';

@Injectable()
export class UploadsService {
  private readonly s3: S3Client;

  constructor() {
    this.s3 = new S3Client({
      endpoint: S3_ENDPOINT,
      region: 'us-east-1', // S3 호환 스토리지의 경우, region은 종종 형식적인 것입니다.
      credentials: {
        accessKeyId: S3_ACCESS_KEY_ID,
        secretAccessKey: S3_SECRET_ACCESS_KEY,
      },
    });
  }

  async uploadFile(file: Express.Multer.File): Promise<string> {
    const uniqueFileName = `${crypto.randomUUID()}-${file.originalname}`;

    const command = new PutObjectCommand({
      Bucket: S3_BUCKET_NAME,
      Key: uniqueFileName,
      Body: file.buffer,
      ContentType: file.mimetype,
      ACL: 'public-read', // 파일을 공개적으로 읽기 가능하도록 설정
    });

    try {
      await this.s3.send(command);
      // 파일의 공개 URL 반환
      return `${S3_PUBLIC_URL}/${uniqueFileName}`;
    } catch (error) {
      console.error('Error uploading to S3:', error);
      throw new Error('File upload failed.');
    }
  }
}
구현을 간소화하기 위해 S3 연결 매개변수가 코드에 직접 작성되었습니다.
실제 프로젝트에서는 환경 변수에서 읽어오는 것이 좋습니다. @nestjs/config 모듈을 사용하여 이를 달성할 수 있습니다.
uploads.controller.ts 작성
이 컨트롤러는 API 경로를 정의하고 FileInterceptor를 사용하여 업로드된 파일을 수신하는 역할을 합니다.
// src/uploads/uploads.controller.ts
import { Controller, Post, UploadedFile, UseGuards, UseInterceptors } from '@nestjs/common';
import { FileInterceptor } from '@nestjs/platform-express';
import { UploadsService } from './uploads.service';
import { AuthenticatedGuard } from '../auth/authenticated.guard';

@Controller('uploads')
export class UploadsController {
  constructor(private readonly uploadsService: UploadsService) {}

  @UseGuards(AuthenticatedGuard) // 로그인한 사용자만 업로드 가능
  @Post('image')
  @UseInterceptors(FileInterceptor('file')) // 'file'은 폼의 파일 필드 이름입니다.
  async uploadImage(@UploadedFile() file: Express.Multer.File) {
    const url = await this.uploadsService.uploadFile(file);
    return { url };
  }
}
마지막으로 app.module.ts에 UploadsModule을 가져와서 애플리케이션이 이 새 모듈을 인식하도록 합니다.
3단계: FilePicker API와 프론트엔드 통합
이제 백엔드가 준비되었으므로, 업로드 기능을 추가하기 위해 프론트엔드 페이지 new-post.ejs를 수정합니다.
업로드를 처리하는 두 가지 방법이 있습니다. 최신 FilePicker API와 전통적인 <input type="file">입니다.
전통적인 방법: <input type="file">는 호환성이 뛰어나 모든 브라우저에서 지원됩니다. 하지만 API가 다소 오래되었고 직관적이지 않으며 사용자 경험이 좋지 않습니다.
현대적인 방법: File System Access API는 사용하기 쉽고 더 강력하며 더 나은 사용자 경험을 제공할 수 있습니다. 그러나 전통적인 방법만큼 호환성이 좋지는 않으며 안전한 컨텍스트(HTTPS)에서 실행해야 합니다.
우리의 블로그는 현대적인 프로젝트이므로 FilePicker API를 사용하여 파일 업로드를 구현할 것입니다.
new-post.ejs 업데이트
views/new-post.ejs에서 <textarea> 옆에 "이미지 업로드" 버튼을 추가합니다.
<%- include('_header', { title: 'New Post' }) %> <form action="/posts" method="POST" class="post-form"> <div class="form-group"> <label for="title">Title</label> <input type="text" id="title" name="title" required /> </div> <div class="form-group"> <label for="content">Content</label> <div class="toolbar"> <button type="button" id="upload-image-btn">Upload Image</button> </div> <textarea id="content" name="content" rows="10" required></textarea> </div> <button type="submit">Submit</button> </form> <script> document.addEventListener('DOMContentLoaded', () => { const uploadBtn = document.getElementById('upload-image-btn'); const contentTextarea = document.getElementById('content'); uploadBtn.addEventListener('click', async () => { try { const [fileHandle] = await window.showOpenFilePicker({ types: [ { description: 'Images', accept: { 'image/*': ['.png', '.jpeg', '.jpg', '.gif', '.webp'] }, }, ], }); const file = await fileHandle.getFile(); uploadFile(file); } catch (error) { // 사용자가 파일 선택을 취소하면 AbortError가 발생하며, 이를 무시합니다. if (error.name !== 'AbortError') { console.error('FilePicker Error:', error); } } }); function uploadFile(file) { if (!file) return; const formData = new FormData(); formData.append('file', file); // 간단한 로딩 표시기 표시 uploadBtn.disabled = true; uploadBtn.innerText = 'Uploading...'; fetch('/uploads/image', { method: 'POST', body: formData, // 주의: FormData를 사용할 때 Content-Type 헤더를 수동으로 설정하지 마십시오. }) .then((response) => response.json()) .then((data) => { if (data.url) { // 반환된 이미지 URL을 textarea에 삽입 const markdownImage = ``; insertAtCursor(contentTextarea, markdownImage); } else { alert('Upload failed. Please try again.'); } }) .catch((error) => { console.error('Upload Error:', error); alert('An error occurred during upload.'); }) .finally(() => { uploadBtn.disabled = false; uploadBtn.innerText = 'Upload Image'; }); } // 커서 위치에 텍스트 삽입을 위한 헬퍼 함수 function insertAtCursor(myField, myValue) { if (myField.selectionStart || myField.selectionStart === 0) { var startPos = myField.selectionStart; var endPos = myField.selectionEnd; myField.value = myField.value.substring(0, startPos) + myValue + myField.value.substring(endPos, myField.value.length); myField.selectionStart = startPos + myValue.length; myField.selectionEnd = startPos + myValue.length; } else { myField.value += myValue; } } }); </script> <%- include('_footer') %>
4단계: 이미지가 포함된 게시물 렌더링
이미지의 Markdown 링크를 게시물에 성공적으로 삽입했지만, 여전히 텍스트 문자열로 렌더링됩니다. 이는 게시물 세부 정보 페이지, post.ejs에서 Markdown 형식을 HTML로 변환해야 하기 때문입니다.
Markdown 파싱 라이브러리 설치
파싱을 수행하기 위해 marked 라이브러리를 사용합니다.
npm install marked
컨트롤러에서 Markdown 파싱
src/posts/posts.controller.ts에서 findOne 메서드를 수정합니다. 게시물 데이터를 템플릿에 전달하기 전에 marked를 사용하여 내용을 파싱합니다.
// src/posts/posts.controller.ts
import { Controller, Get, Render, Param, Request } from '@nestjs/common';
import { PostsService } from './posts.service';
import { CommentsService } from '../comments/comments.service';
import { marked } from 'marked'; // marked 가져오기

@Controller('posts')
export class PostsController {
  constructor(private readonly postsService: PostsService, private readonly commentsService: CommentsService) {}

  // ... 다른 메서드

  @Get(':id')
  @Render('post')
  async post(@Param('id') id: string, @Request() req) {
    const post = await this.postsService.findOne(id);
    const comments = await this.commentsService.findByPostId(id);

    // Markdown 내용 파싱
    if (post) {
      post.content = marked.parse(post.content) as string;
    }

    return { post, user: req.session.user, comments };
  }
}
post.ejs 뷰 업데이트
마지막으로, 파싱된 HTML이 올바르게 렌더링되도록 views/post.ejs를 수정합니다.
예를 들어, 이전에는 줄바꿈을 처리하기 위해 <%- post.content.replace(/\n/g, '<br />') %>를 사용했습니다. 이제 내용은 이미 HTML이므로 직접 출력할 수 있습니다.
<%- include('_header', { title: post.title }) %> <article class="post-detail"> <h1><%= post.title %></h1> <small><%= new Date(post.createdAt).toLocaleDateString() %></small> <div class="post-content"><%- post.content %></div> </article> <a href="/" class="back-link">← Back to Home</a> <%- include('_footer') %>
<%-를 <%= 대신 사용한다는 점에 유의하세요. 전자는 HTML을 직접 출력하고, 후자는 이스케이프 처리합니다.
실행 및 테스트
애플리케이션을 다시 시작합니다.
npm run start:dev
브라우저를 열고 다음으로 이동합니다: http://localhost:3000/
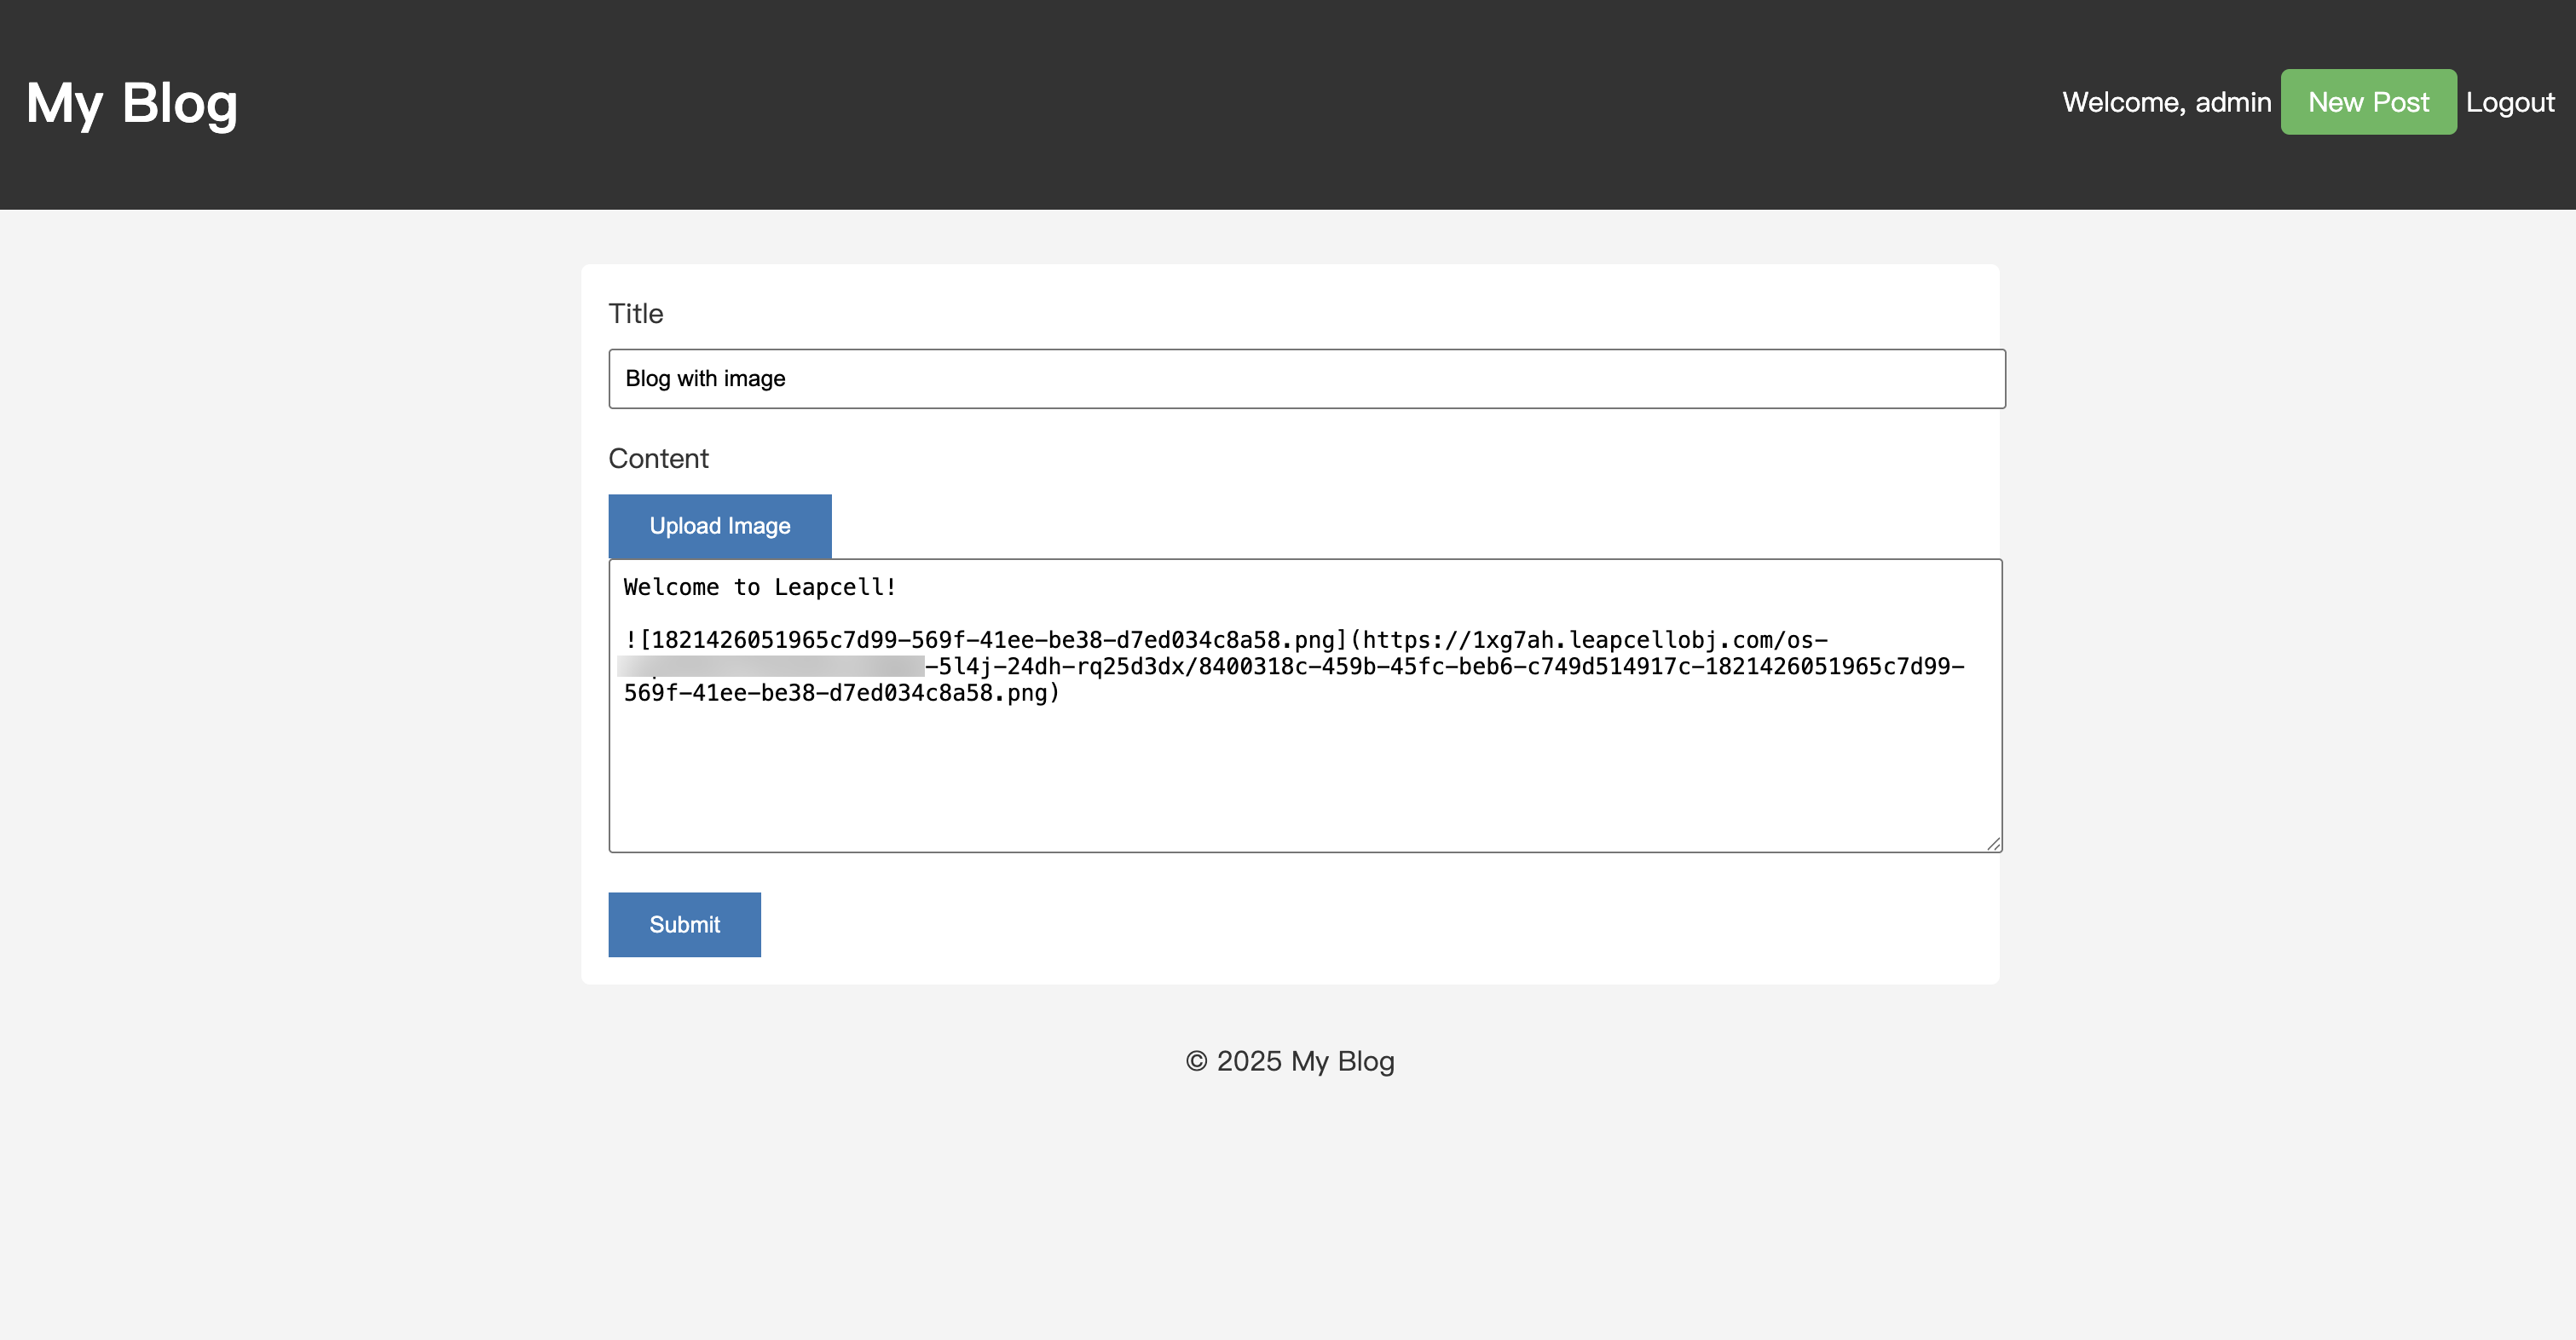
"새 게시물" 페이지로 이동하면 "이미지 업로드" 버튼을 볼 수 있습니다. 이를 클릭하면 파일을 선택할 수 있습니다.
이미지를 선택합니다. 업로드가 완료되면 이미지의 Markdown 링크가 텍스트 상자에 자동으로 삽입됩니다.
게시물을 게시하고 게시물 세부 페이지로 이동합니다. 이미지가 성공적으로 렌더링되는 것을 볼 수 있습니다. 추가 보너스로, 게시물 내용은 이제 Markdown 구문을 지원합니다!
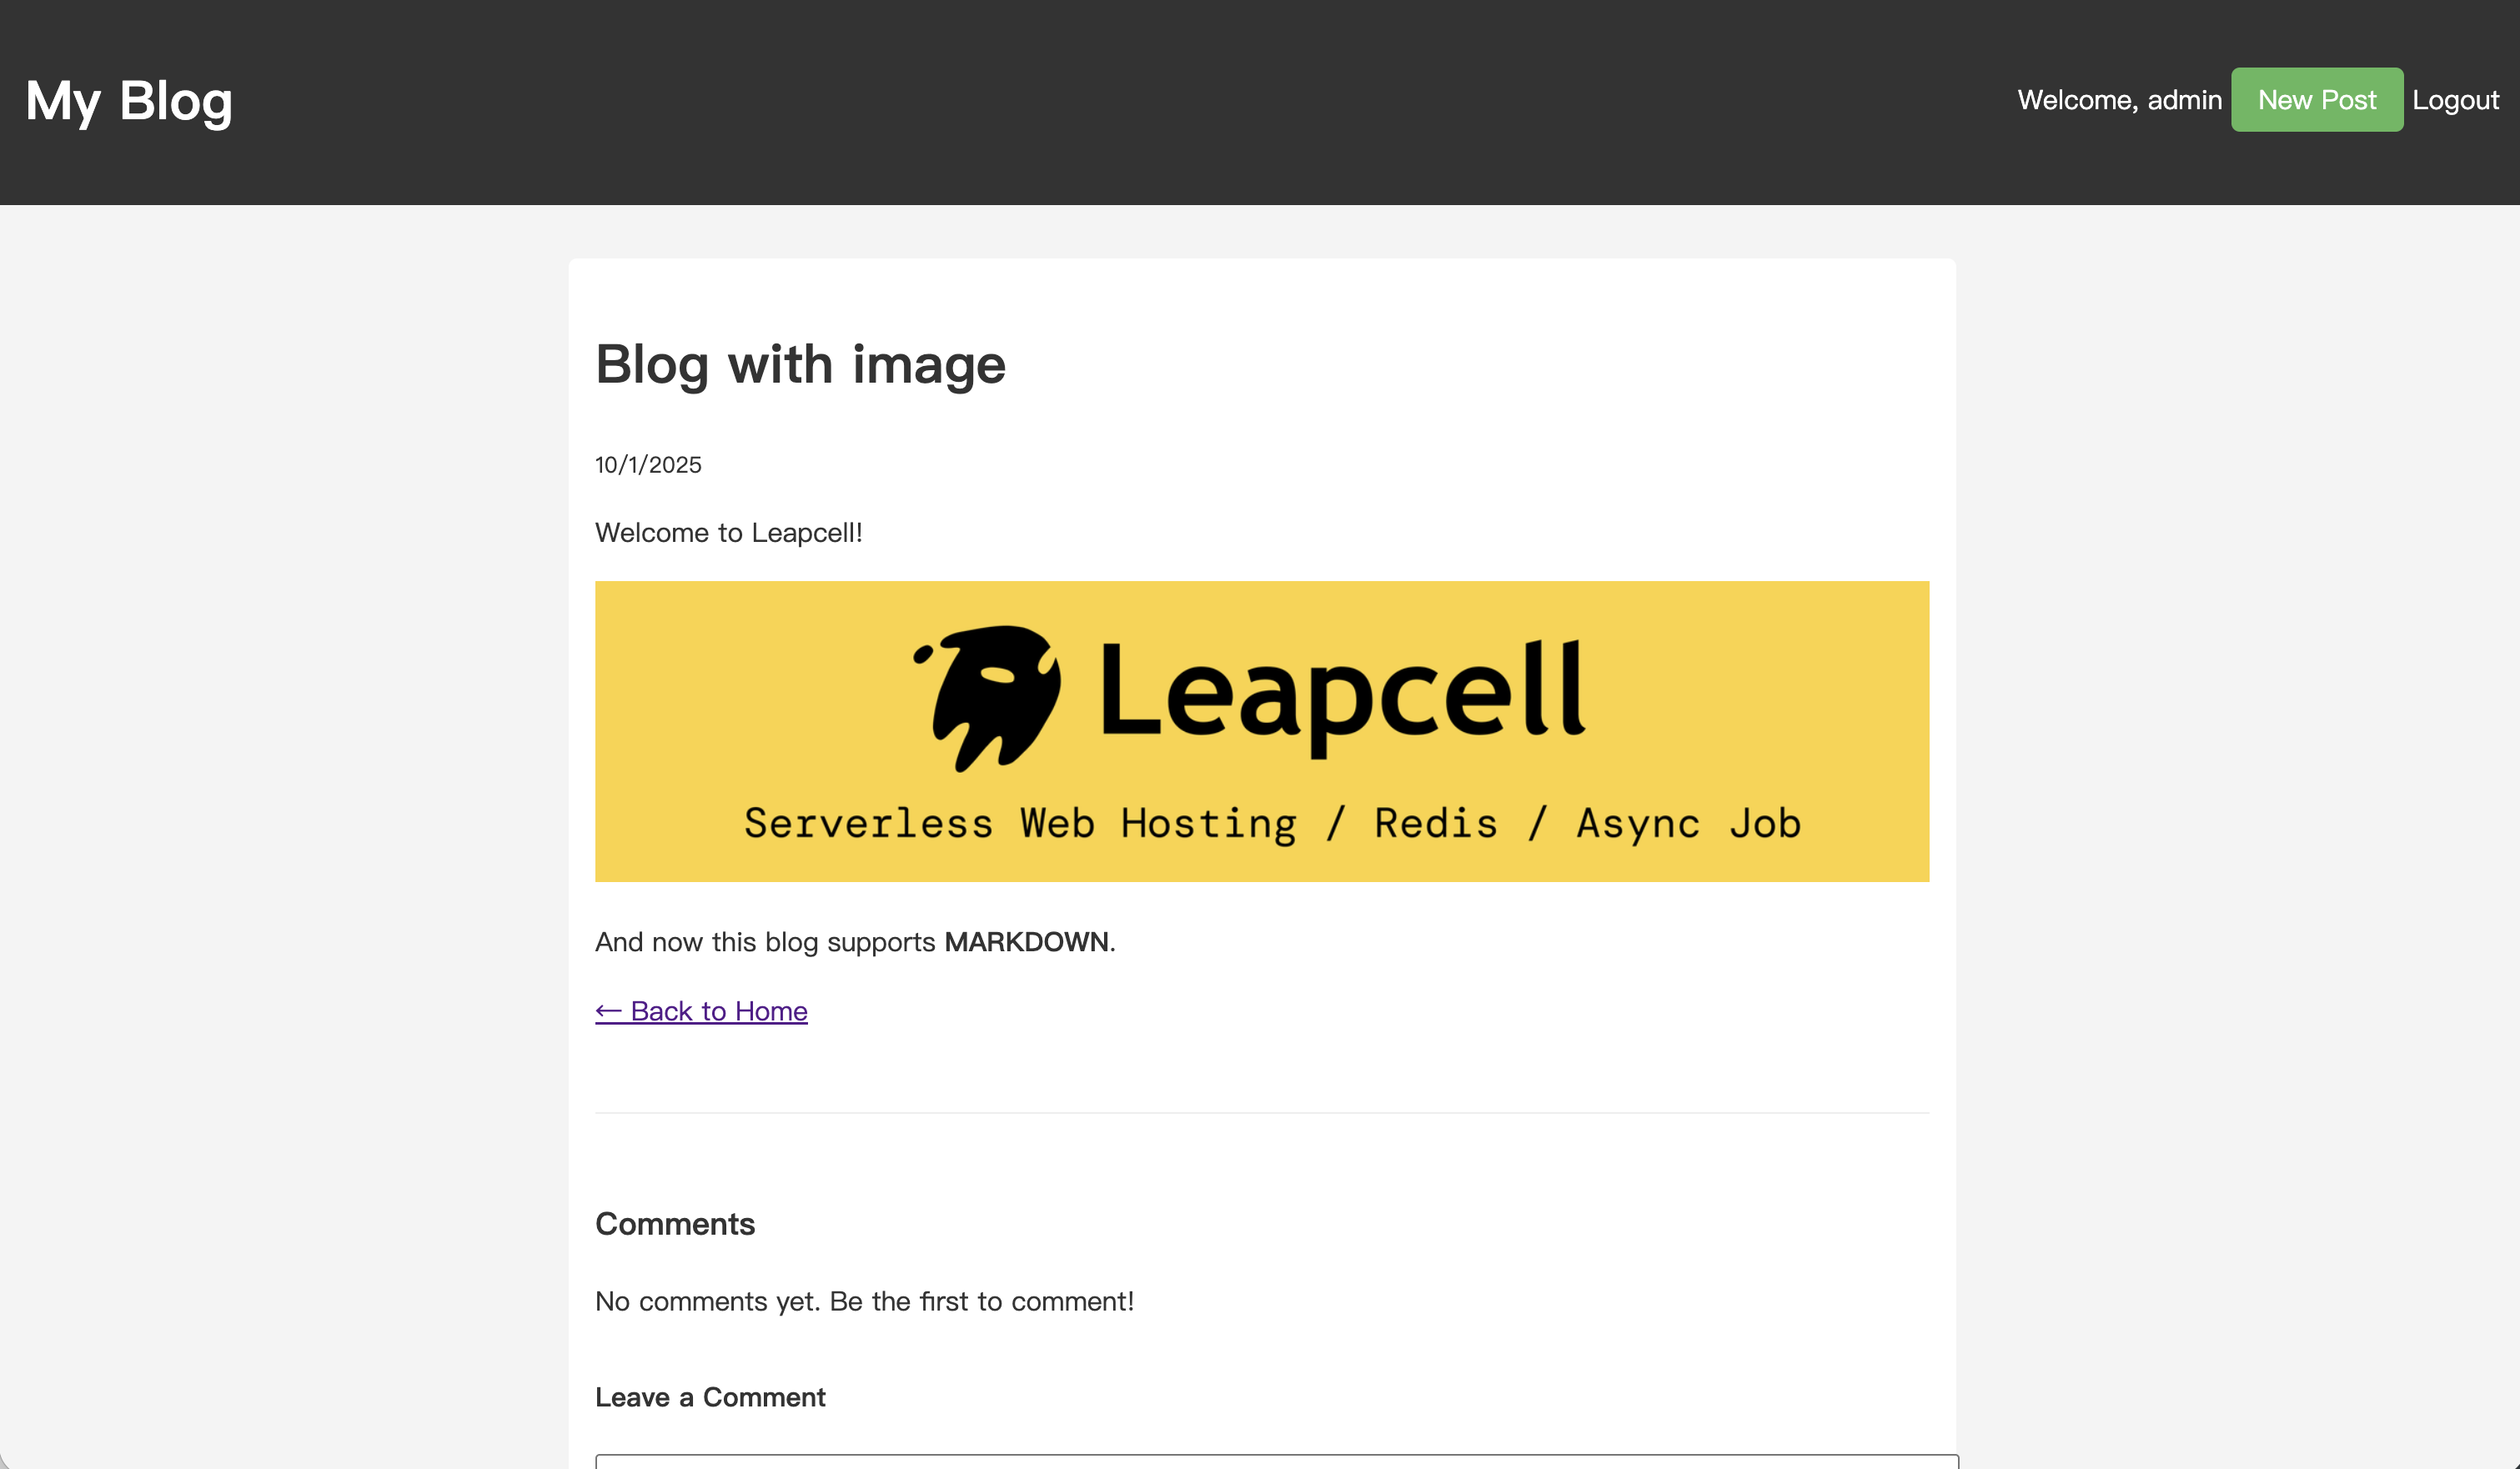
축하합니다. 블로그에서 이미지 업로드를 지원합니다 (그리고 Markdown도요)!
이제부터 여러분의 블로그 게시물은 훨씬 더 흥미로울 것입니다.
이전 튜토리얼: