FastAPI로 나만의 포럼 만들기: 6단계 - 댓글 및 답글
Grace Collins
Solutions Engineer · Leapcell
이전 글에서 포럼에 게시물 편집 기능을 추가하여 사용자가 게시한 콘텐츠를 수정할 수 있도록 했습니다.
게시 외에도 포럼에서는 상호작용이 필수적입니다. 사용자가 흥미로운 (또는 논란의 여지가 있는) 게시물을 보면 자신의 의견을 표현하고 싶어할 것입니다.
이 글에서는 포럼에 상호작용 기능을 추가하여 게시물 댓글 및 답글을 구현하고 사용자가 게시물에 대해 토론할 수 있도록 하겠습니다.
1단계: 데이터베이스 모델 업데이트
댓글을 저장할 새 테이블이 필요합니다. 또한 댓글 자체도 계층적 구조를 형성하기 위해 답글을 지원해야 합니다.
models.py에서 Comment 모델을 추가하고 User 및 Post 모델을 업데이트하여 관계를 설정합니다.
models.py (업데이트됨)
from sqlalchemy import Column, Integer, String, ForeignKey
from sqlalchemy.orm import relationship
from database import Base

class User(Base):
    __tablename__ = "users"

    id = Column(Integer, primary_key=True, index=True)
    username = Column(String, unique=True, index=True)
    hashed_password = Column(String)

    posts = relationship("Post", back_populates="owner", cascade="all, delete-orphan")
    comments = relationship("Comment", back_populates="owner", cascade="all, delete-orphan")

class Post(Base):
    __tablename__ = "posts"

    id = Column(Integer, primary_key=True, index=True)
    title = Column(String, index=True)
    content = Column(String)
    owner_id = Column(Integer, ForeignKey("users.id"))

    owner = relationship("User", back_populates="posts")
    comments = relationship("Comment", back_populates="post", cascade="all, delete-orphan")

class Comment(Base):
    __tablename__ = "comments"

    id = Column(Integer, primary_key=True, index=True)
    content = Column(String, nullable=False)
    post_id = Column(Integer, ForeignKey("posts.id"))
    owner_id = Column(Integer, ForeignKey("users.id"))
    parent_id = Column(Integer, ForeignKey("comments.id"), nullable=True)

    owner = relationship("User", back_populates="comments")
    post = relationship("Post", back_populates="comments")

    # Self-referencing relationship for replies
    parent = relationship("Comment", back_populates="replies", remote_side=[id])
    replies = relationship("Comment", back_populates="parent", cascade="all, delete-orphan")
주요 변경 사항은 다음과 같습니다.
post_id및owner_id를 통해 게시물 및 사용자와 연결되는Comment모델을 생성했습니다.parent_id필드는 다른 댓글의id를 가리킵니다.NULL이면 최상위 댓글이고, 그렇지 않으면 답글입니다.User및Post모델을 업데이트하고Comment에 대한 관계를 추가했습니다.cascade="all, delete-orphan"은 사용자 또는 게시물이 삭제될 때 연결된 댓글도 삭제되도록 합니다.
다음으로 데이터베이스에 이 새 테이블을 생성합니다. 해당 SQL 문은 다음과 같습니다.
CREATE TABLE comments (
    id SERIAL PRIMARY KEY,
    content TEXT NOT NULL,
    post_id INTEGER NOT NULL,
    owner_id INTEGER NOT NULL,
    parent_id INTEGER,
    CONSTRAINT fk_post FOREIGN KEY(post_id) REFERENCES posts(id) ON DELETE CASCADE,
    CONSTRAINT fk_owner FOREIGN KEY(owner_id) REFERENCES users(id) ON DELETE CASCADE,
    CONSTRAINT fk_parent FOREIGN KEY(parent_id) REFERENCES comments(id) ON DELETE CASCADE
);
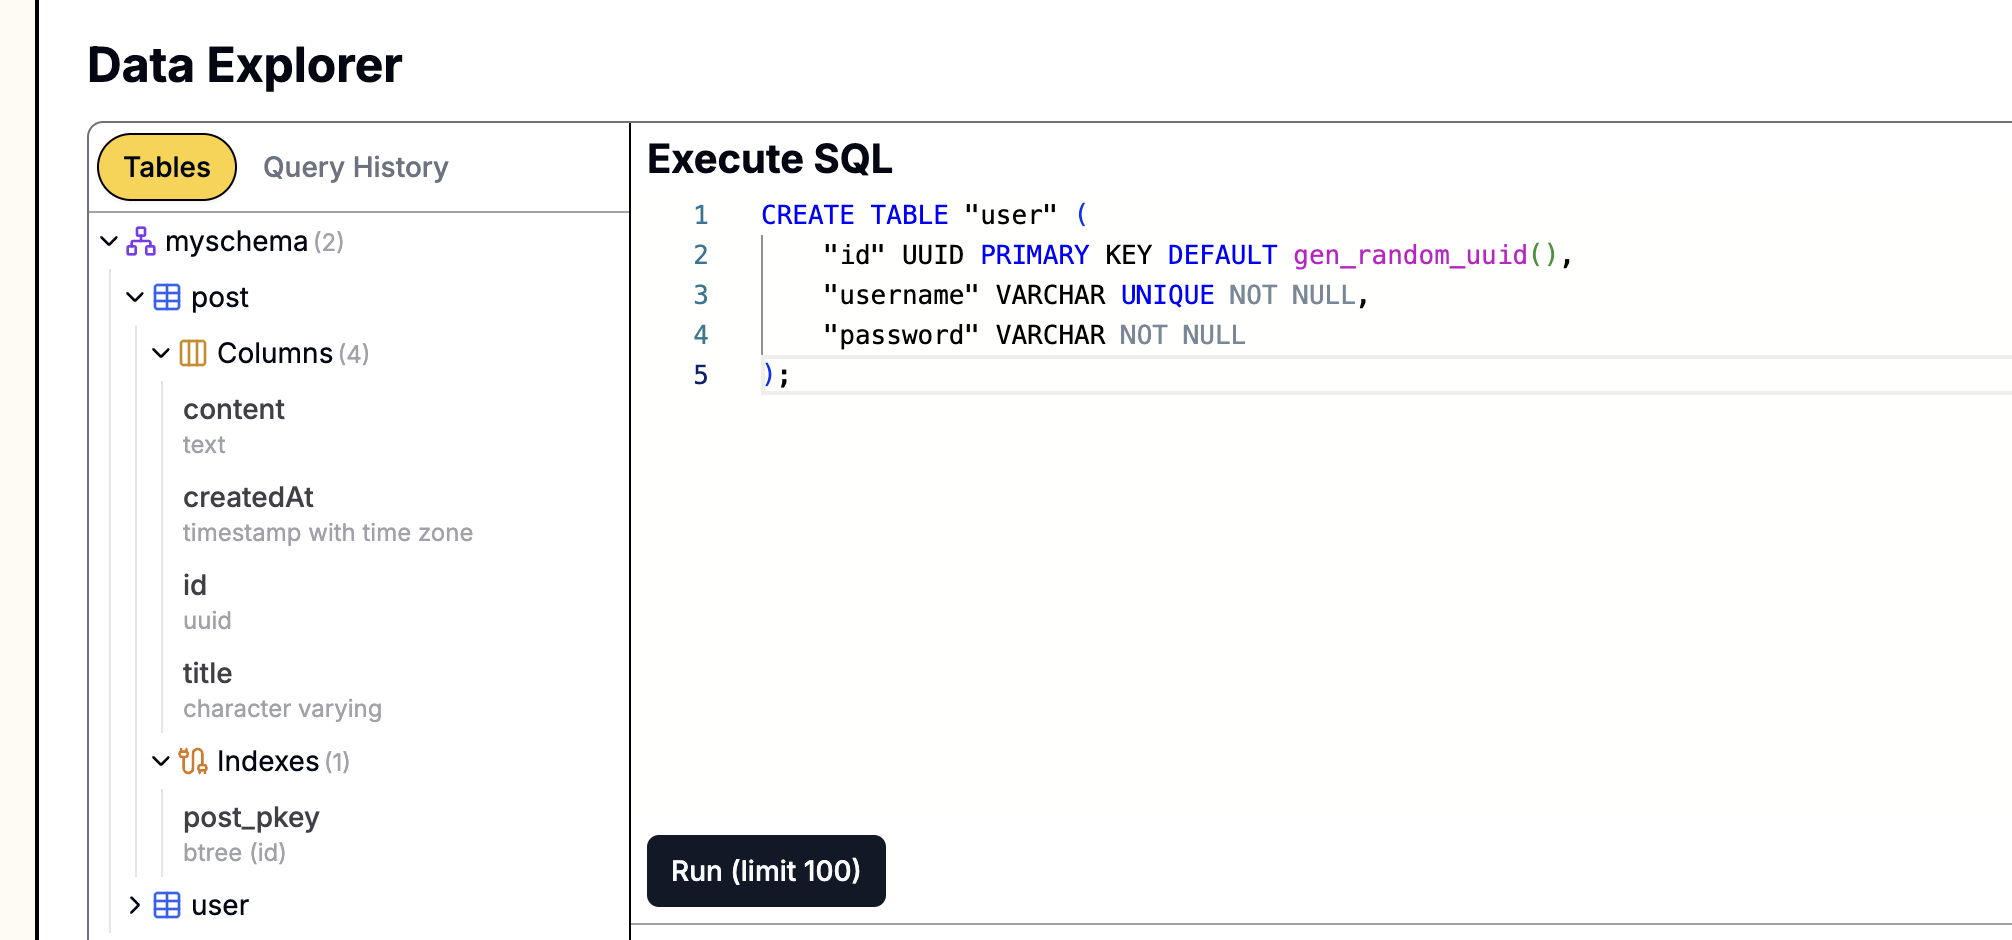
Leapcell을 사용하여 데이터베이스를 생성한 경우,

웹 기반 작업 패널에서 이러한 SQL 문을 직접 실행할 수 있습니다.
2단계: 게시물 상세 페이지 및 댓글 섹션 생성
현재 모든 게시물은 홈페이지에 표시됩니다. 댓글 섹션을 위한 공간을 만들려면 각 게시물에 대한 별도의 상세 페이지를 만들어야 합니다.
먼저 templates 폴더에 post_detail.html이라는 새 파일을 만듭니다.
templates/post_detail.html
<!DOCTYPE html>
<html>
  <head>
    <title>{{ post.title }} - My FastAPI Forum</title>
    <style>
      body {
        font-family: sans-serif;
        margin: 2em;
      }
      .post-container {
        border: 1px solid #ccc;
        padding: 20px;
        margin-bottom: 20px;
      }
      .comment-form {
        margin-top: 20px;
      }
      .comments-section {
        margin-top: 30px;
      }
      .comment {
        border-left: 3px solid #eee;
        padding-left: 15px;
        margin-bottom: 15px;
      }
      .comment .meta {
        font-size: 0.9em;
        color: #666;
      }
      .replies {
        margin-left: 30px;
      }
    </style>
  </head>
  <body>
    <div class="post-container">
      <h1>{{ post.title }}</h1>
      <p>{{ post.content }}</p>
      <small>Author: {{ post.owner.username }}</small>
    </div>

    <hr />

    <div class="comment-form">
      <h3>Post a Comment</h3>
      {% if current_user %}
      <form action="/posts/{{ post.id }}/comments" method="post">
        <textarea name="content" rows="4" style="width:100%;" placeholder="Write your comment..." required></textarea><br />
        <button type="submit">Submit</button>
      </form>
      {% else %}
      <p><a href="/login">Log in</a> to post a comment.</p>
      {% endif %}
    </div>

    <div class="comments-section">
      <h2>Comments</h2>
      {% for comment in comments %} {% if not comment.parent_id %}
      <div class="comment">
        <p>{{ comment.content }}</p>
        <p class="meta">Posted by {{ comment.owner.username }}</p>

        {% if current_user %}
        <form action="/posts/{{ post.id }}/comments" method="post" style="margin-left: 20px;">
          <input type="hidden" name="parent_id" value="{{ comment.id }}" />
          <textarea name="content" rows="2" style="width:80%;" placeholder="Reply..." required></textarea><br />
          <button type="submit">Reply</button>
        </form>
        {% endif %}

        <div class="replies">
          {% for reply in comment.replies %}
          <div class="comment">
            <p>{{ reply.content }}</p>
            <p class="meta">Replied by {{ reply.owner.username }}</p>
          </div>
          {% endfor %}
        </div>
      </div>
      {% endif %} {% endfor %}
    </div>
    <a href="/posts">Back to Home</a>
  </body>
</html>
이 템플릿에는 게시물 세부 정보, 새 댓글 작성 양식, 모든 댓글을 표시하는 영역이 포함되어 있습니다. 단순성을 위해 현재 한 단계의 답글만 표시하고 있습니다.
3단계: 백엔드 라우트 로직 구현
다음으로 main.py에 게시물 상세 페이지 표시 및 댓글 제출을 처리할 새 라우트를 추가할 것입니다.
main.py (새 라우트 추가)
# ... (이전 import는 변경되지 않음) ...
from sqlalchemy.orm import selectinload

# ... (이전 코드는 변경되지 않음) ...

# --- Routes ---

# ... (이전 라우트 /, /posts, /api/posts 등은 변경되지 않음) ...

@app.get("/posts/{post_id}", response_class=HTMLResponse)
async def view_post_detail(
    request: Request,
    post_id: int,
    db: AsyncSession = Depends(get_db),
    current_user: Optional[models.User] = Depends(get_current_user)
):
    # 게시물 쿼리
    result = await db.execute(select(models.Post).where(models.Post.id == post_id).options(selectinload(models.Post.owner)))
    post = result.scalar_one_or_none()

    if not post:
        raise HTTPException(status_code=404, detail="Post not found")

    # 댓글 쿼리 및 작성자 및 답글 정보 사전 로드
    # N+1 쿼리 방지를 위해 selectinload 사용
    comment_result = await db.execute(
        select(models.Comment)
        .where(models.Comment.post_id == post_id)
        .options(selectinload(models.Comment.owner), selectinload(models.Comment.replies).selectinload(models.Comment.owner))
        .order_by(models.Comment.id)
    )
    comments = comment_result.scalars().all()

    return templates.TemplateResponse("post_detail.html", {
        "request": request,
        "post": post,
        "comments": comments,
        "current_user": current_user
    })


@app.post("/posts/{post_id}/comments")
async def create_comment(
    post_id: int,
    content: str = Form(...),
    parent_id: Optional[int] = Form(None),
    db: AsyncSession = Depends(get_db),
    current_user: Optional[models.User] = Depends(get_current_user)
):
    if not current_user:
        return RedirectResponse(url="/login", status_code=status.HTTP_302_FOUND)

    new_comment = models.Comment(
        content=content,
        post_id=post_id,
        owner_id=current_user.id,
        parent_id=parent_id
    )
    db.add(new_comment)
    await db.commit()

    return RedirectResponse(url=f"/posts/{post_id}", status_code=status.HTTP_303_SEE_OTHER)


# ... (후속 라우트 /posts/{post_id}/edit, /register, /login, /logout 등은 변경되지 않음) ...
두 개의 새 라우트를 추가했습니다.
GET /posts/{post_id}:post_id를 기반으로 데이터베이스에서 게시물을 찾고 해당 게시물과 관련된 모든 댓글을 쿼리합니다. 마지막으로 게시물, 댓글 및 현재 사용자 정보를 전달하여post_detail.html템플릿을 렌더링합니다.POST /posts/{post_id}/comments: 이 라우트는 댓글 및 답글 제출을 처리하며,Comment객체를 생성하여 데이터베이스에 저장합니다. 양식에서content및 선택적parent_id를 받습니다.parent_id가 있으면 답글임을 의미합니다.
4단계: 홈페이지에 진입점 추가
모든 준비가 완료되었으므로 홈페이지에서 게시물 상세 페이지로 이동하는 진입점만 있으면 됩니다. templates/posts.html을 수정하여 게시물 제목을 링크로 변환합니다.
<h3>{{ post.title }}</h3>를 /posts/{{ post.id }}로 연결되는 <a> 태그로 감싸기만 하면 됩니다.
templates/posts.html (업데이트됨)
... (파일 헤더 및 스타일시트는 변경되지 않음) ...
<body>
    ... (헤더 및 게시물 양식 섹션은 변경되지 않음) ...
    <hr />
    <h2>Post List</h2>

    {% for post in posts %}
    <div style="border: 1px solid #ccc; padding: 10px; margin-bottom: 10px;">
      <a href="/posts/{{ post.id }}"><h3>{{ post.title }}</h3></a>

      <p>{{ post.content }}</p>
      <small>Author: {{ post.owner.username if post.owner else 'Unknown' }}</small>

      {% if current_user and post.owner_id == current_user.id %}
      <div style="margin-top: 10px;">
        <a href="/posts/{{ post.id }}/edit">Edit</a>
      </div>
      {% endif %}
    </div>
    {% endfor %}
</body>
</html>
실행 및 확인
uvicorn 서버를 다시 시작합니다.
uvicorn main:app --reload
http://127.0.0.1:8000으로 이동하여 로그인합니다. 홈페이지에서 모든 게시물 제목이 클릭 가능한 링크로 바뀐 것을 확인할 수 있습니다.
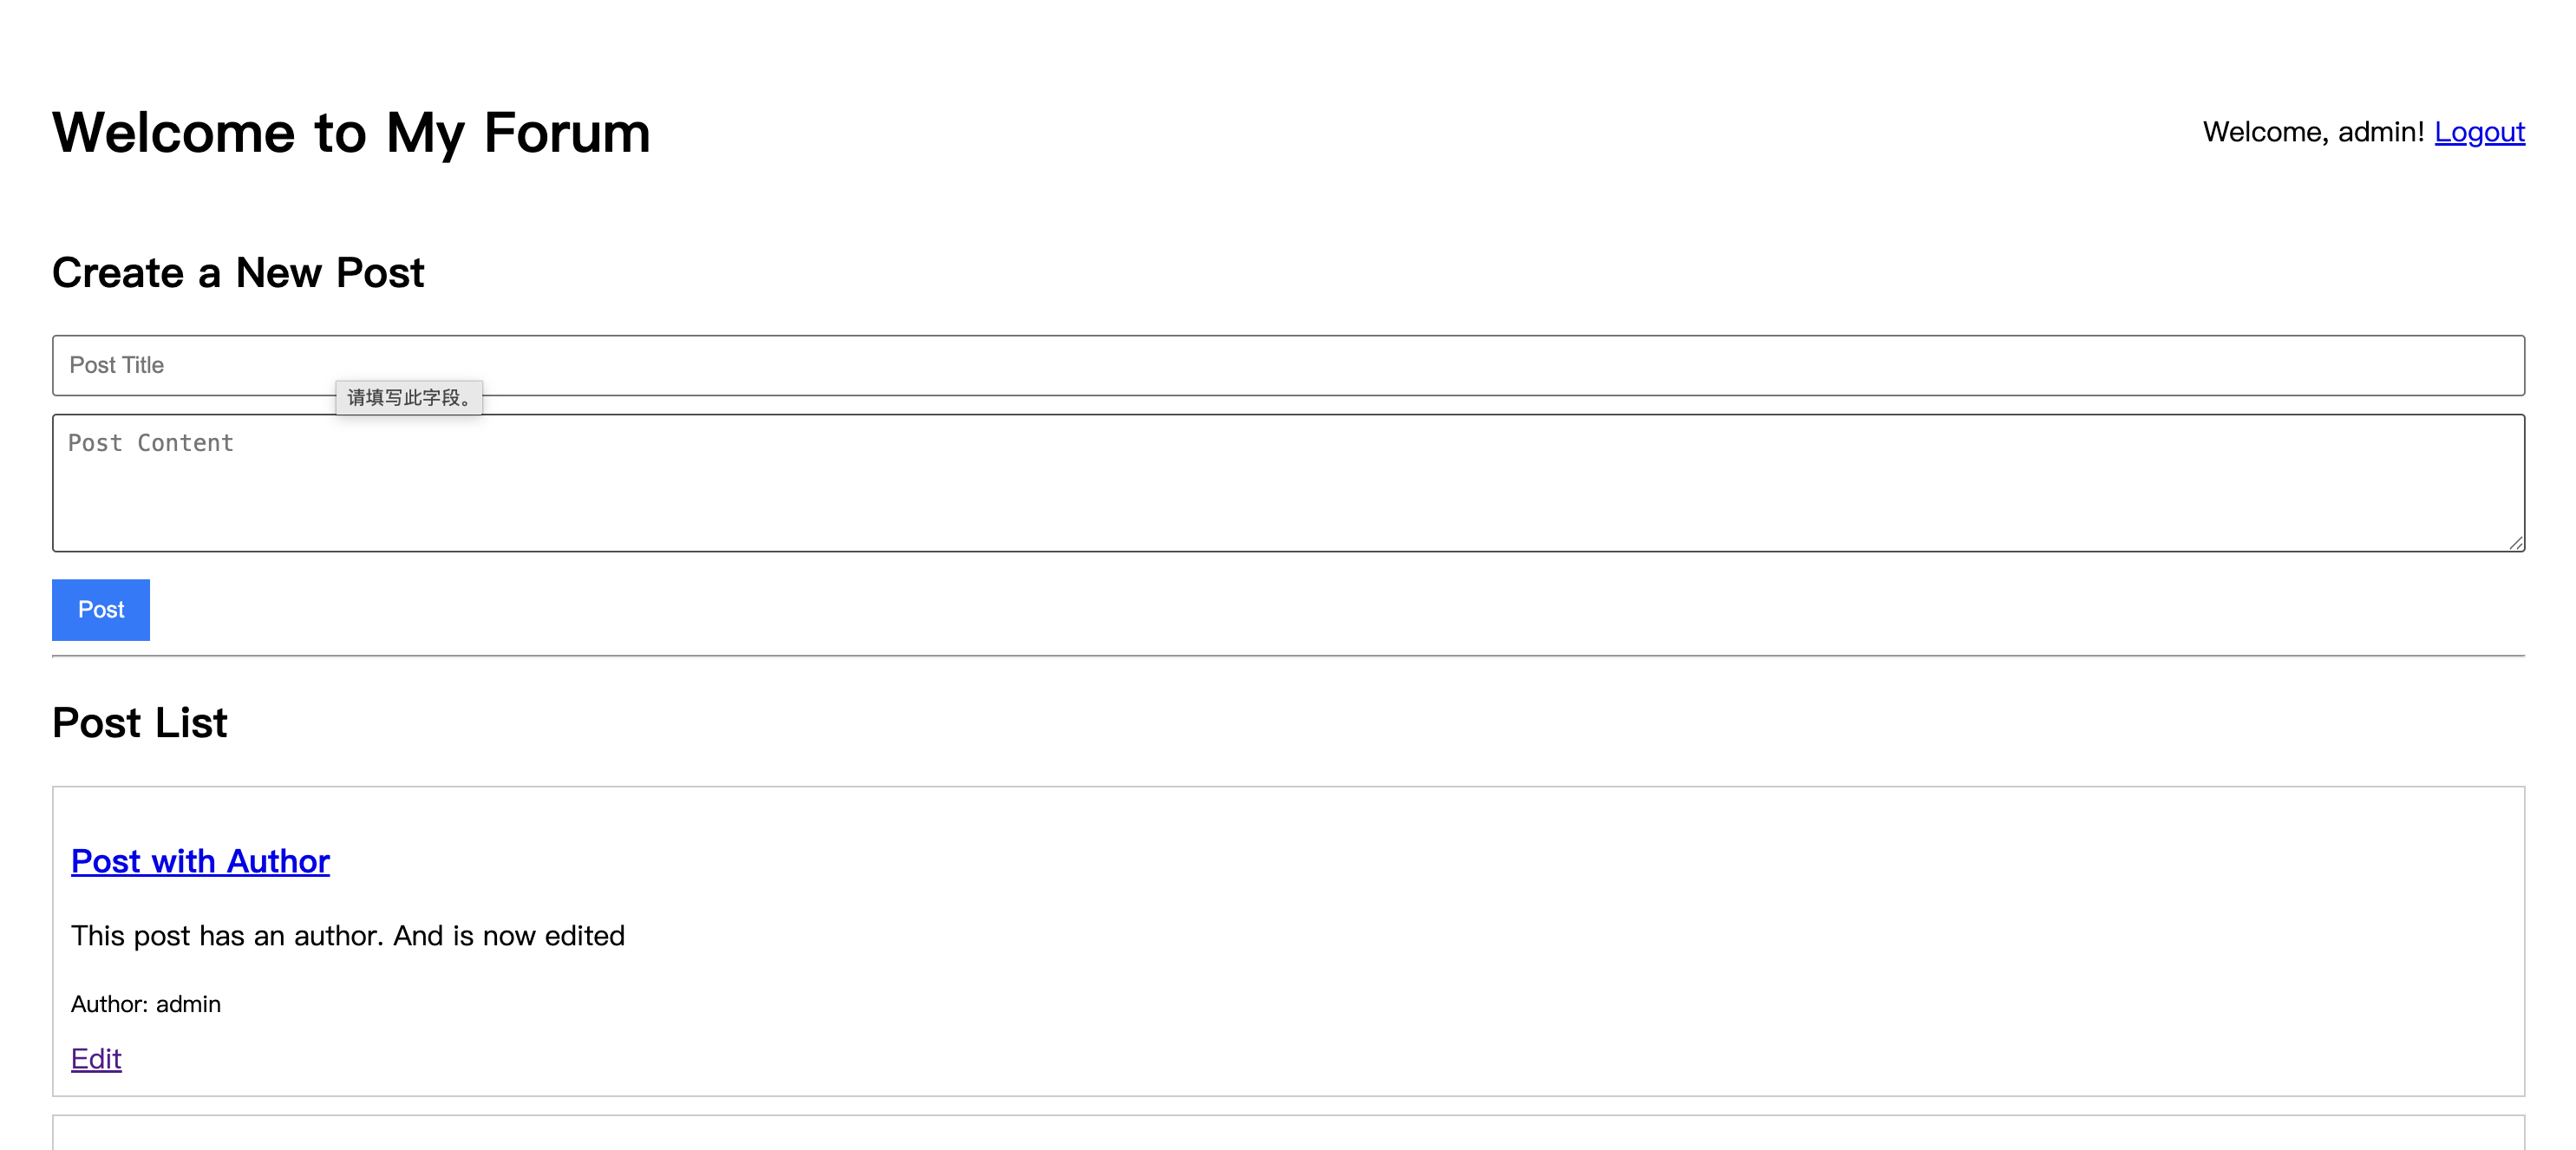
게시물 제목을 클릭하면 해당 게시물의 상세 페이지로 리디렉션됩니다.
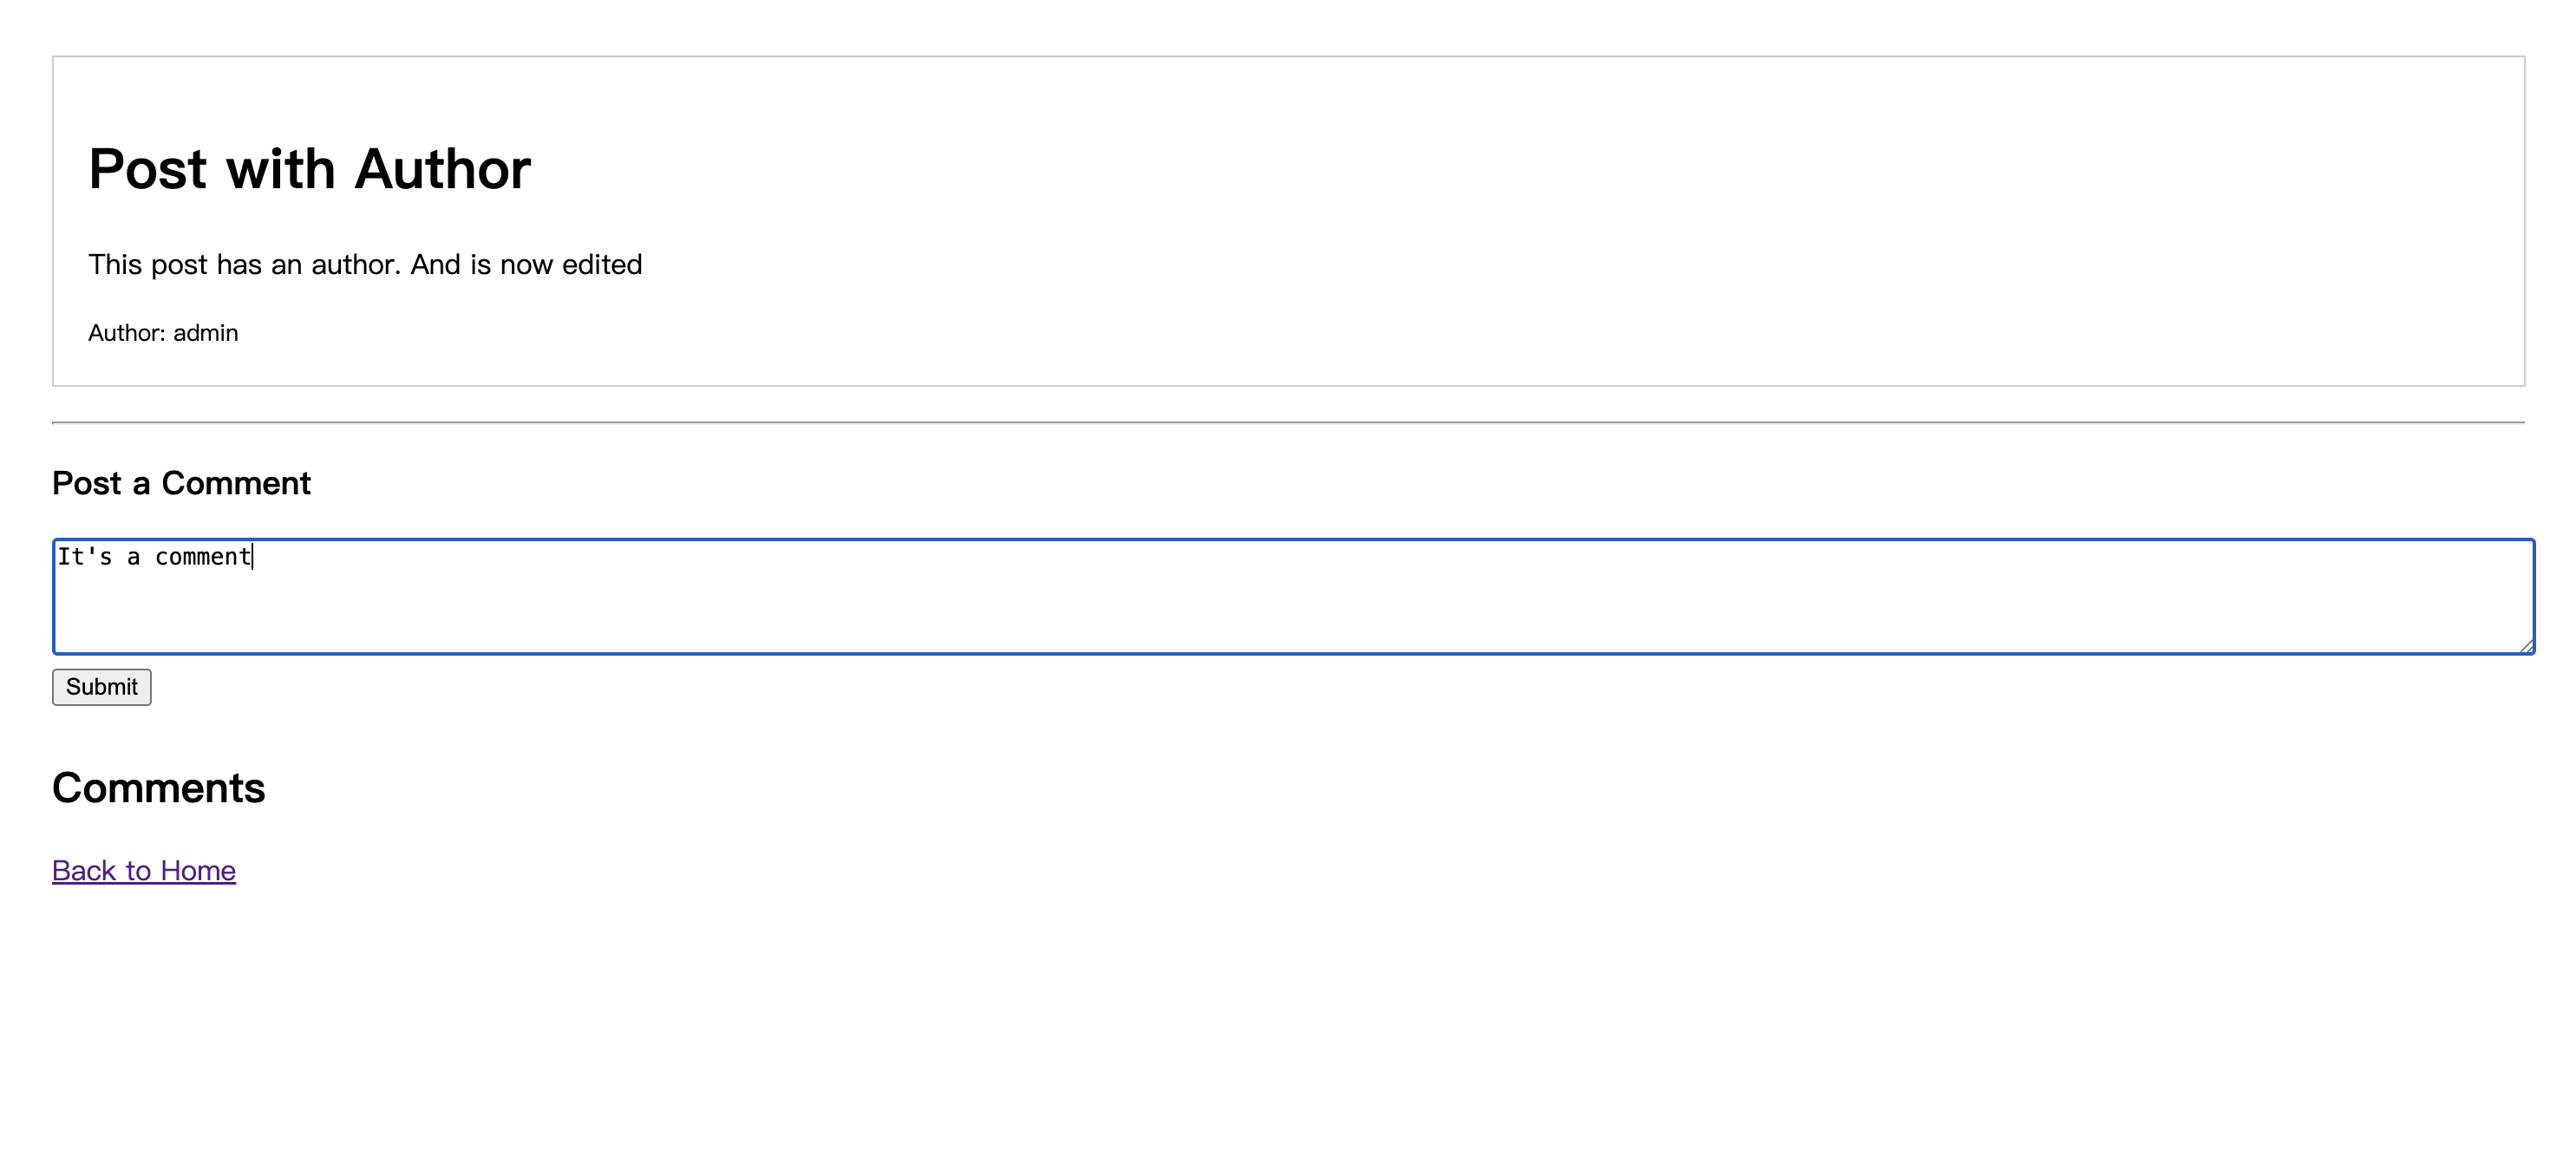
상세 페이지 하단의 댓글란에 내용을 입력하고 'Submit'을 클릭합니다. 페이지가 새로고침되면 댓글 섹션에 댓글이 표시됩니다.
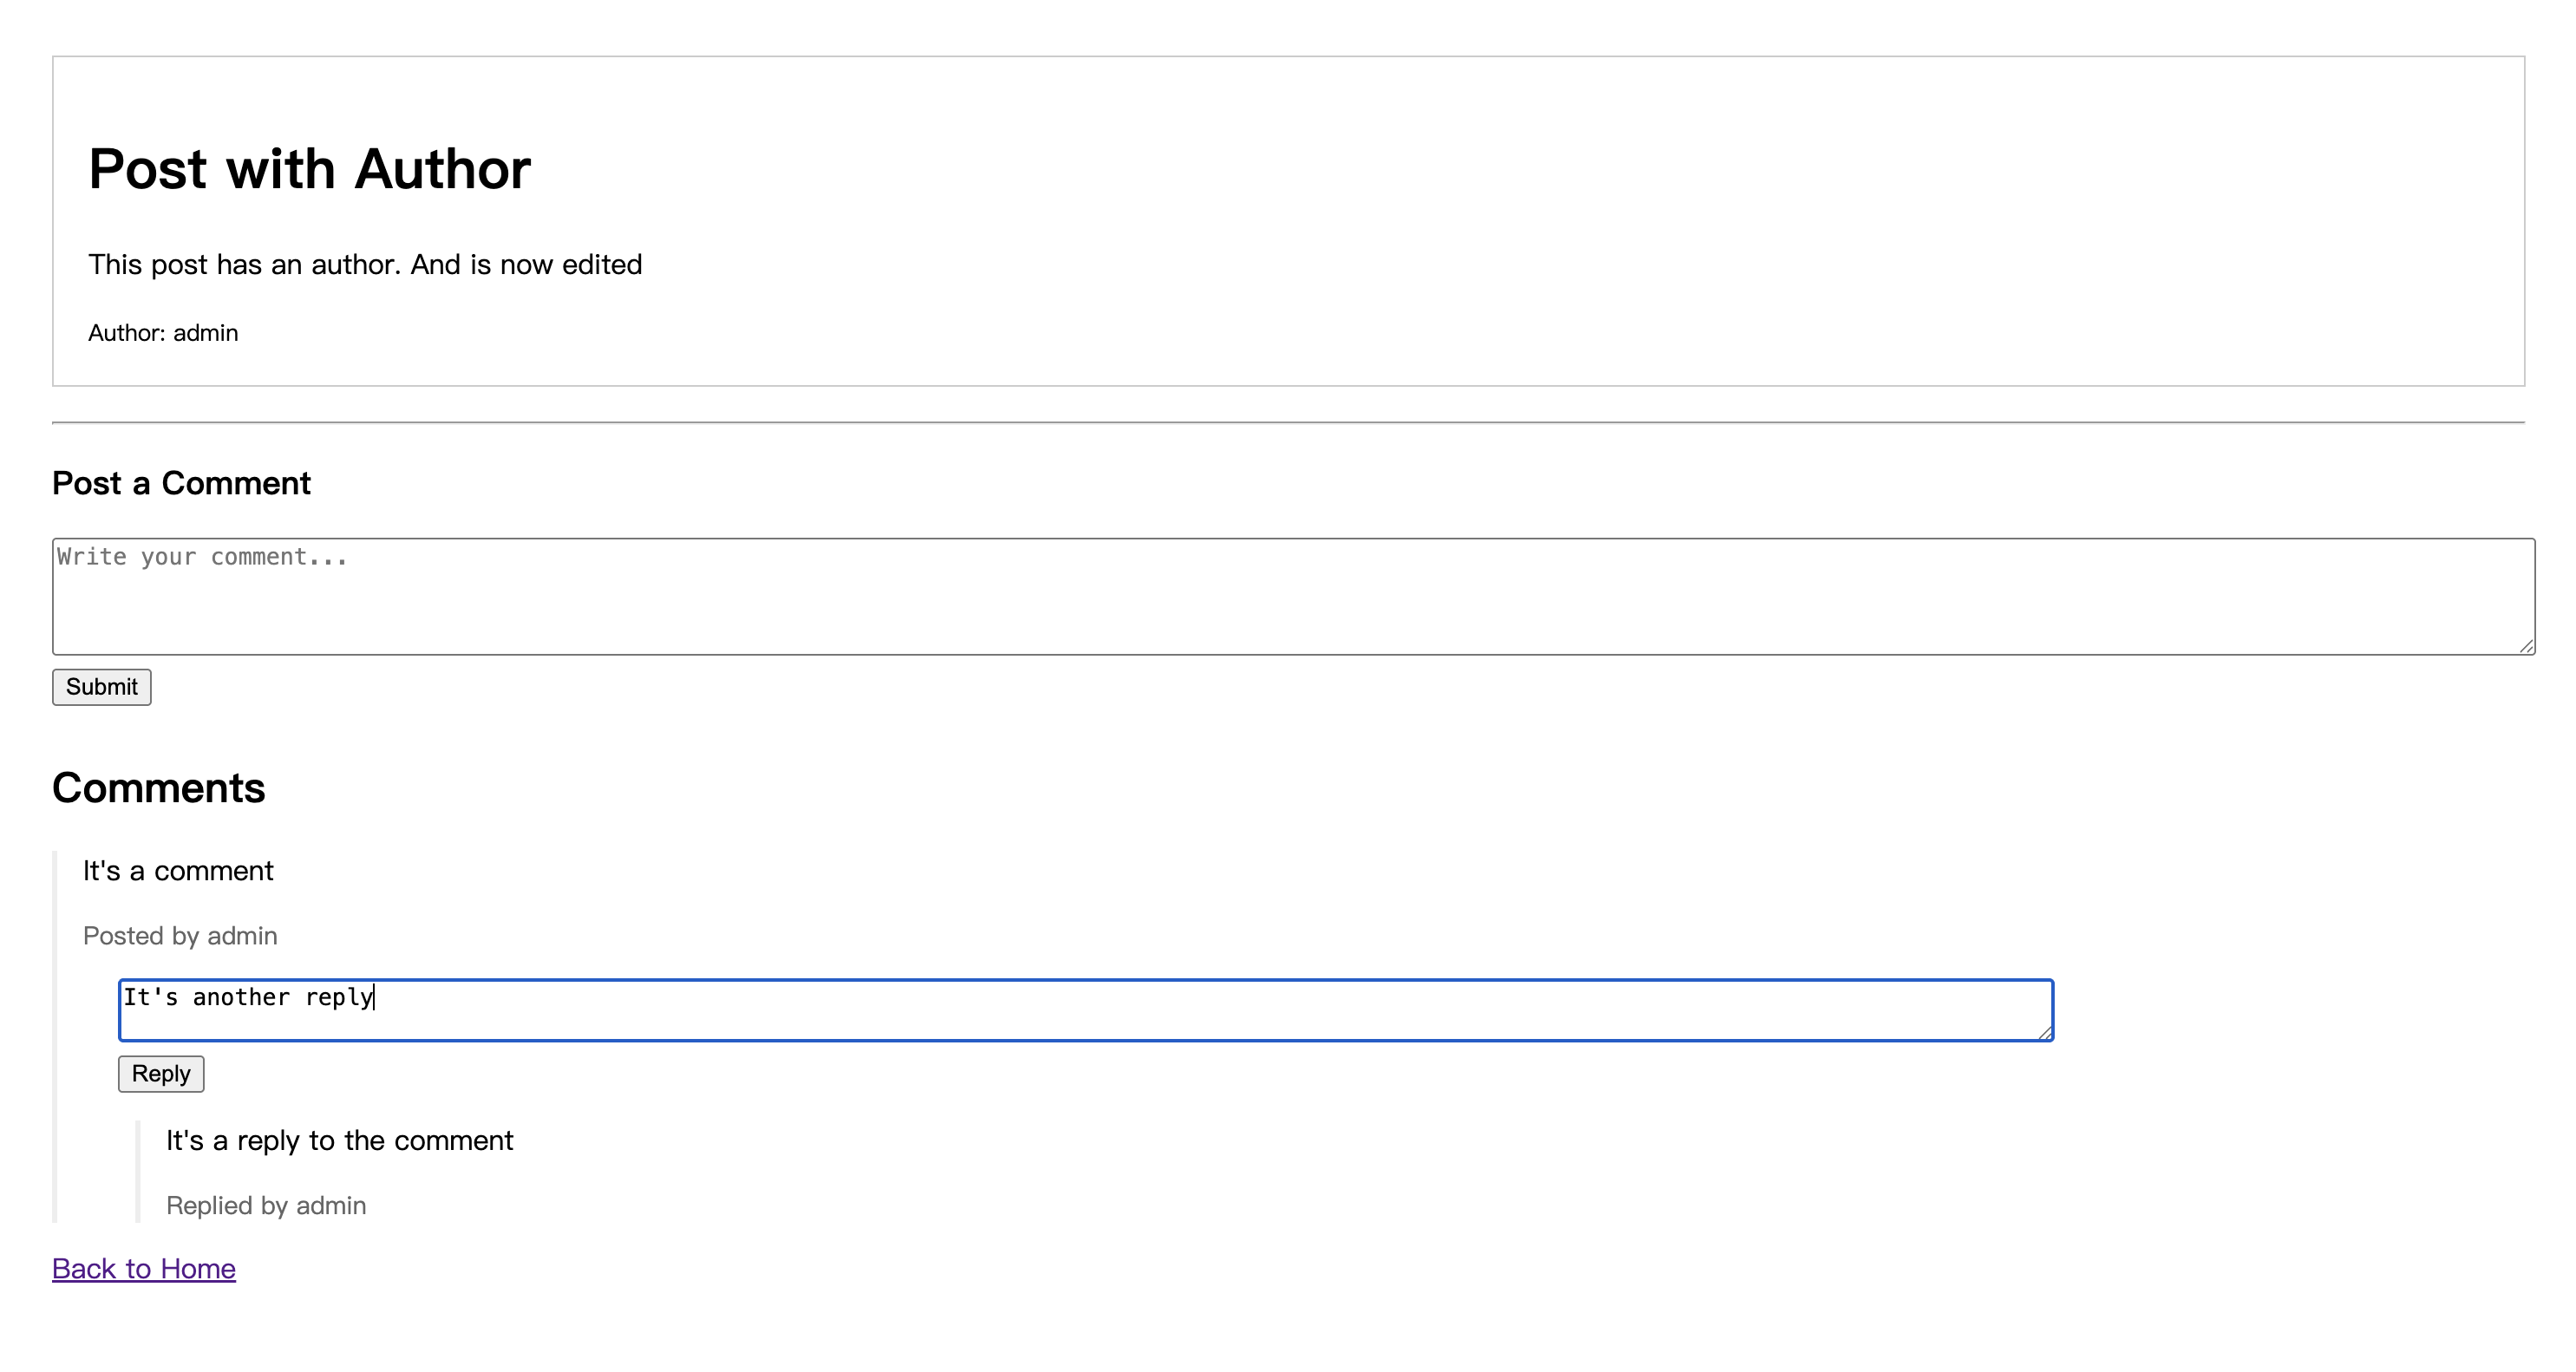
댓글 아래에는 더 작은 답글 상자가 있습니다. 내용을 입력하고 제출하면 댓글이 답글로 표시됩니다.
요약
이제 포럼은 댓글 및 답글 기능을 지원하여 사용자가 서로 상호작용할 수 있습니다.
포럼의 기능이 복잡해짐에 따라 커뮤니티 질서를 유지하는 것이 점점 더 중요해지고 있습니다. 사용자가 무엇을 할 수 있는지 어떻게 제어할 수 있을까요?
다음 글에서는 권한 관리를 소개합니다. 관리자 시스템과 같은 시스템을 통해 커뮤니티의 건강한 발전을 보장할 것입니다. 예를 들어 사용자의 말하기 금지입니다.