Build a Perfect Blog with FastAPI: Tags for Post
Ethan Miller
Product Engineer · Leapcell
In the previous article, we added visitor tracking to our blog, allowing us to visually see the popularity of each post.
The blog looks quite complete, but it seems like something is still missing. Your blog already has a lot of posts, and users might get lost in them... So, how can users quickly find the topics they are interested in?
That's right, the blog now needs a tag feature.
Tags are a classic way to organize and categorize content. By assigning keywords to each post (e.g., "FastAPI", "Python", "Database"), readers can easily find all articles related to a specific topic.
In the next two tutorials, we will add a complete tagging feature to our blog system. In this tutorial, we will first implement the basic part: supporting the setting of tags when creating a post and displaying them on the post page.
Step 1: Create the Data Model for Tags
To implement the tag feature, we need a new Tag model and to establish a relationship between Post and Tag. A post can have multiple tags, and a tag can be associated with multiple posts. This is a typical Many-to-Many relationship.
In SQLModel (and most ORMs), implementing a many-to-many relationship requires an additional "link table" to store the pairing relationship between Post and Tag.
1. Update the models file
Open the models.py file, add the Tag and PostTagLink models, and update the Post model.
# models.py
import uuid
from datetime import datetime
from typing import Optional, List
from sqlmodel import Field, SQLModel, Relationship

# ... User, PageView, Comment Classes ...

class PostTagLink(SQLModel, table=True):
    post_id: Optional[uuid.UUID] = Field(
        default=None, foreign_key="post.id", primary_key=True
    )
    tag_id: Optional[uuid.UUID] = Field(
        default=None, foreign_key="tag.id", primary_key=True
    )

class Tag(SQLModel, table=True):
    id: Optional[uuid.UUID] = Field(default_factory=uuid.uuid4, primary_key=True)
    name: str = Field(unique=True, index=True)

    posts: List["Post"] = Relationship(back_populates="tags", link_model=PostTagLink)

class Post(SQLModel, table=True):
    id: Optional[uuid.UUID] = Field(default_factory=uuid.uuid4, primary_key=True)
    title: str
    content: str
    createdAt: datetime = Field(default_factory=datetime.utcnow, nullable=False)

    comments: List["Comment"] = Relationship(back_populates="post")
    page_views: List["PageView"] = Relationship(back_populates="post")

    # Add the many-to-many relationship with Tag
    tags: List["Tag"] = Relationship(back_populates="posts", link_model=PostTagLink)
Code Explanation:
- We created the
Tagmodel, which has a uniquenamefield. - We created the
PostTagLinkmodel, which only contains two fields:post_idandtag_id. These two fields serve as foreign keys pointing to thepostandtagtables, respectively, and together they form the primary key. - In both the
PostandTagmodels, we added aRelationshipfield (tagsandposts). The key is thelink_model=PostTagLinkparameter, which tells SQLModel that the relationship between these two models is maintained through thePostTagLinkintermediate table.
2. Create the database tables
Since we've added two new models, we need to create the corresponding tables in the database. Execute the following SQL statements in your PostgreSQL database:
-- Create the tag table
CREATE TABLE "tag" (
    "id" UUID PRIMARY KEY DEFAULT gen_random_uuid(),
    "name" VARCHAR UNIQUE NOT NULL
);

-- Create the link table post_tag_link
CREATE TABLE "posttaglink" (
    "post_id" UUID REFERENCES "post"("id") ON DELETE CASCADE,
    "tag_id" UUID REFERENCES "tag"("id") ON DELETE CASCADE,
    PRIMARY KEY ("post_id", "tag_id")
);
Note: SQLModel will automatically map PostTagLink to the posttaglink table. Make sure the table name is correct.
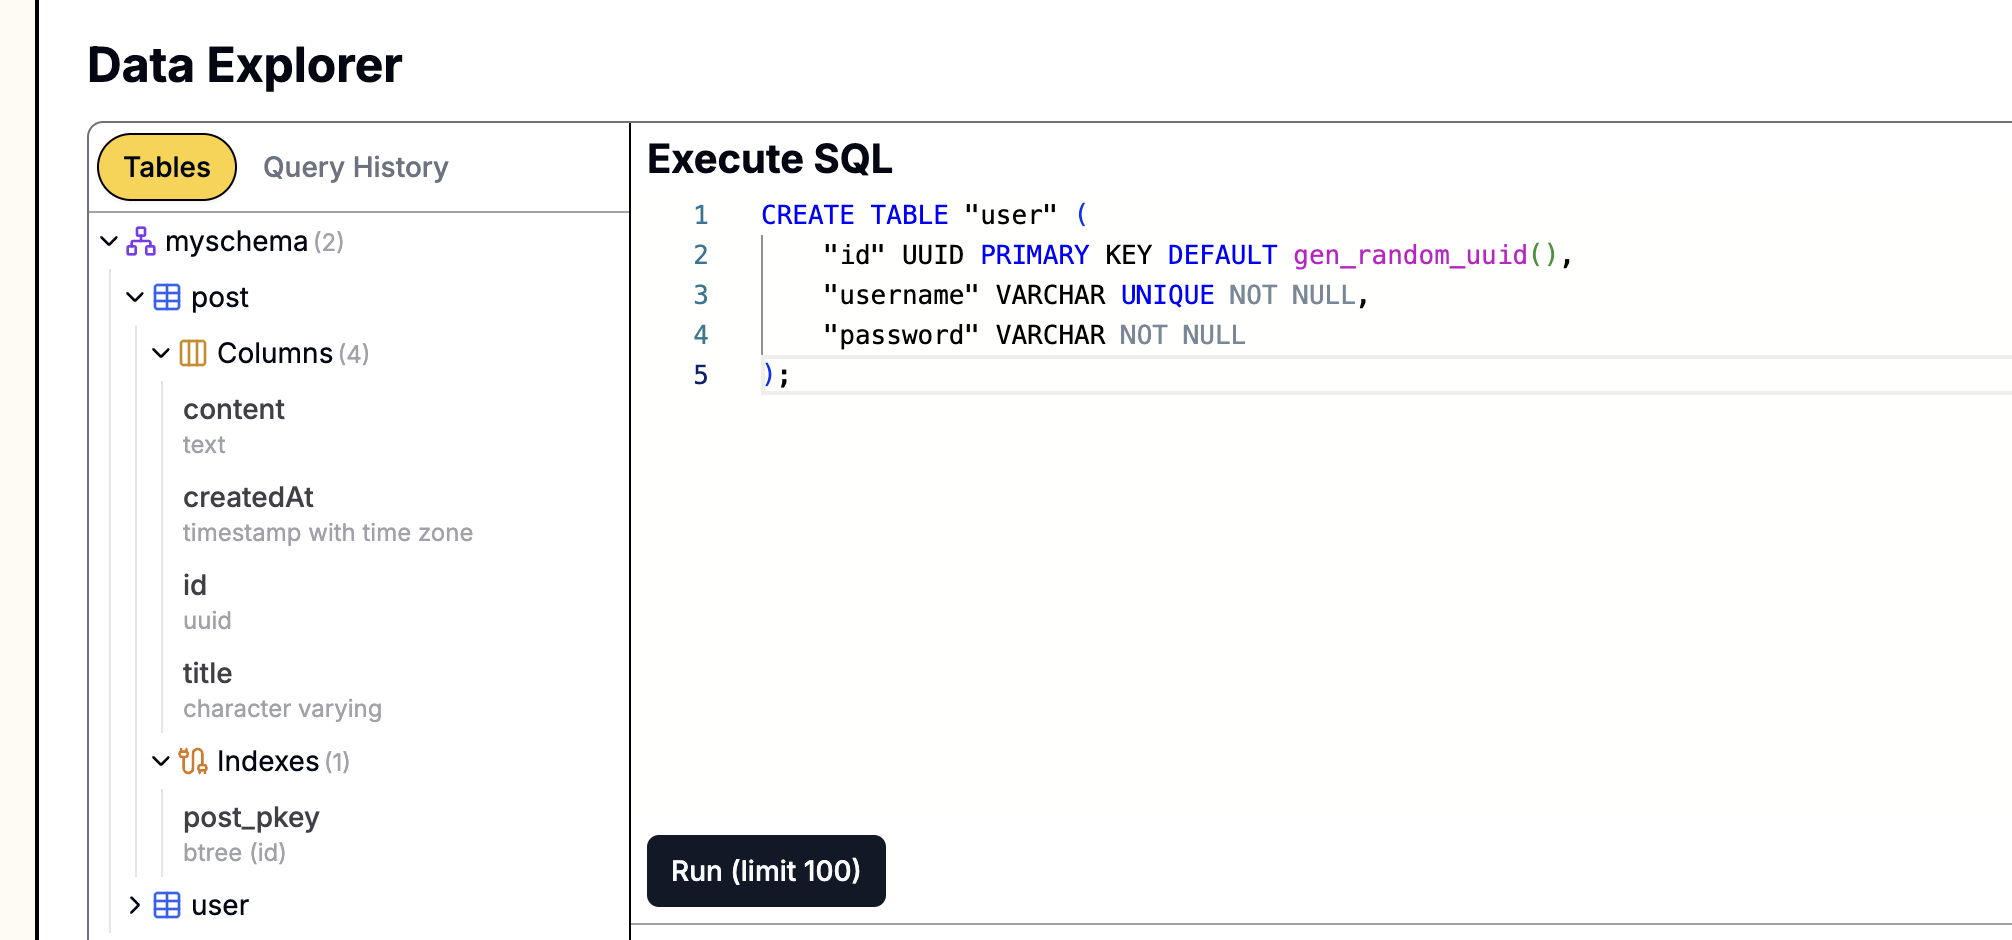
If your database was created on Leapcell,

you can easily execute SQL statements using the graphical interface. Just go to the Database management page on the website, paste the above statements into the SQL interface, and execute them.
Step 2: Implement the Business Logic for Tags
To keep the code clean, we will create a new service file for the tag functionality.
Create a new file tags_service.py in the project root directory.
# tags_service.py
import uuid
from typing import List
from sqlmodel import Session, select
from models import Tag

def find_or_create_tags(tag_names: List[str], session: Session) -> List[Tag]:
    """
    Finds or creates tag entities based on a list of tag names.
    """
    tags = []
    if not tag_names:
        return tags

    # Query for existing tags
    statement = select(Tag).where(Tag.name.in_(tag_names))
    existing_tags = session.exec(statement).all()
    tags.extend(existing_tags)

    existing_tag_names = {tag.name for tag in existing_tags}

    # Find which tags need to be created
    new_tag_names = [name for name in tag_names if name not in existing_tag_names]

    # Create new tags
    for name in new_tag_names:
        new_tag = Tag(name=name)
        session.add(new_tag)
        tags.append(new_tag)

    # Commit once for efficiency
    session.commit()

    # Refresh newly created tags to get their IDs
    for tag in tags:
        if tag.id is None:
            session.refresh(tag)

    return tags
This find_or_create_tags function takes a list of tag names, queries the database, returns the entities of existing tags, and creates new records for tags that do not exist.
Step 3: Integrate Tag Logic into the Post Routes
Now, we need to modify the post creation route to accept and process tag data.
Open routers/posts.py, import the new service, and update the create_post route.
# routers/posts.py
# ... other imports
import tags_service # Import the tag service

# ...

@router.post("/posts", response_class=HTMLResponse)
def create_post(
    title: str = Form(...),
    content: str = Form(...),
    tags: str = Form(""), # Add new tags form field
    session: Session = Depends(get_session),
    user: dict = Depends(login_required)
):
    # 1. Create a Post object
    new_post = Post(title=title, content=content)

    # 2. Process tags
    if tags:
        # Parse the comma-separated string into a list of tag names
        tag_names = [name.strip() for name in tags.split(',') if name.strip()]
        # Find or create tag entities
        tag_objects = tags_service.find_or_create_tags(tag_names, session)
        # Associate tags with the post
        new_post.tags = tag_objects

    # 3. Save the post
    session.add(new_post)
    session.commit()

    return RedirectResponse(url="/posts", status_code=302)

# ...
We added a tags parameter to the create_post function, which will receive a comma-separated string of tags from the form. We then parse this string, call tags_service to get a list of Tag objects, and assign it to new_post.tags. Thanks to SQLModel's Relationship, when we commit new_post, SQLModel will automatically handle the records in the posttaglink link table.
Step 4: Front-end Display
The final step is to modify the template files so that users can input tags and see them on the post page.
New Post Page
Open templates/new-post.html and add a tag input field below the content text area.
{% include "_header.html" %}
<form action="/posts" method="POST" class="post-form">
  <div class="form-group">
    <label for="content">Content</label>
    <textarea id="content" name="content" rows="10" required></textarea>
  </div>

  <div class="form-group">
    <label for="tags">Tags (comma-separated)</label>
    <input type="text" id="tags" name="tags" placeholder="e.g. fastapi, python, tutorial" />
  </div>

  <button type="submit">Submit</button>
</form>
{% include "_footer.html" %}
Post Detail Page
Open templates/post.html and add a section below the post content to display the list of tags.
<article class="post-detail">
  <h1>{{ post.title }}</h1>
  <small>{{ post.createdAt.strftime('%Y-%m-%d') }} | Views: {{ view_count }}</small>
  <div class="post-content">{{ post.content | safe }}</div>

  {% if post.tags %}
  <div class="tags-section">
    <strong>Tags:</strong>
    {% for tag in post.tags %}
    <a href="/tags/{{ tag.id }}" class="tag-item">{{ tag.name }}</a>
    {% endfor %}
  </div>
  {% endif %}
</article>
We use {% if post.tags %} to check if the post has any tags. If it does, we iterate through the post.tags list and render each tag as a link. This link is not clickable yet; we will implement that in the next article.
Run and Test
Restart your application:
uvicorn main:app --reload
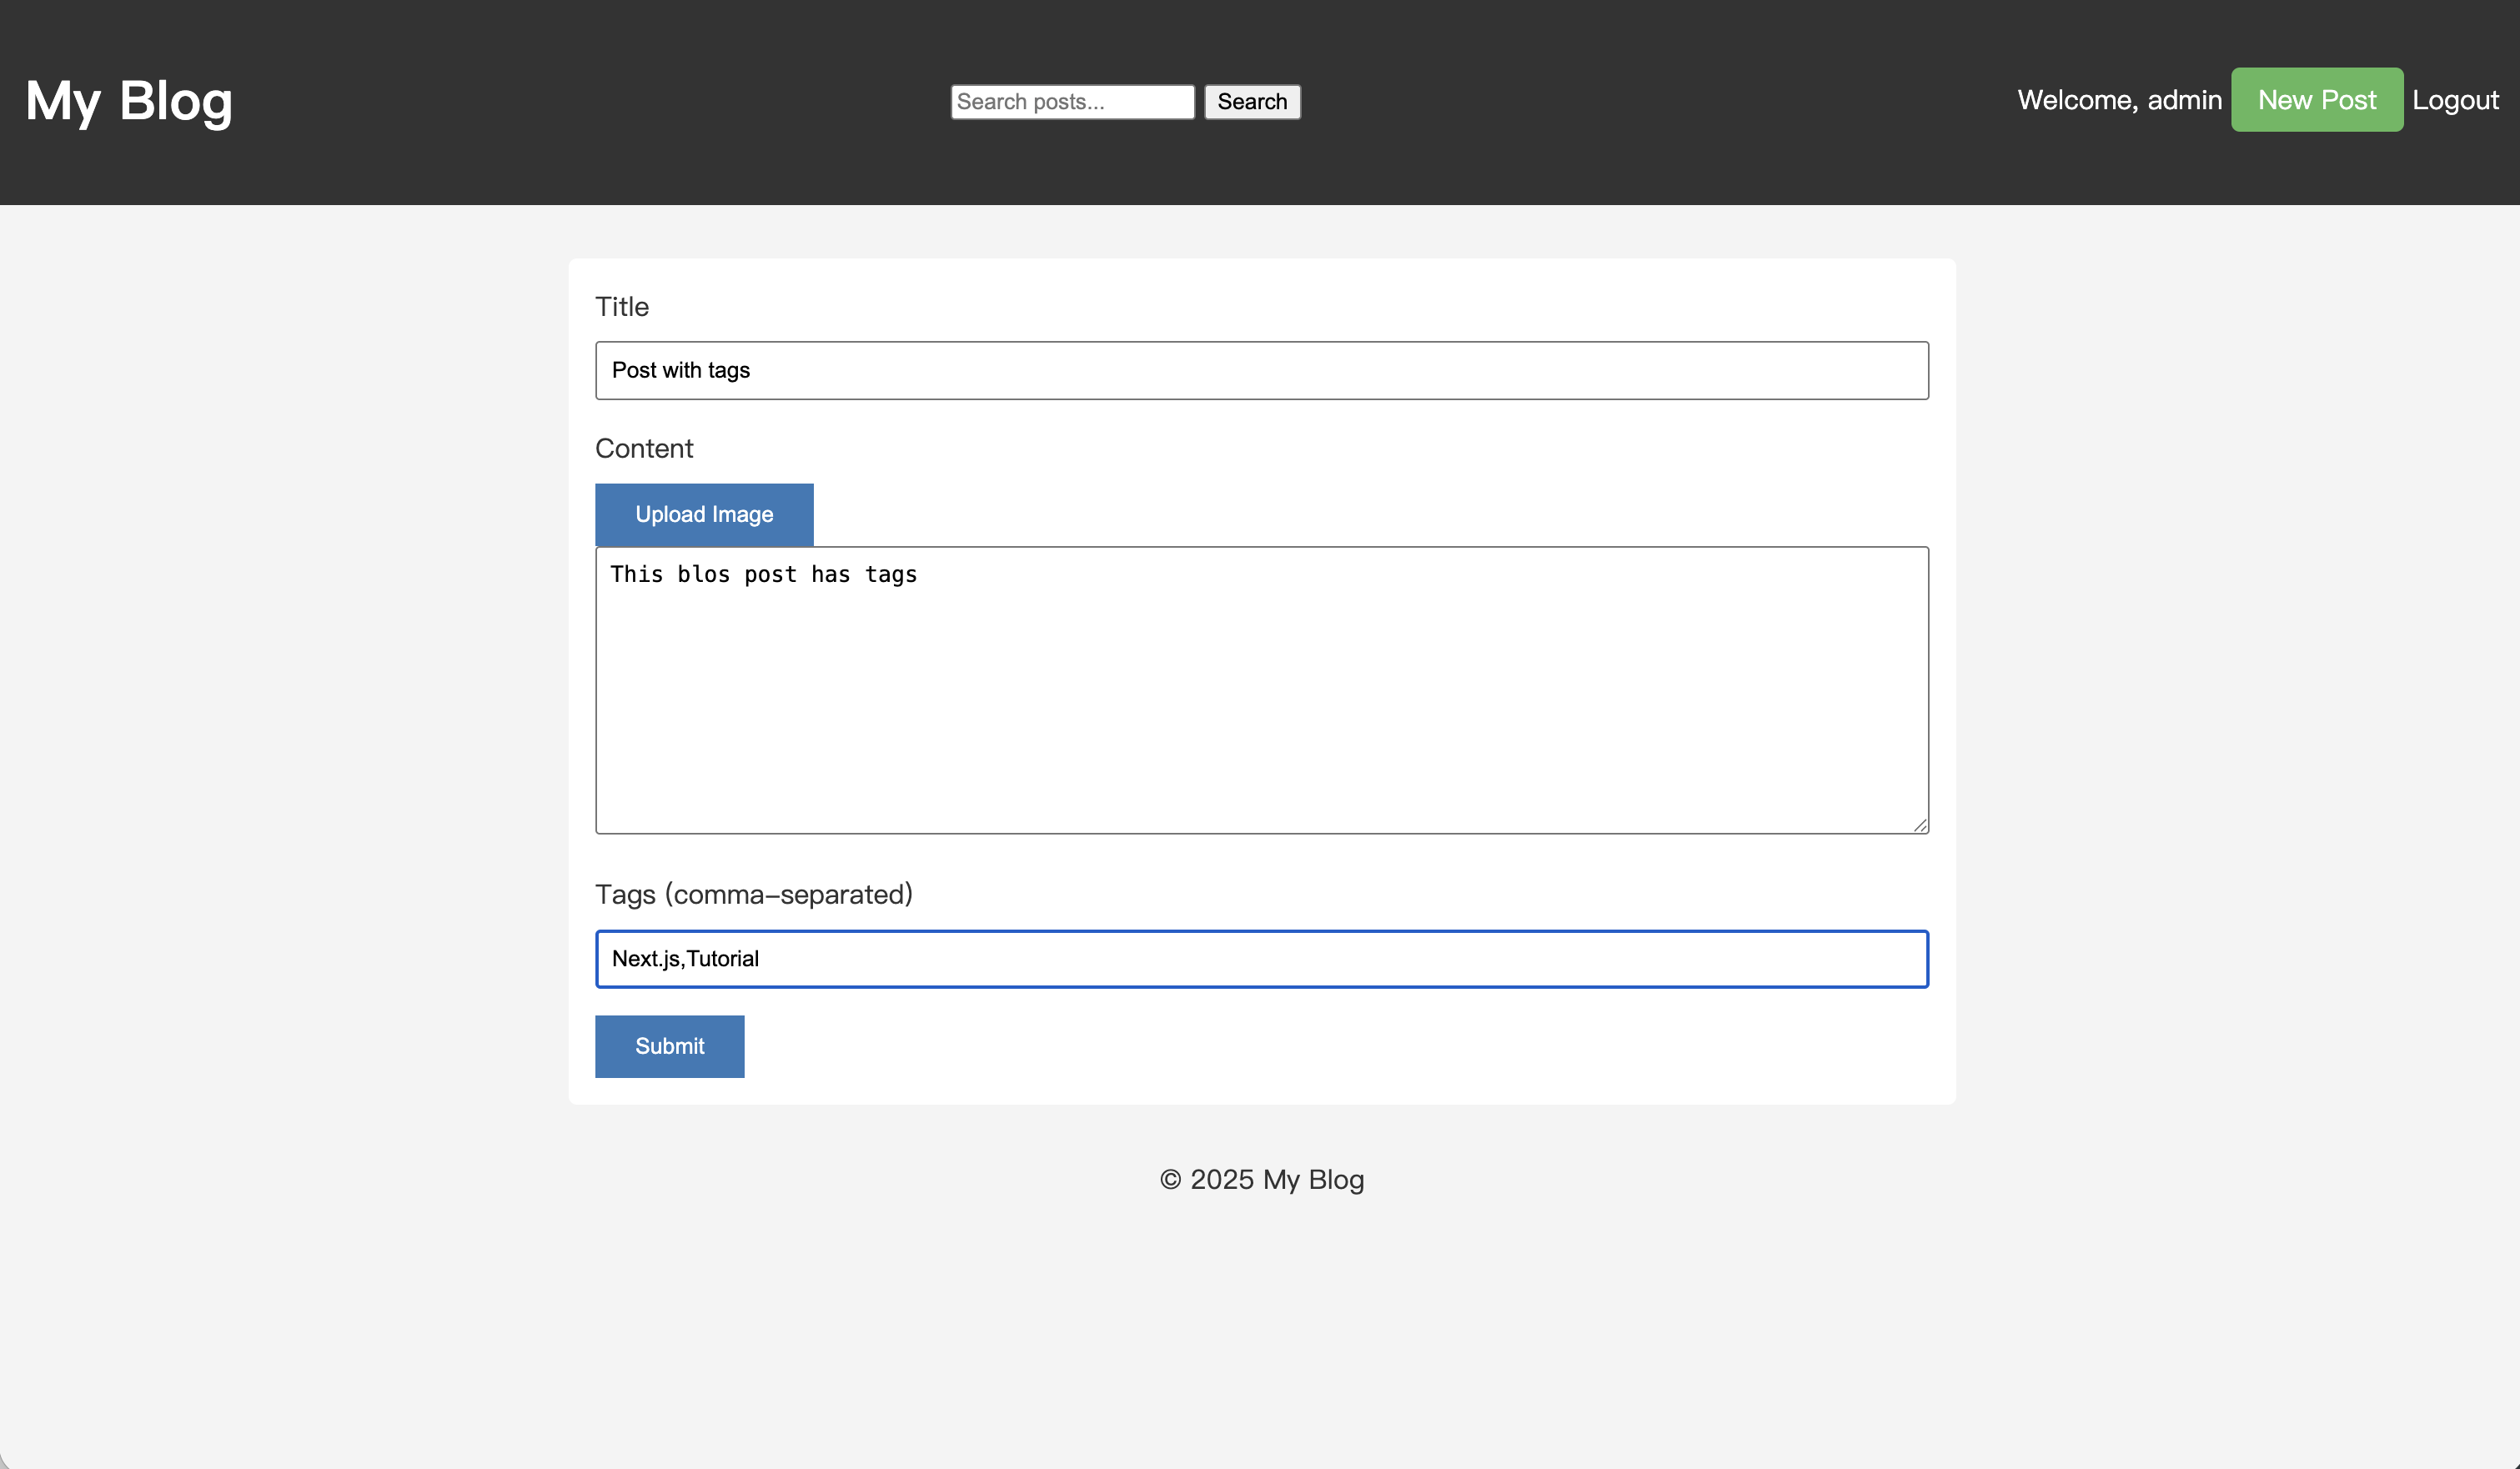
After logging in, go to the "New Post" page. You will see the new tag input field.
Enter some tags, separated by commas, for example, Python, Tutorial, and then submit.
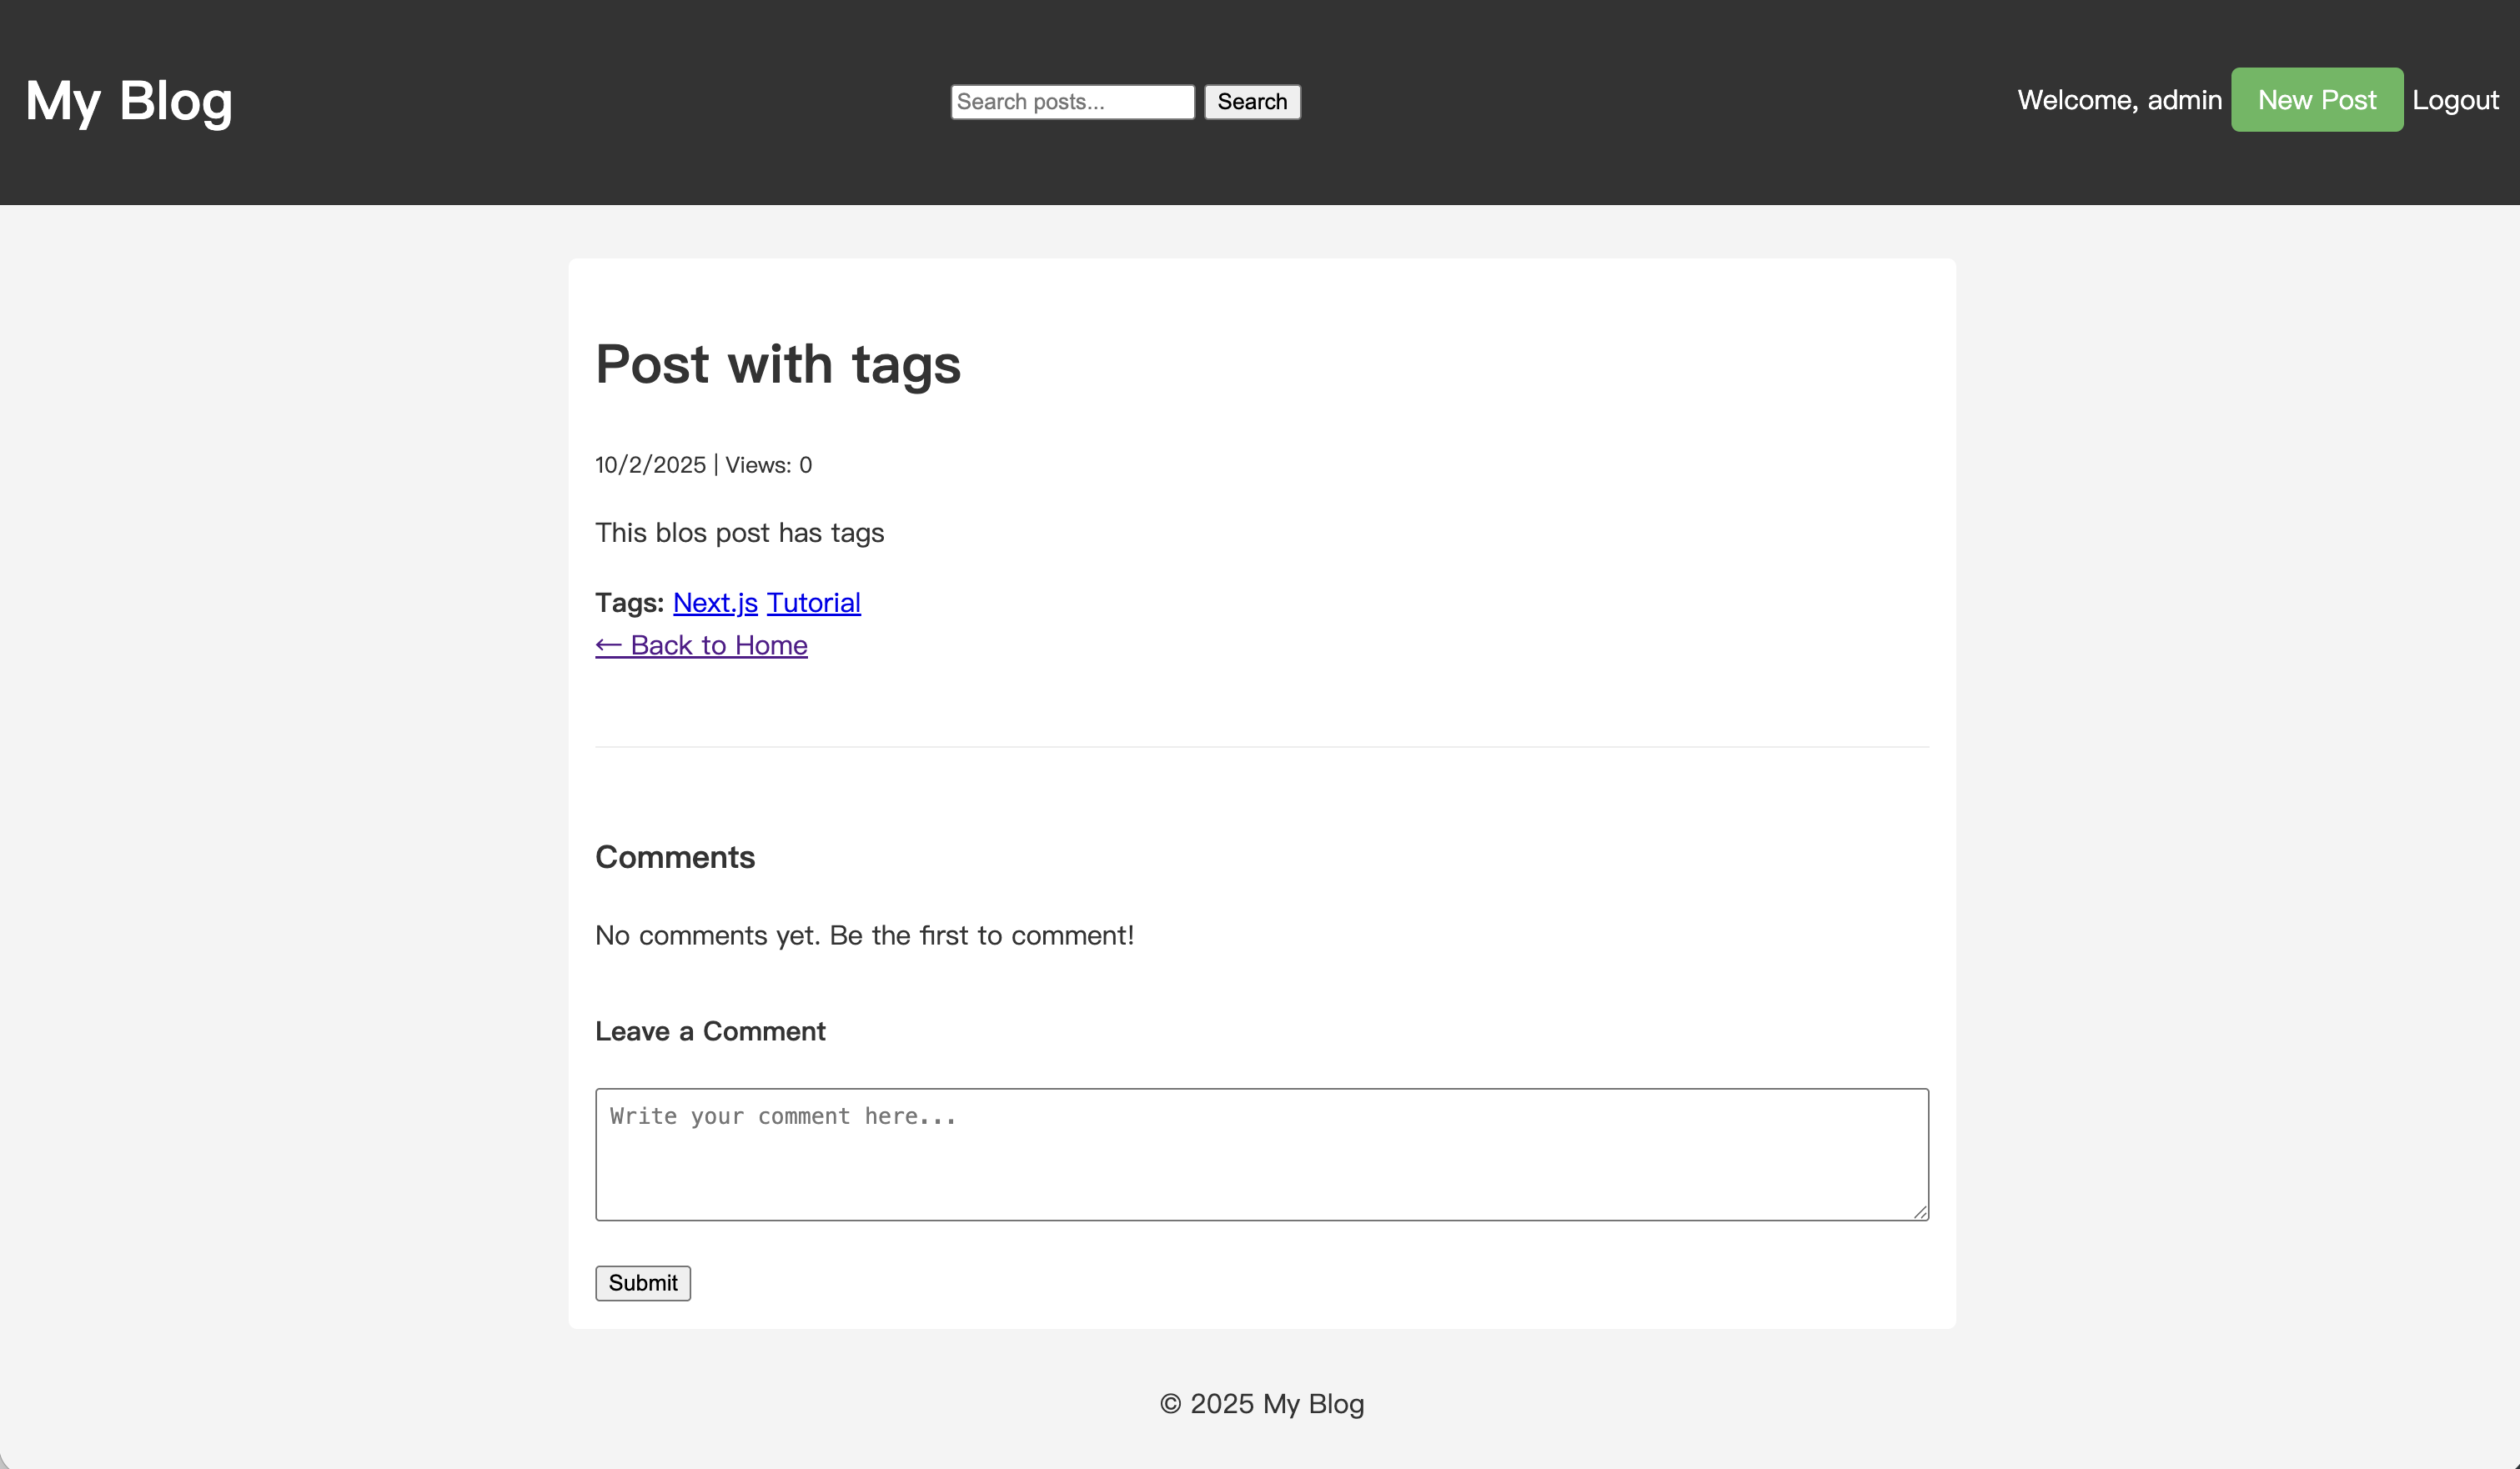
After submitting, go to the post's detail page, and you will see that the post's tags are displayed successfully.
Your blog now supports the creation and display of tags. However, users still cannot filter articles by tags. We will implement this feature in the next tutorial.